Use Appointment-Reason-Specific Email Text
- Click Configuration.
- Click Appointment reasons.
- Copy the text of an appointment reason.
- Click Configuration.
- Click Texts.
- Select English and click Create new.
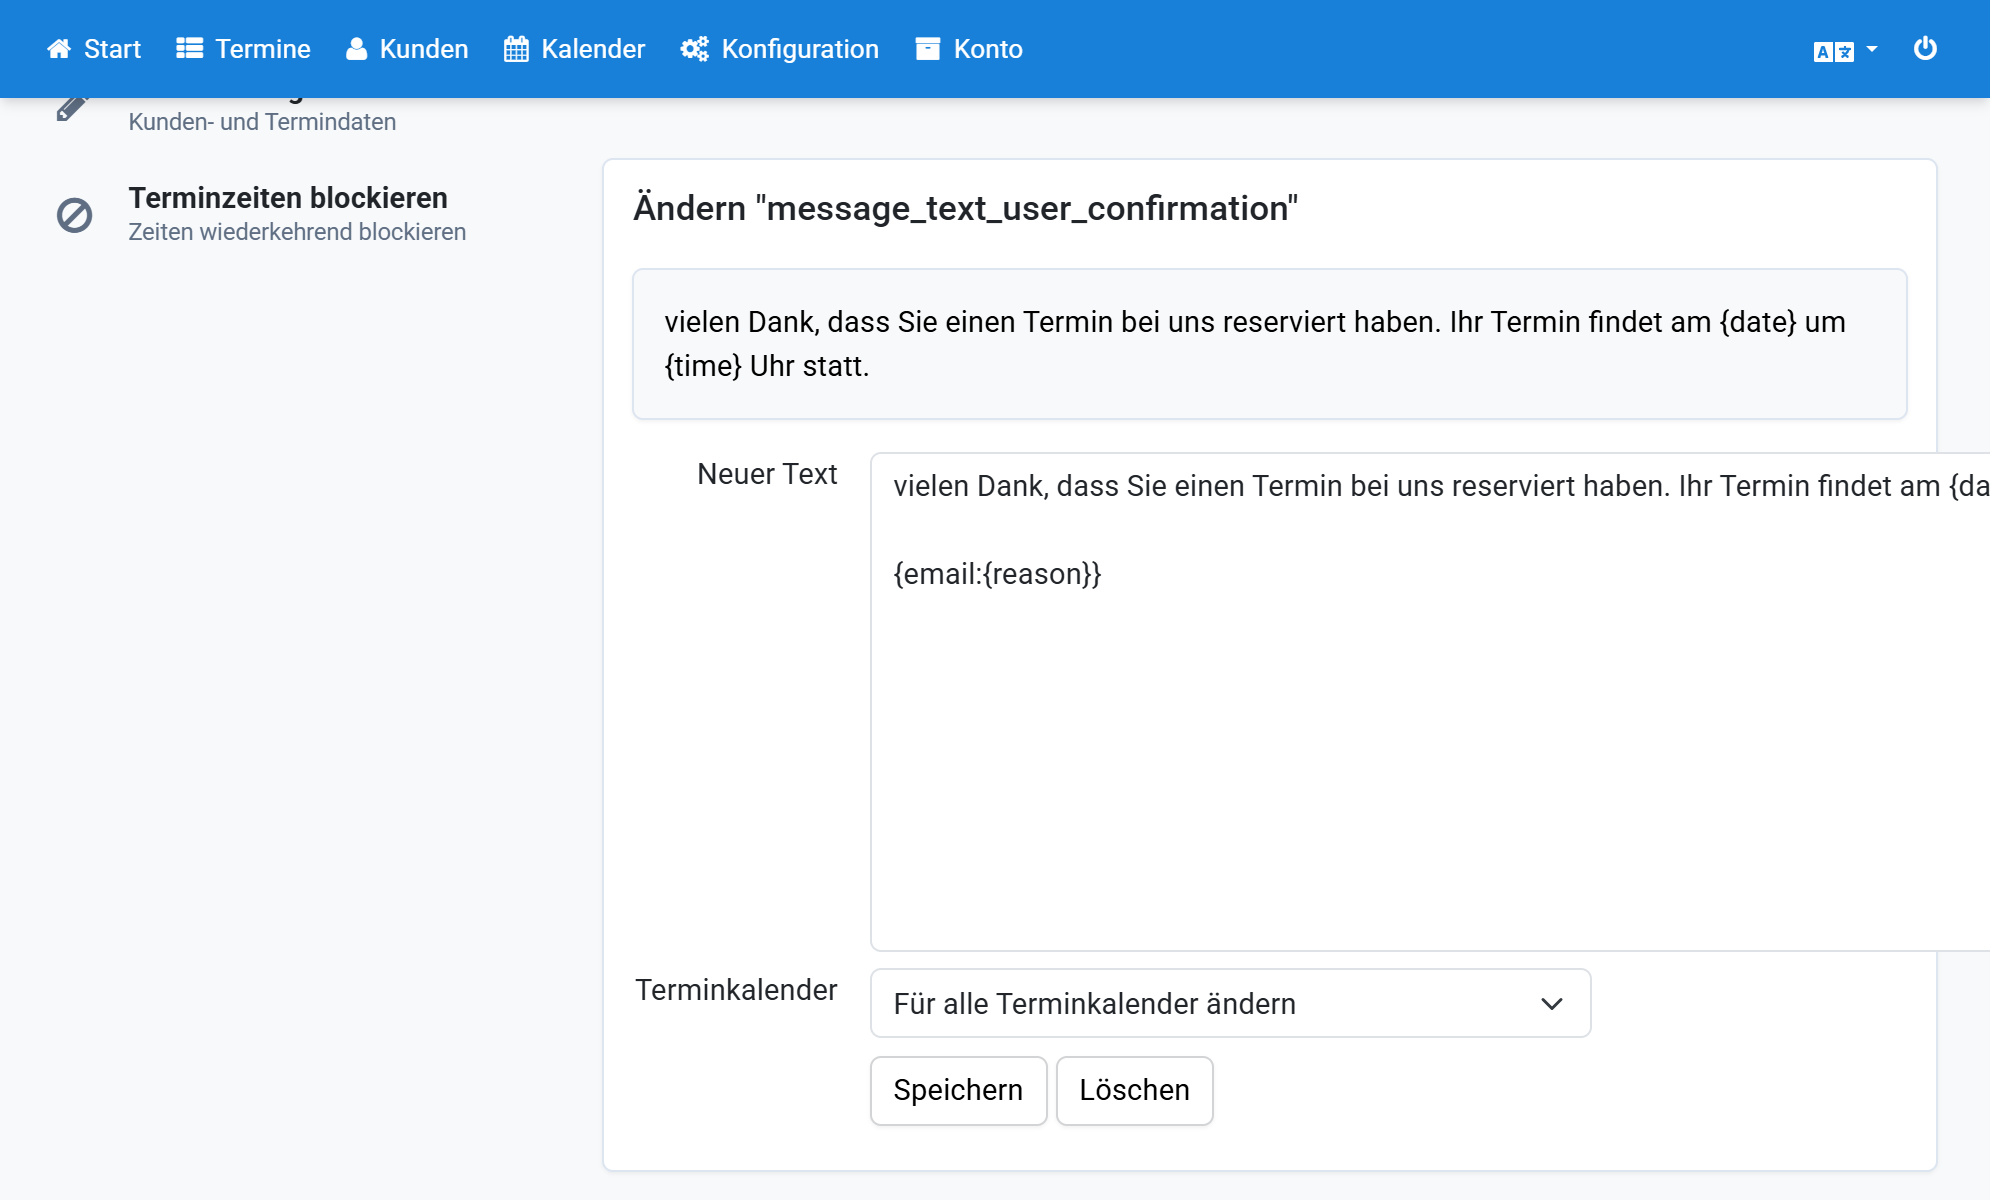
- Enter the text to display in the email.
- Enter the prefix
email:followed by the copied reason. - Click Save and repeat for other reasons.
- Click Configuration.
- Click Texts.
- Under frequently searched texts, show Email text to the user.
- Insert
{email:{reason}}into the text. - Click Save.
Screenshots
Click Configuration
1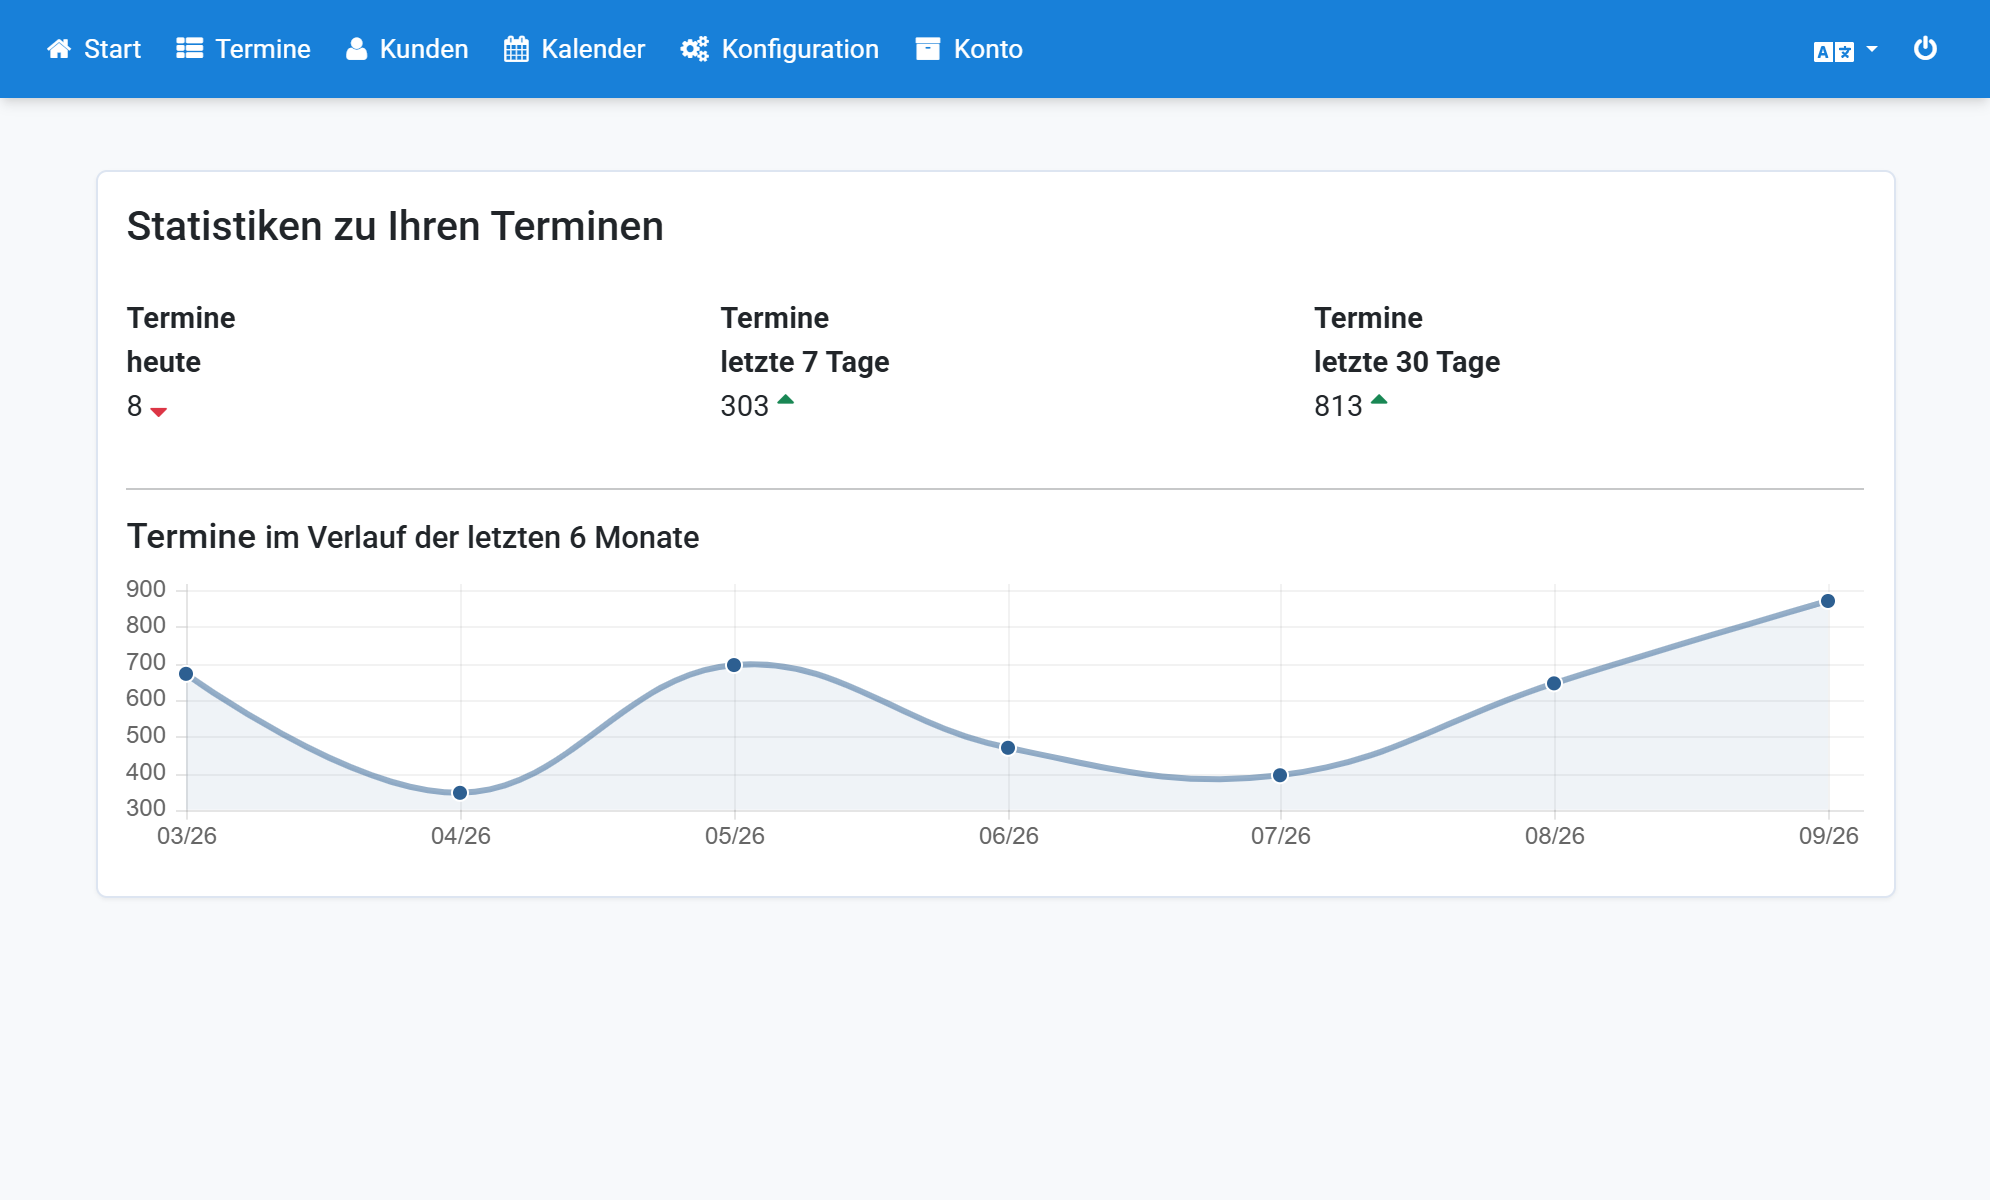
Click Appointment reasons
2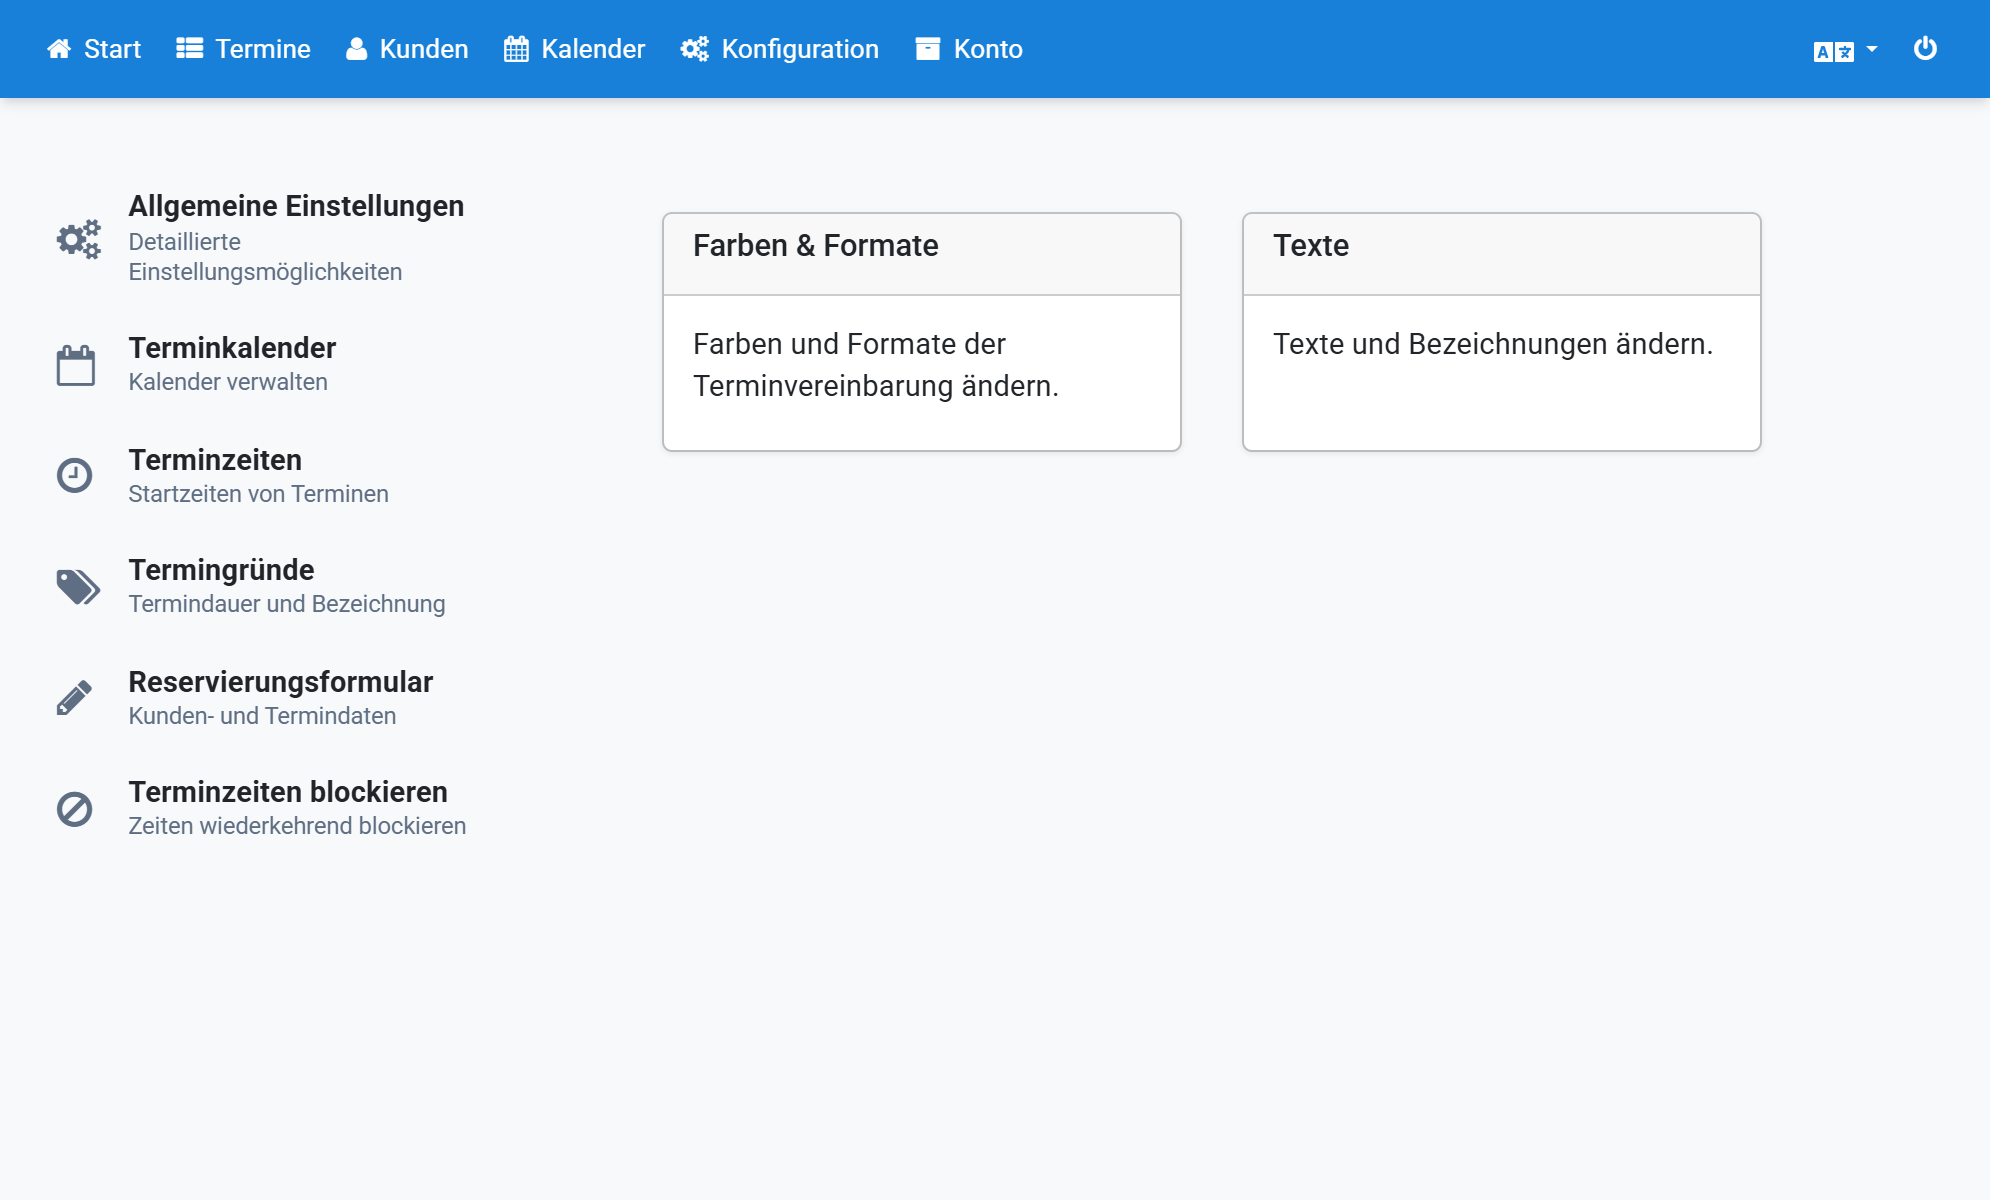
Copy the text of an appointment reason
3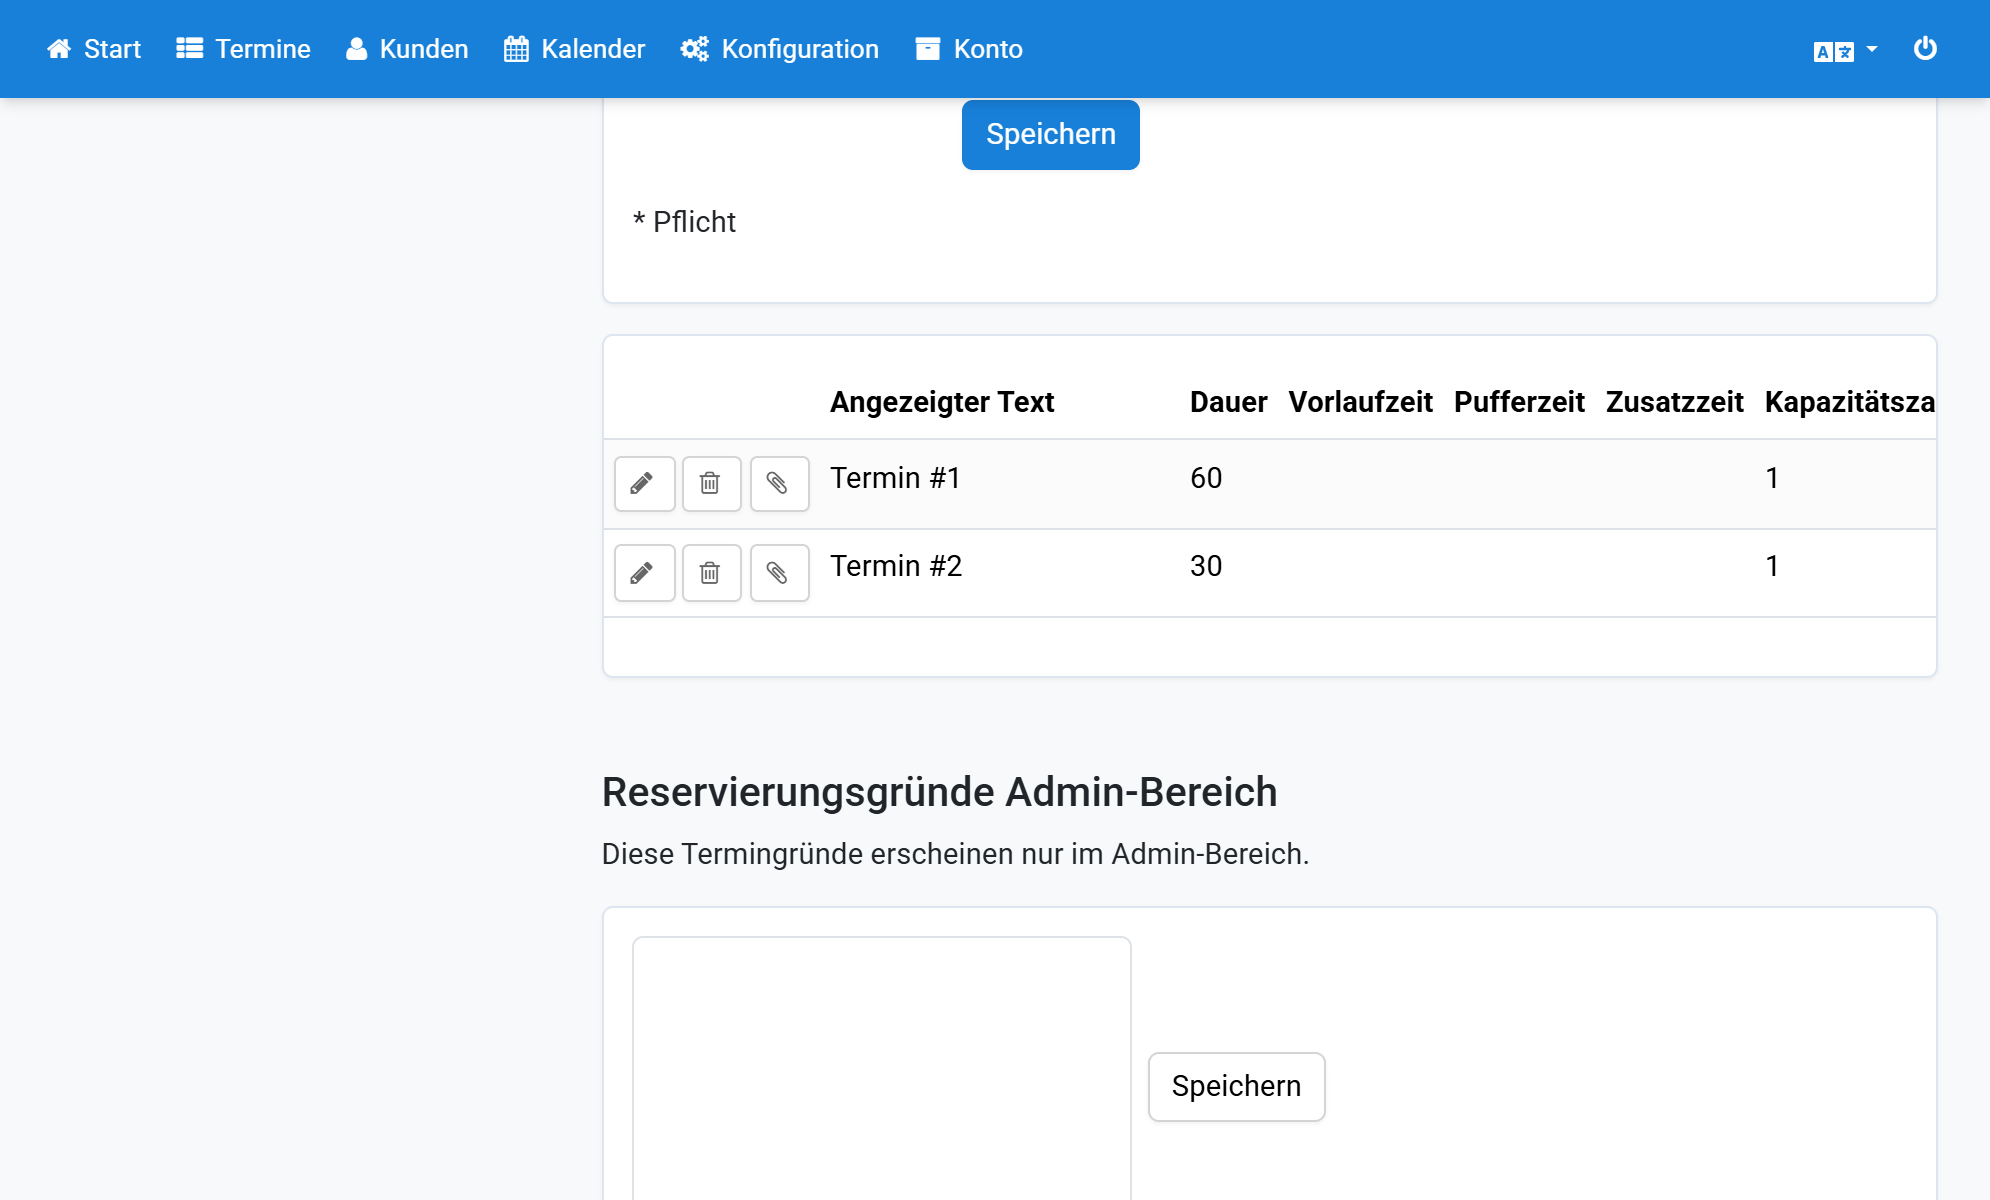
Click Configuration
4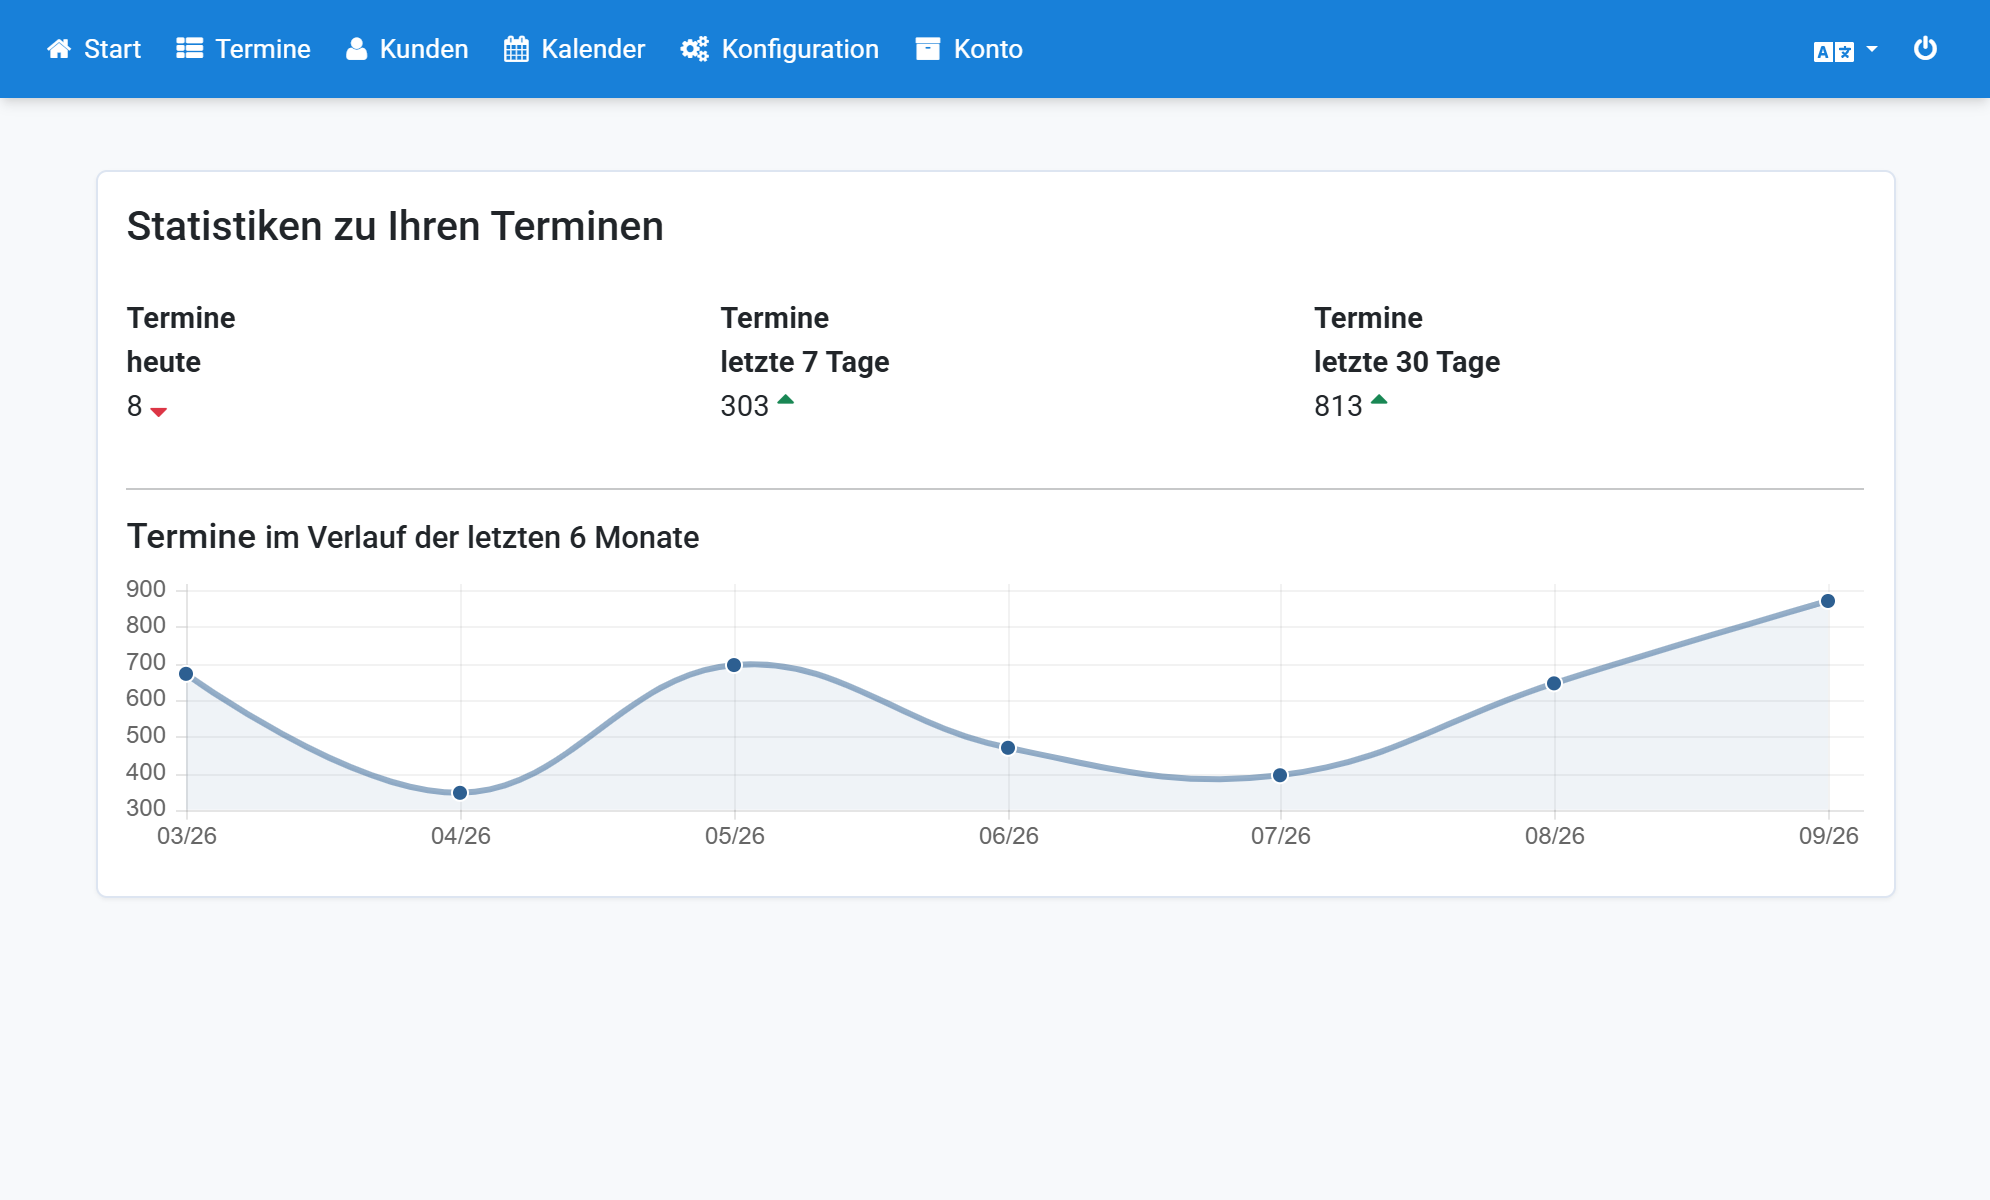
Click Texts
5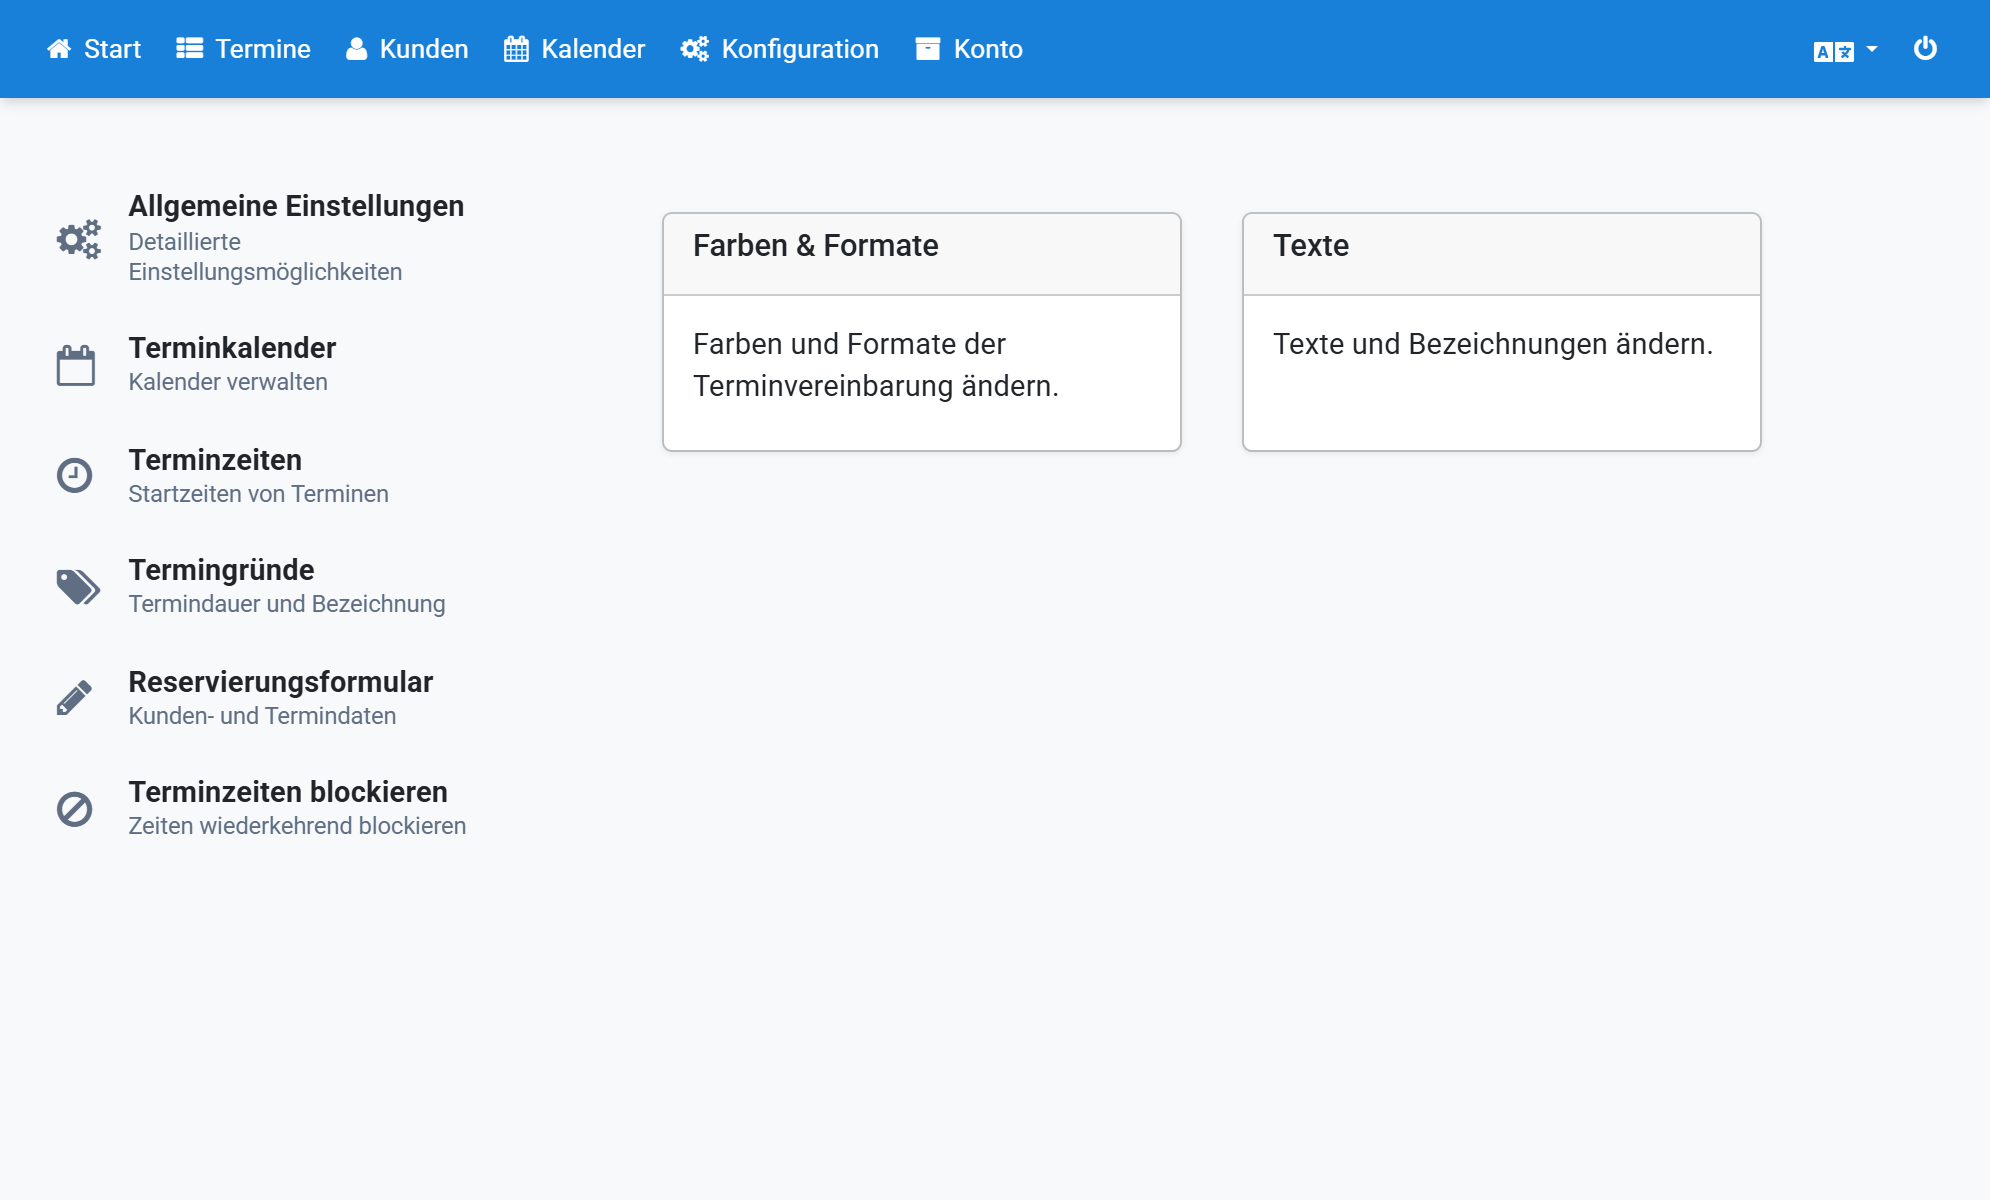
Select English and click Create new
6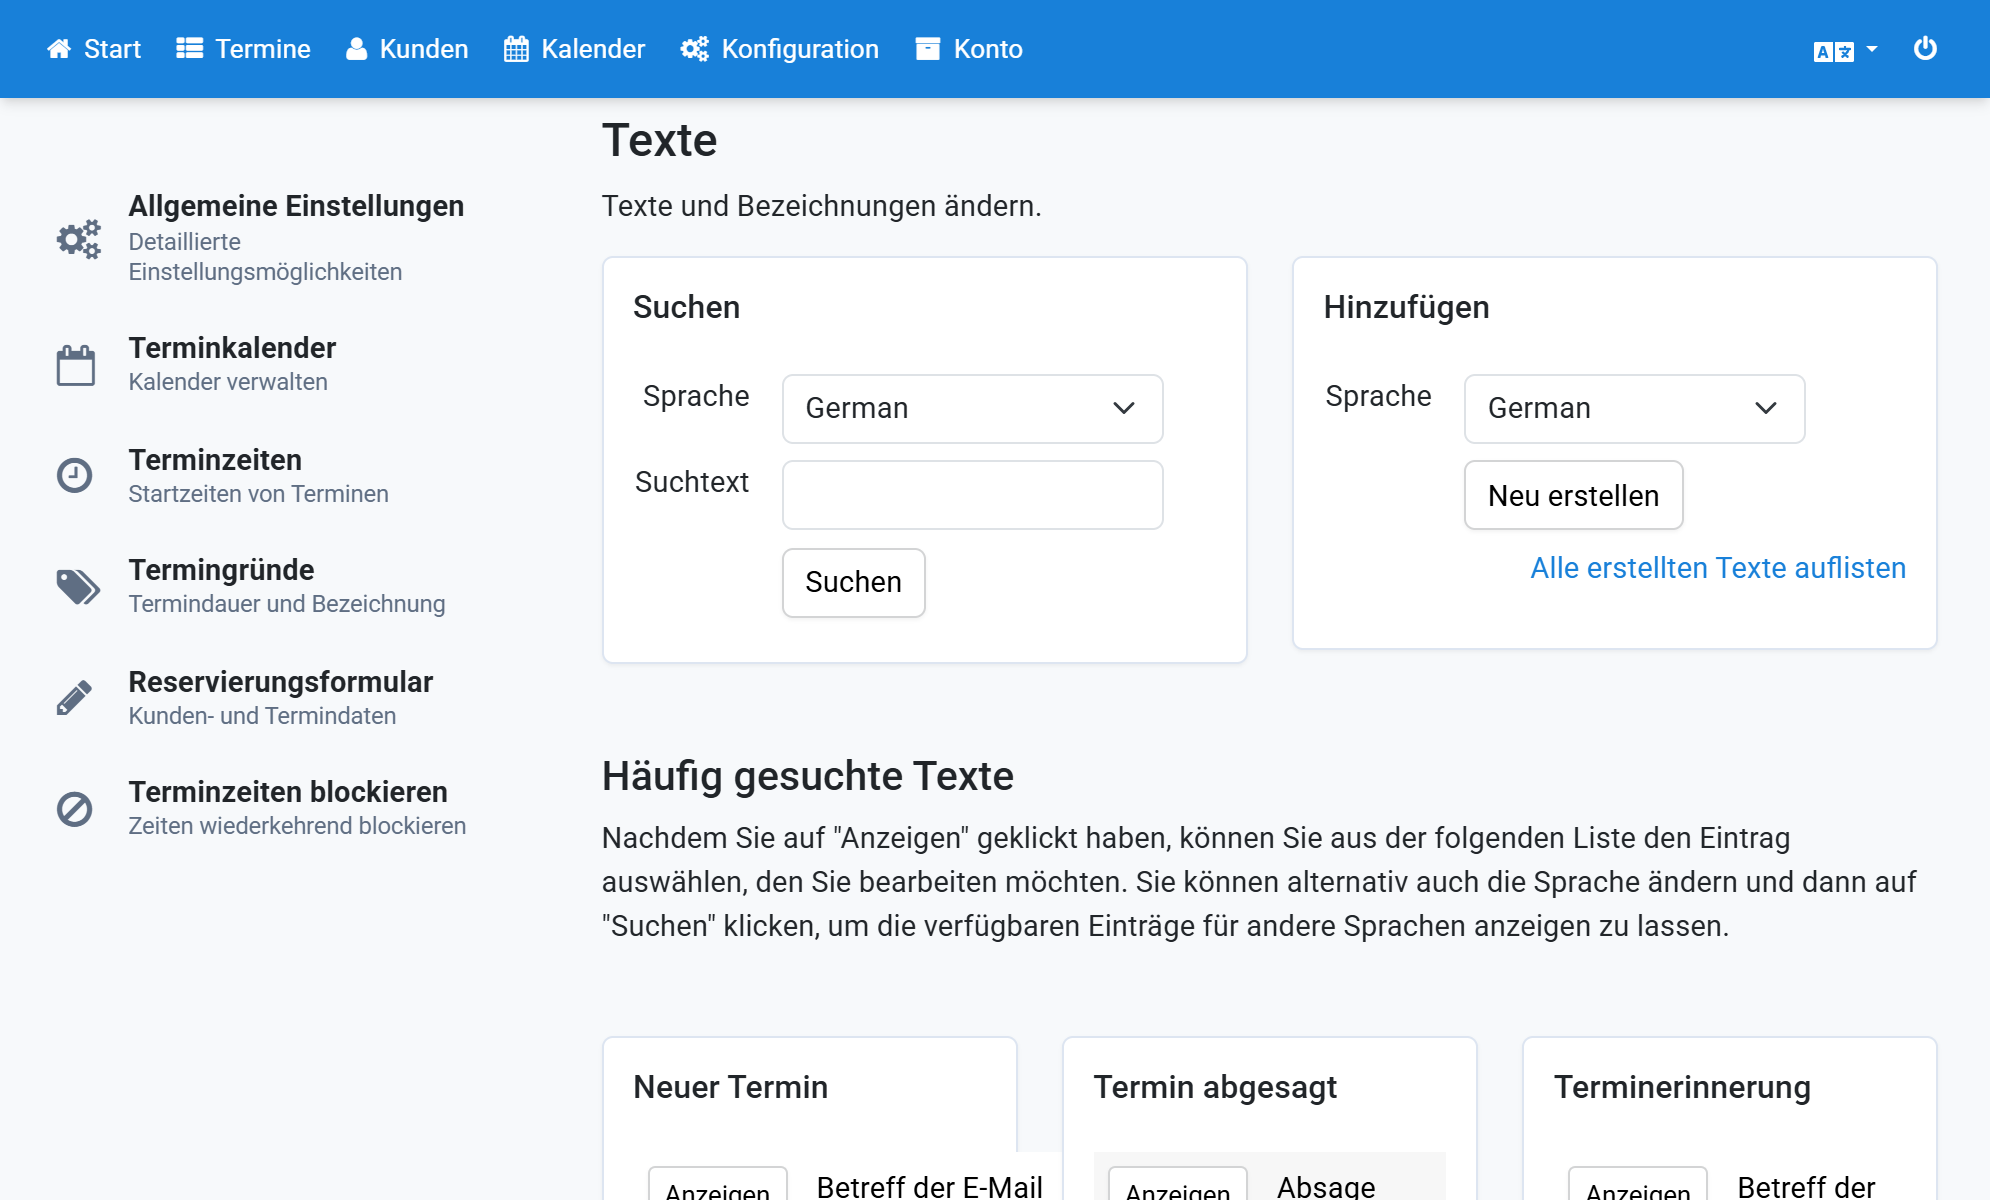
Enter the text to display in the email
7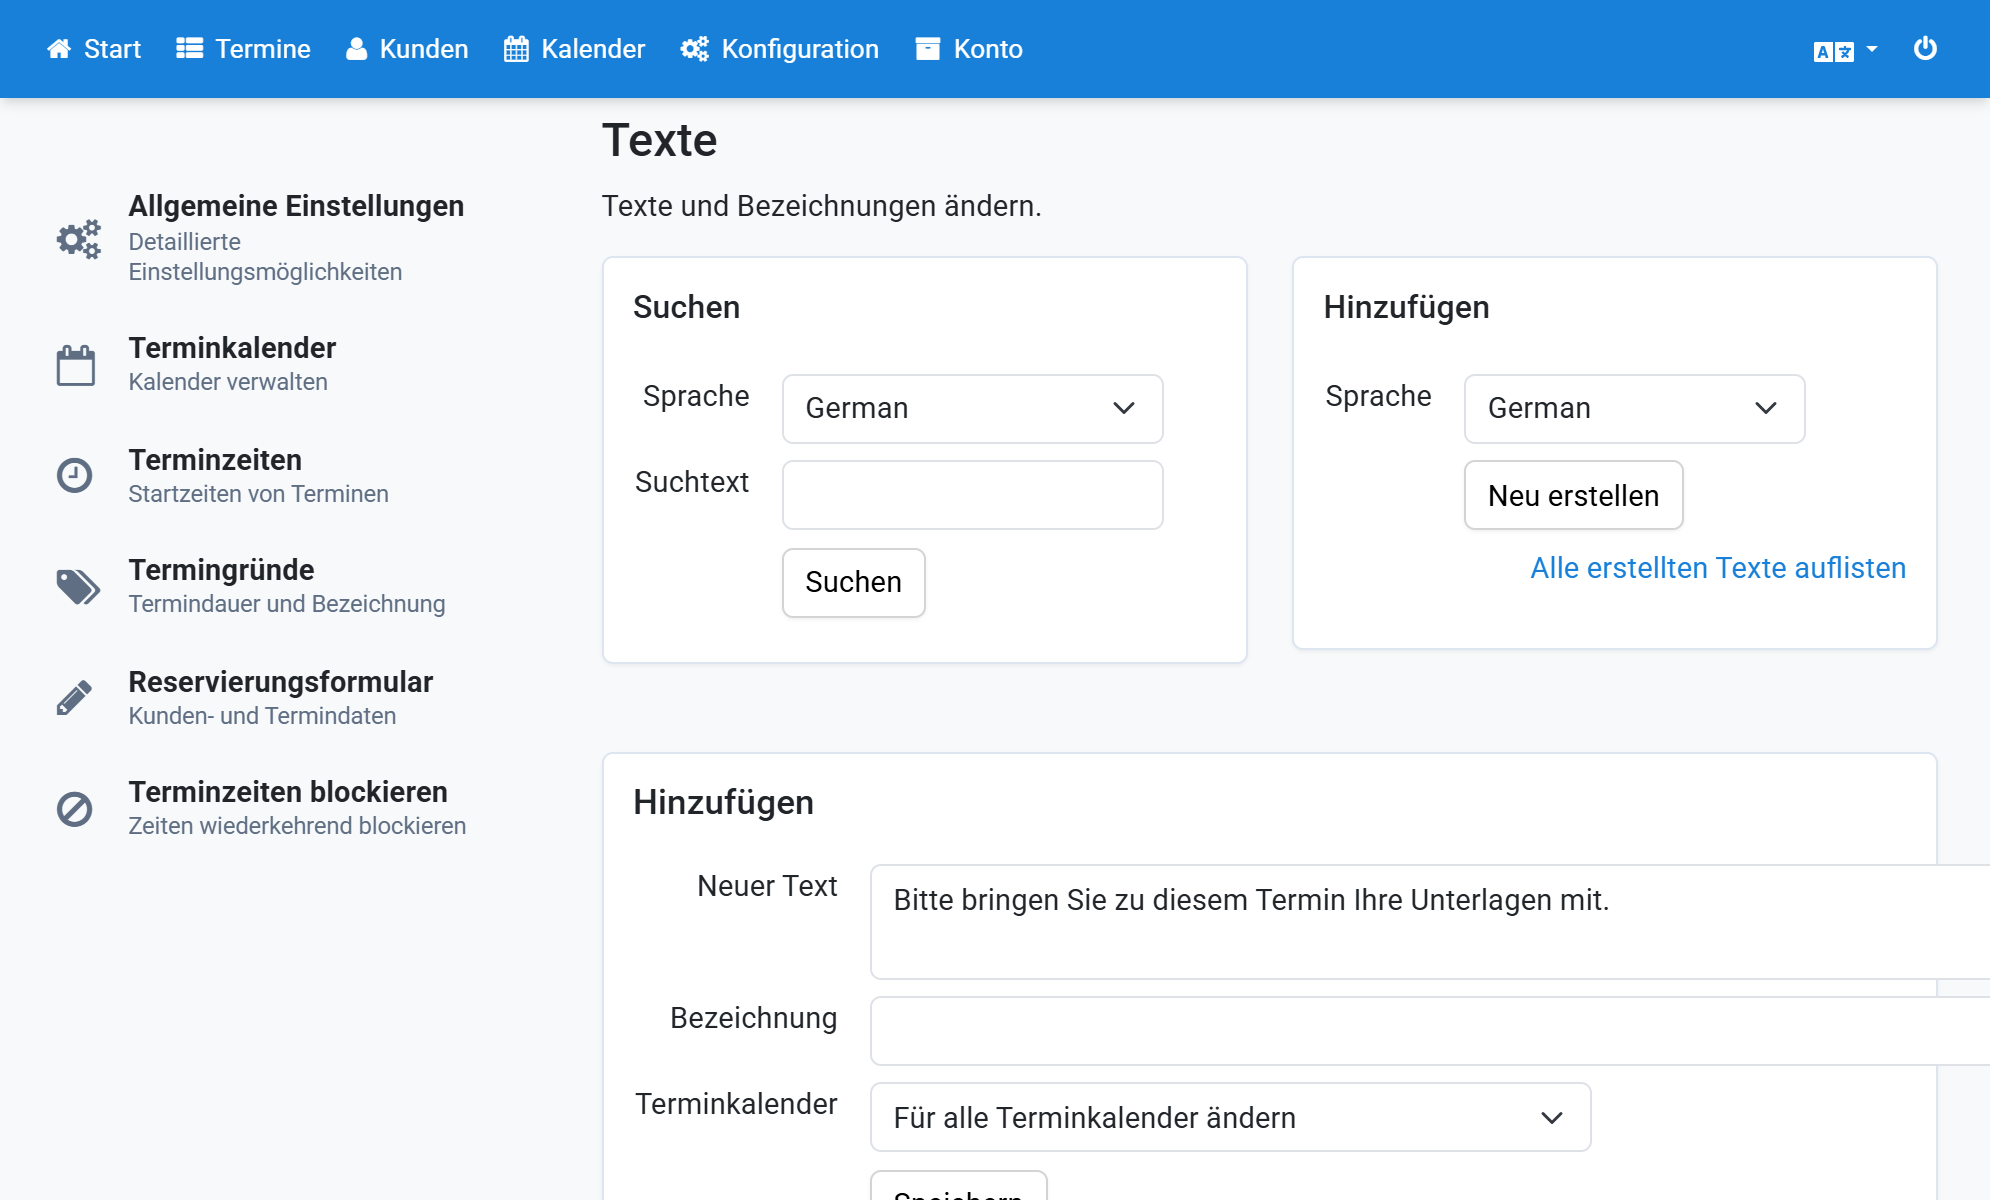
Enter the prefix email: followed by the copied reason
8
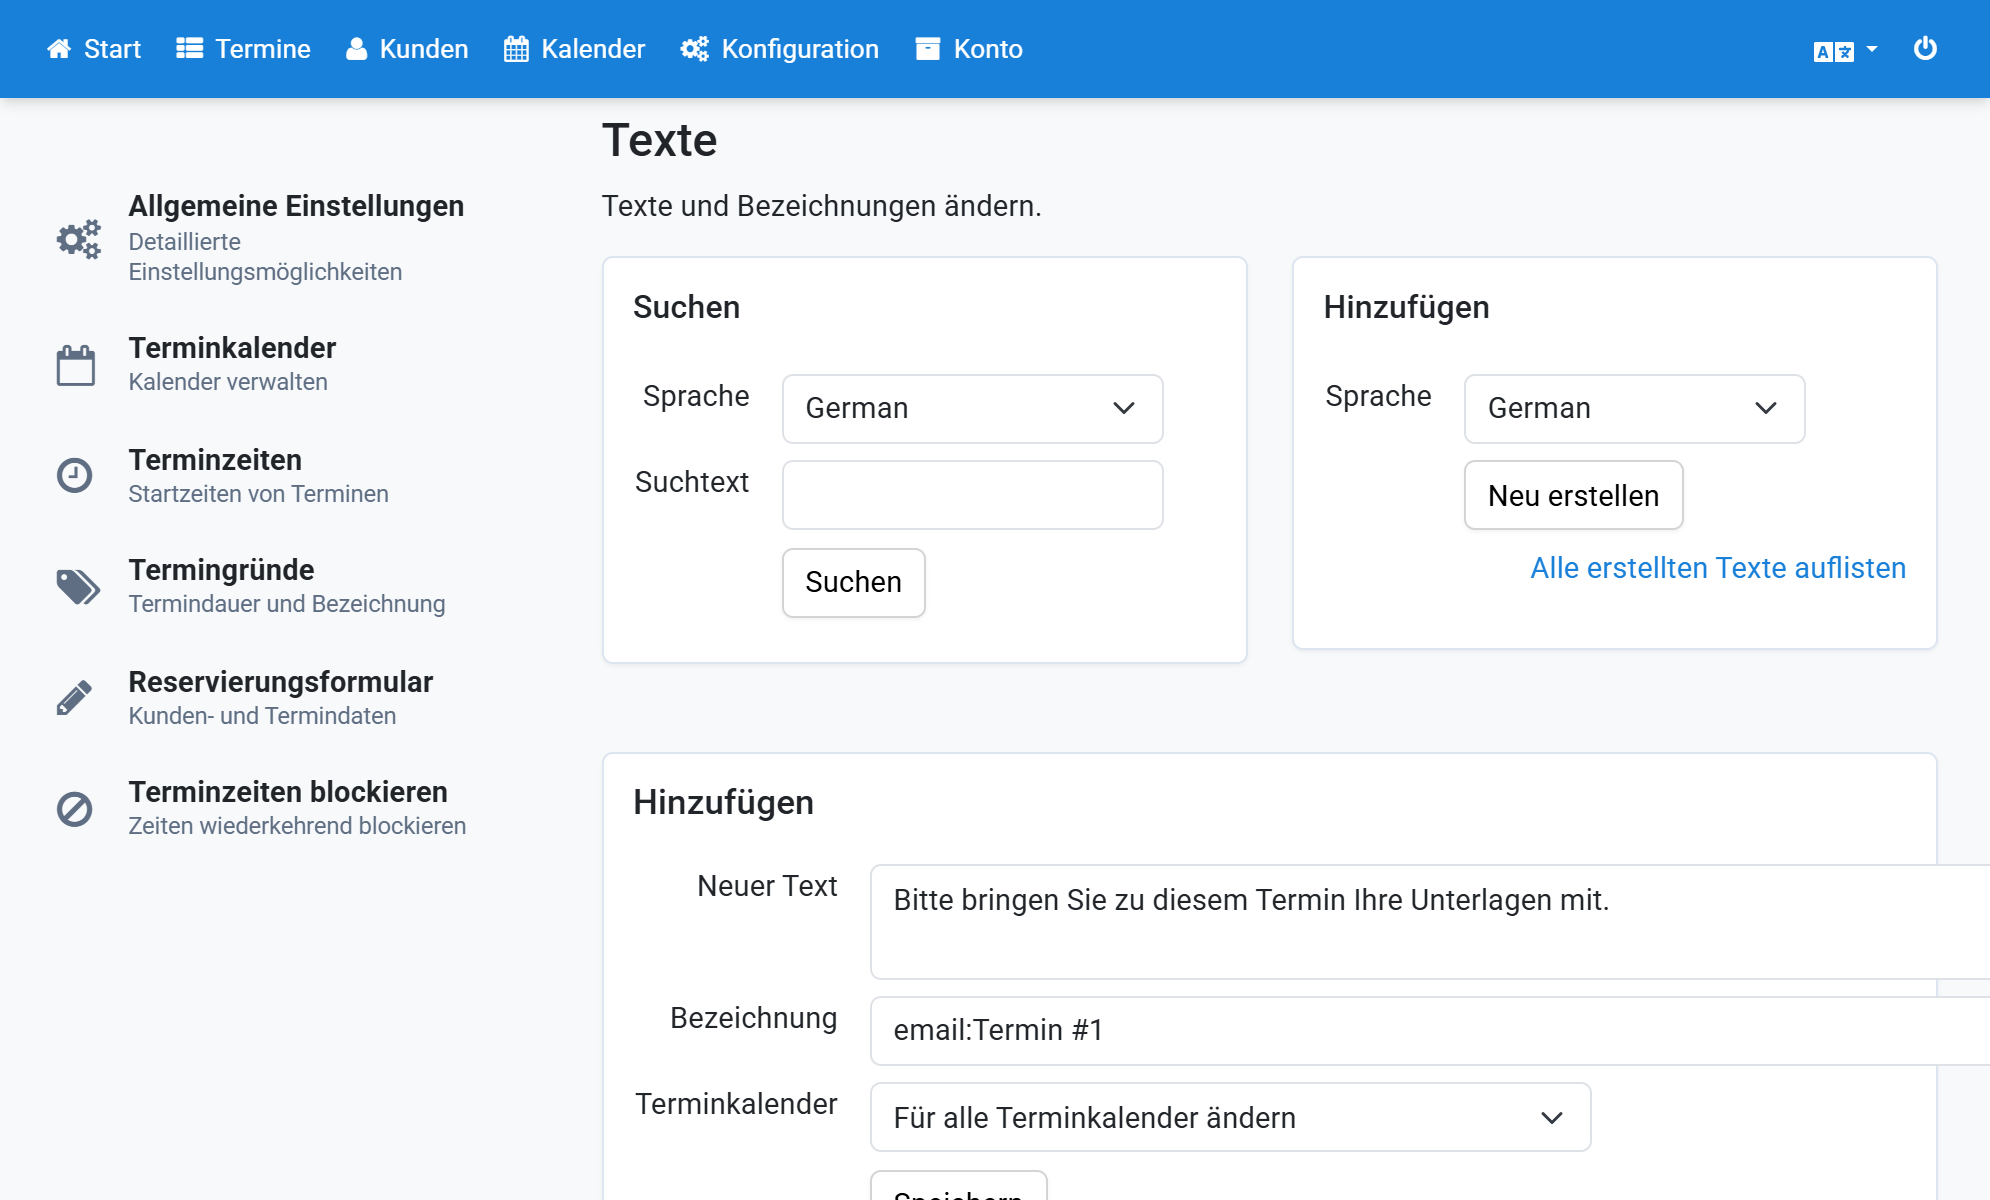
Click Save and repeat for other reasons
9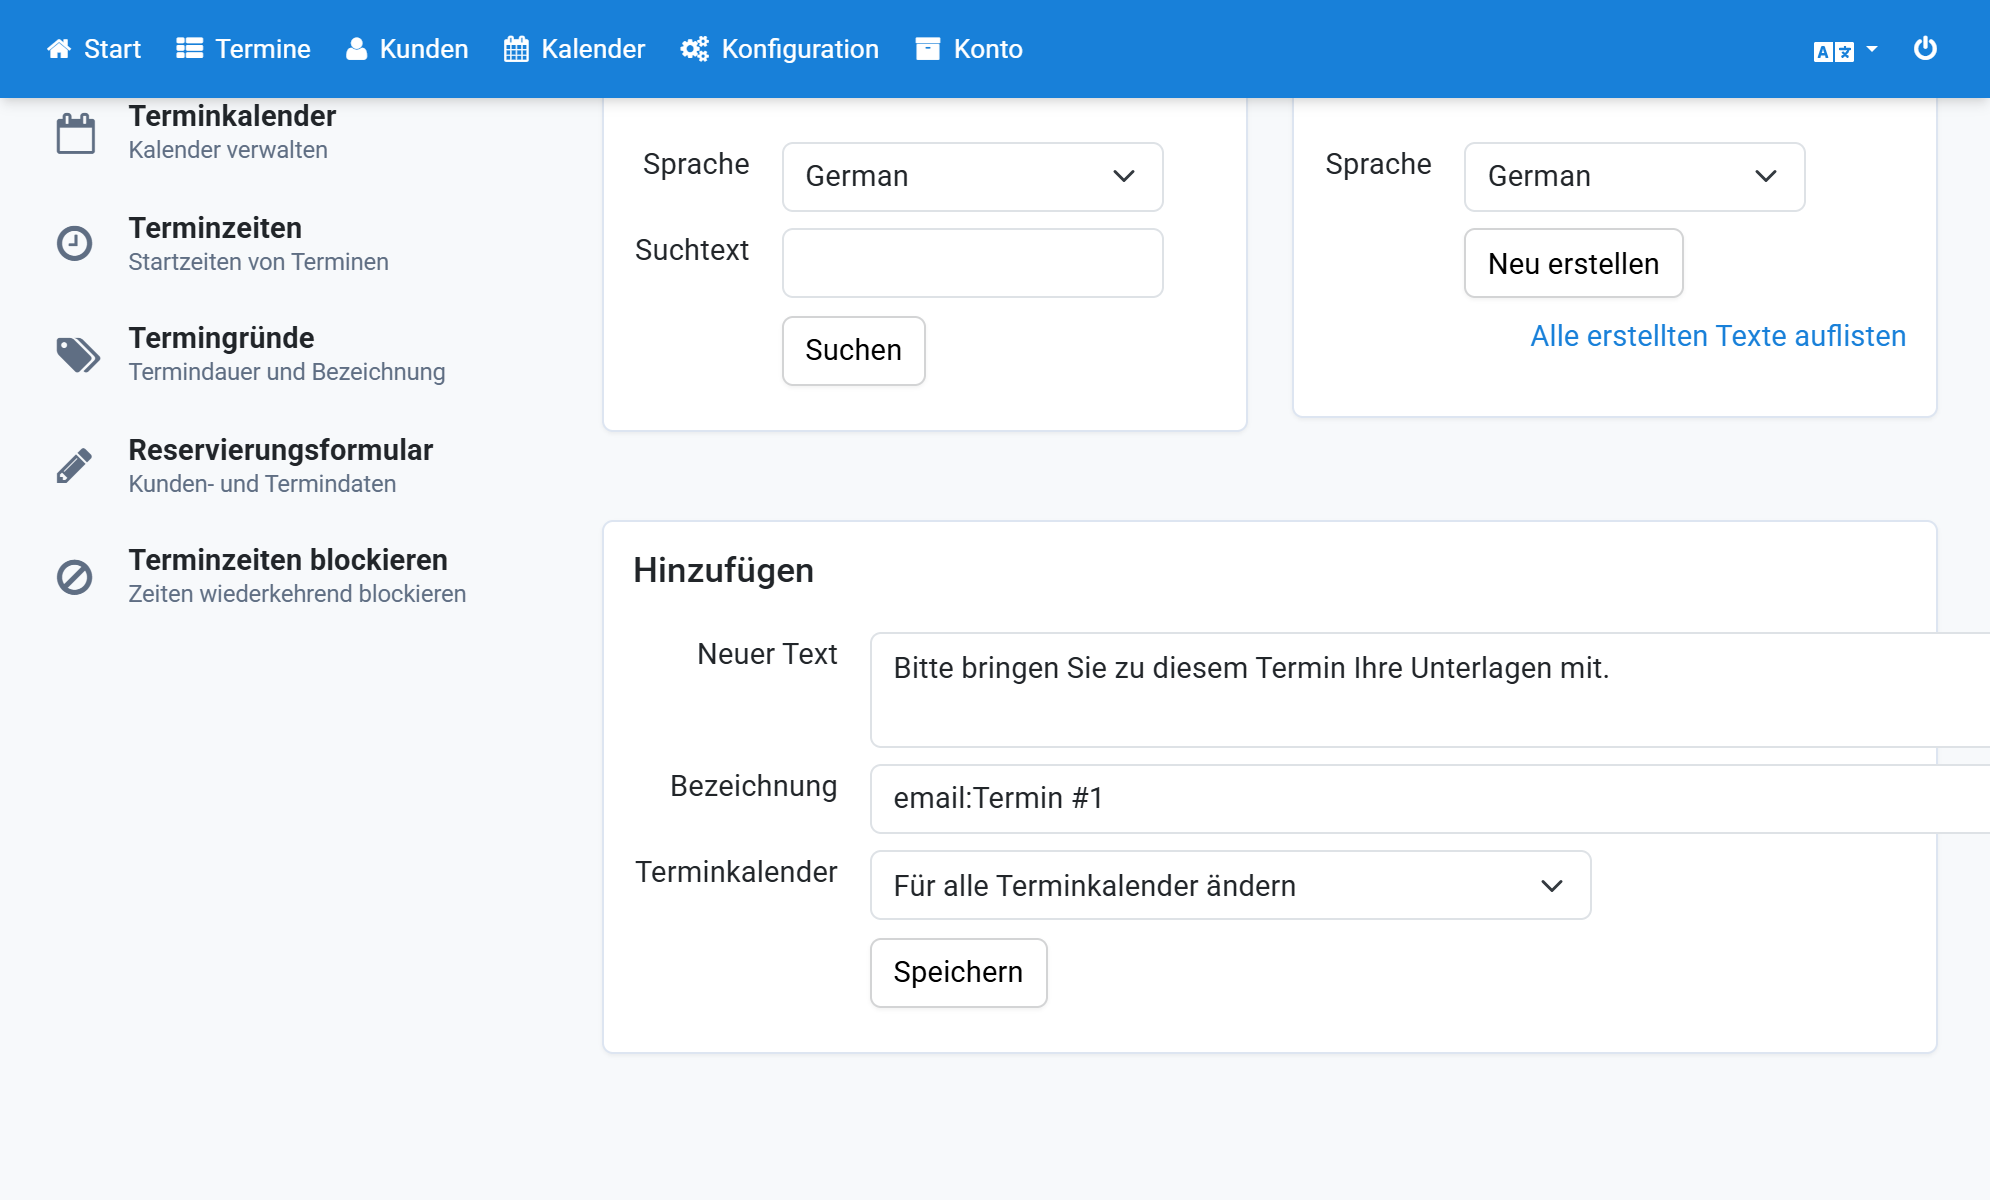
Click Configuration
10
Click Texts
11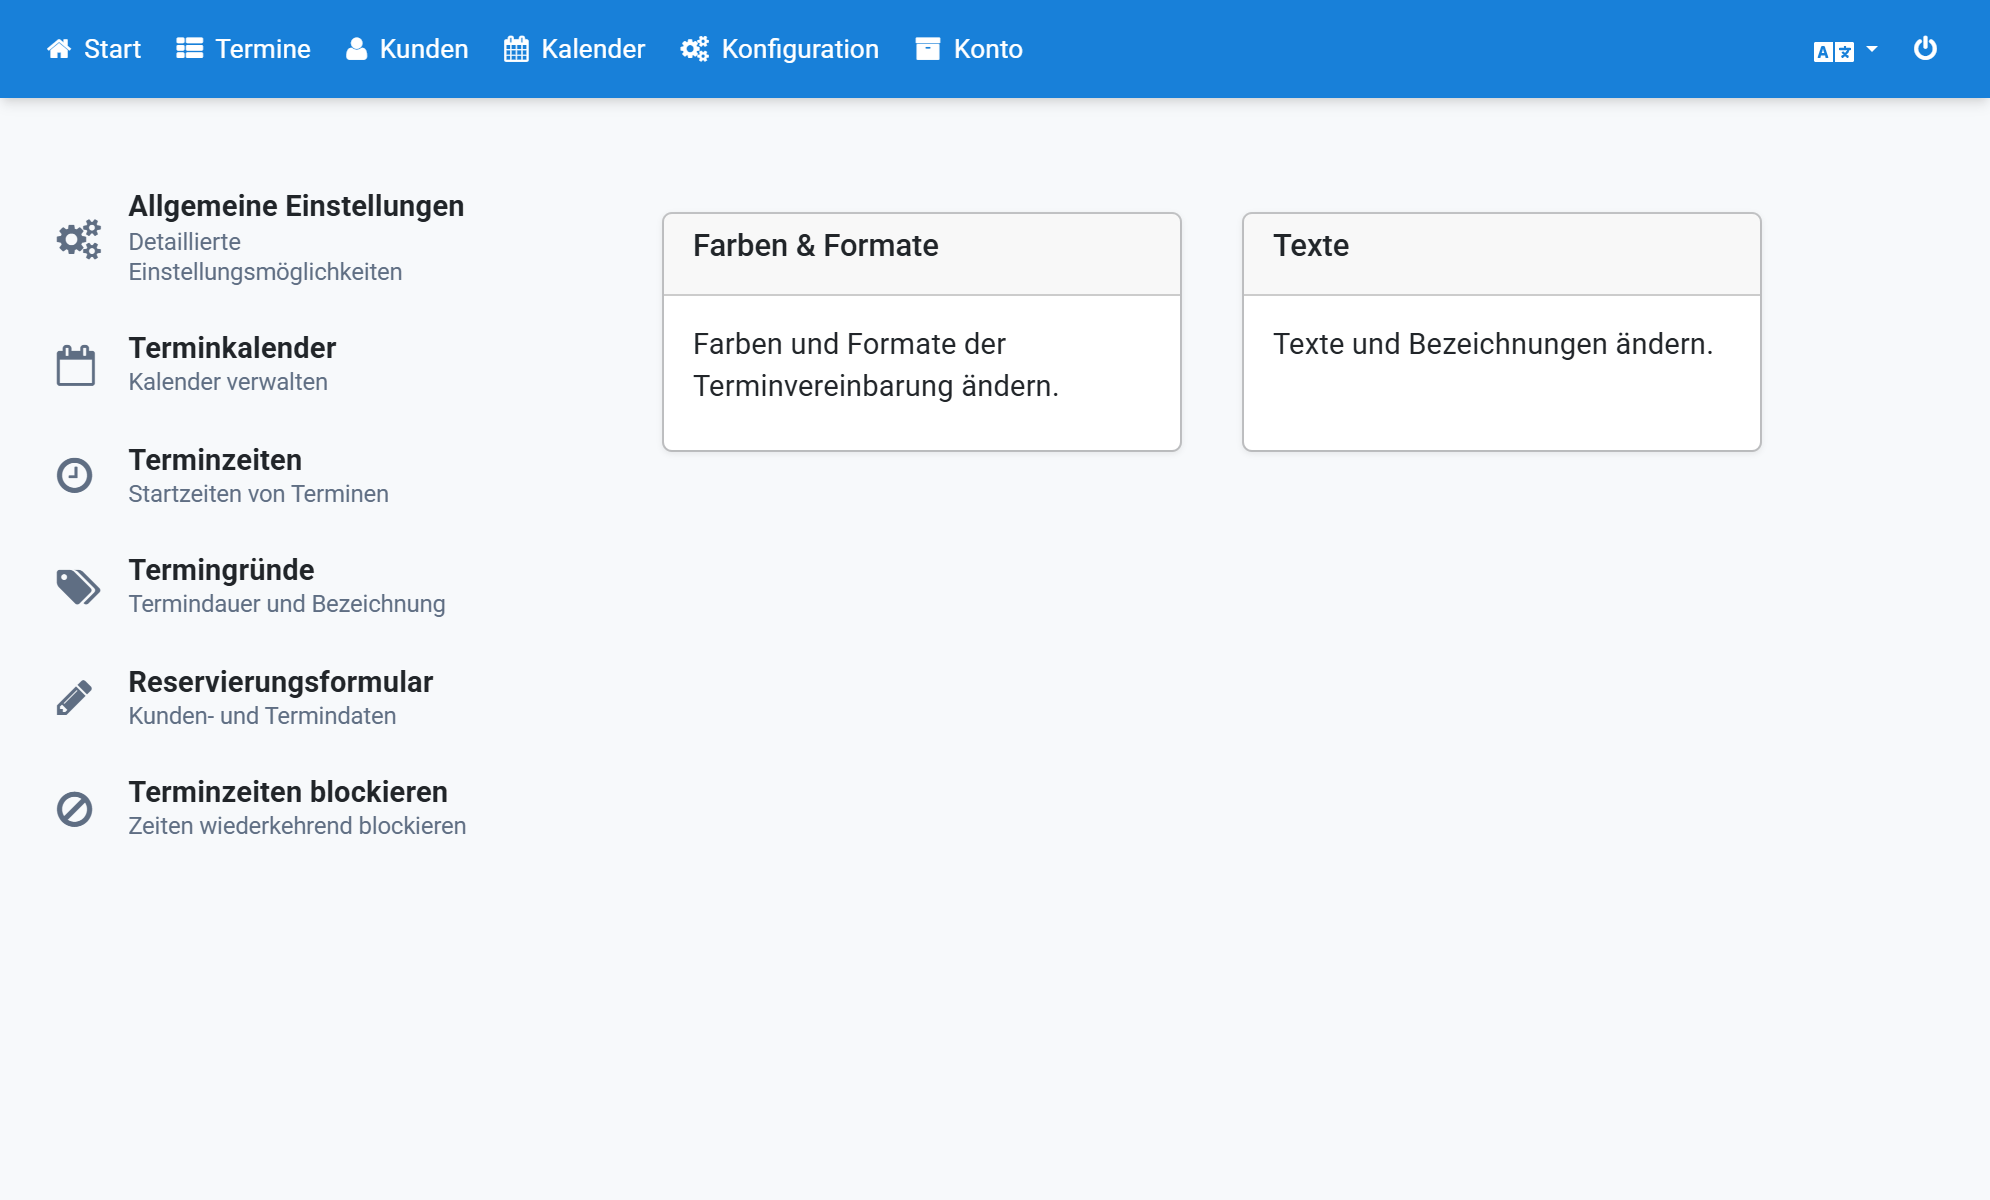
Under frequently searched texts, show Email text to the user
12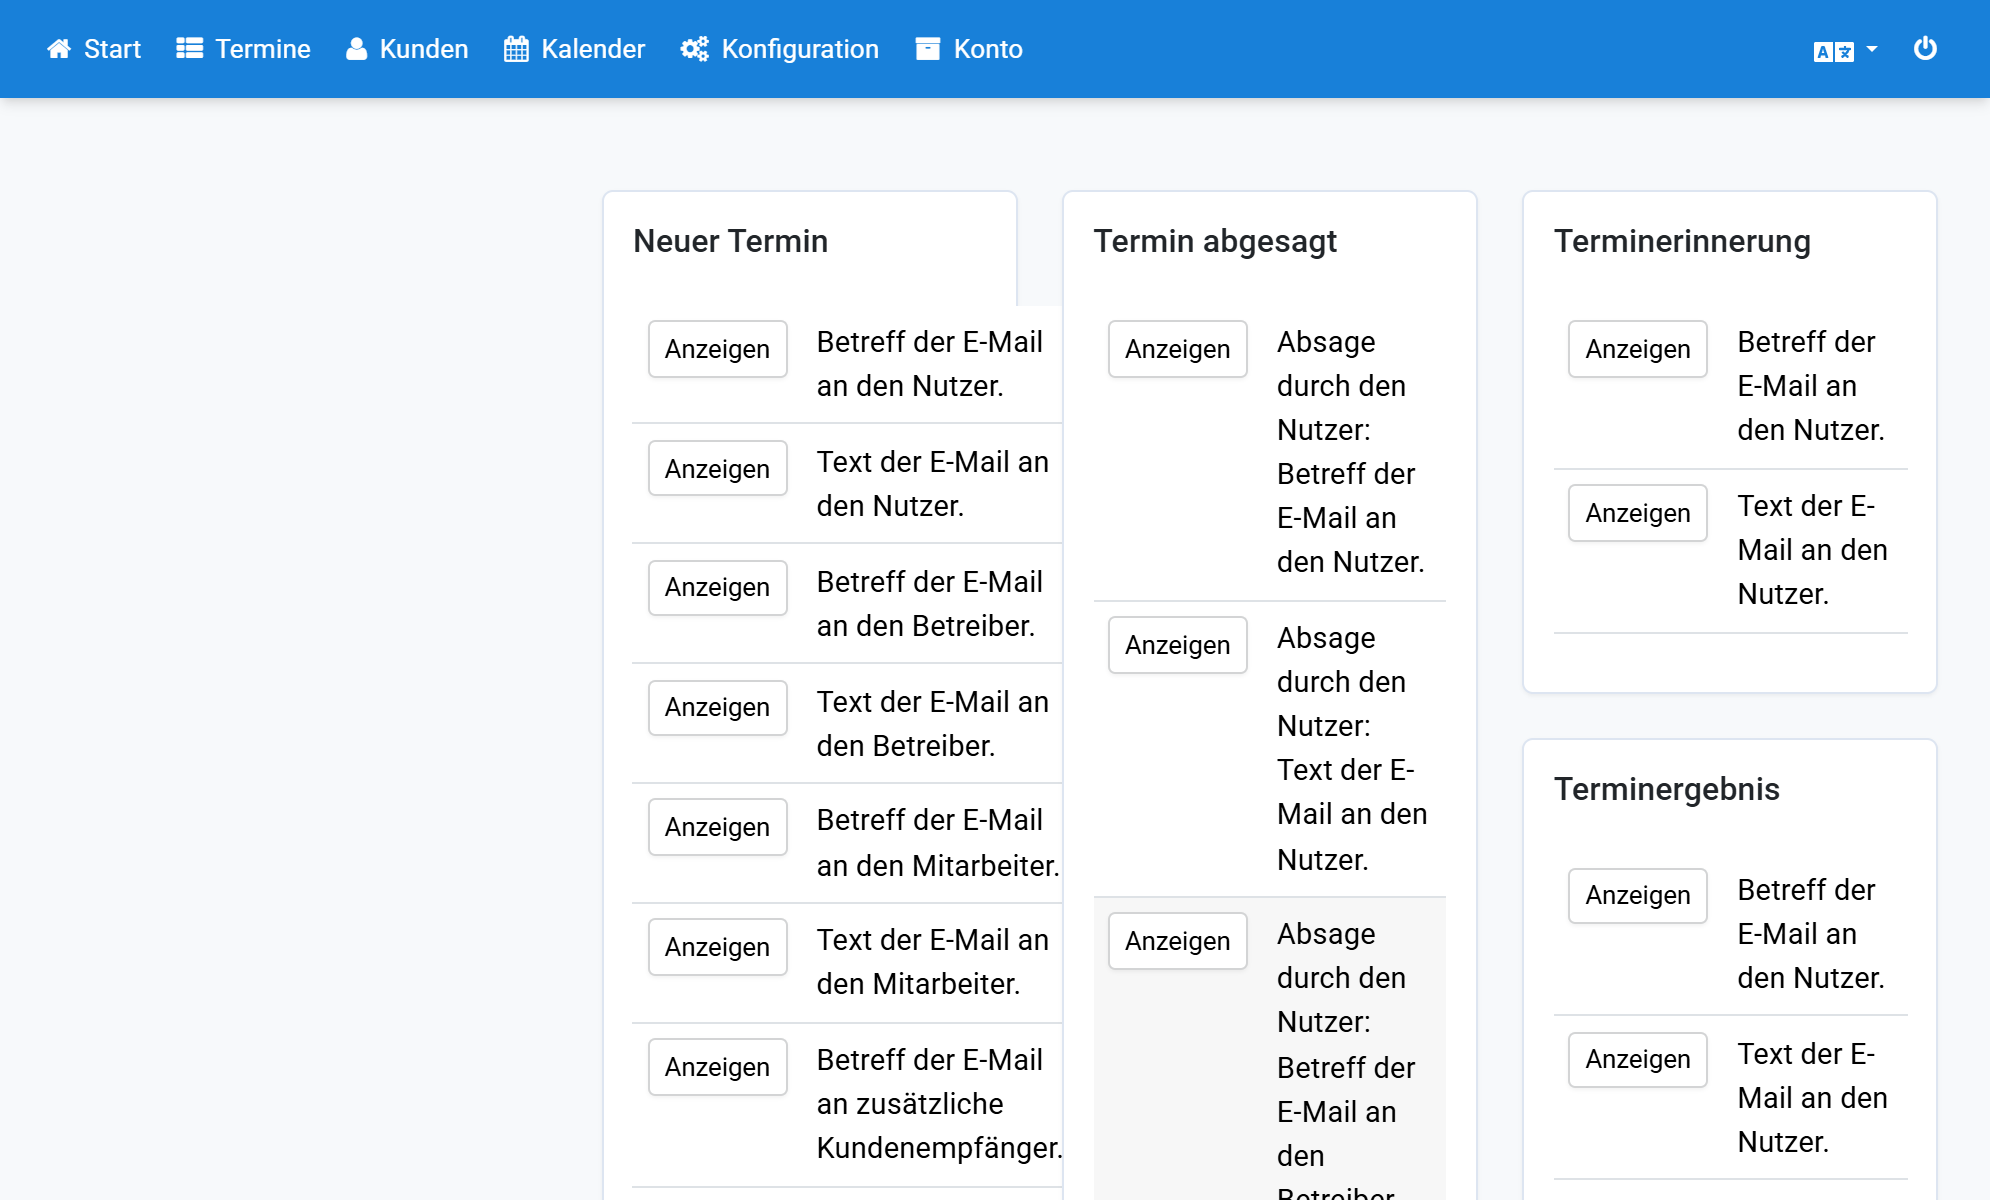
Insert {email:{reason}} into the text
13
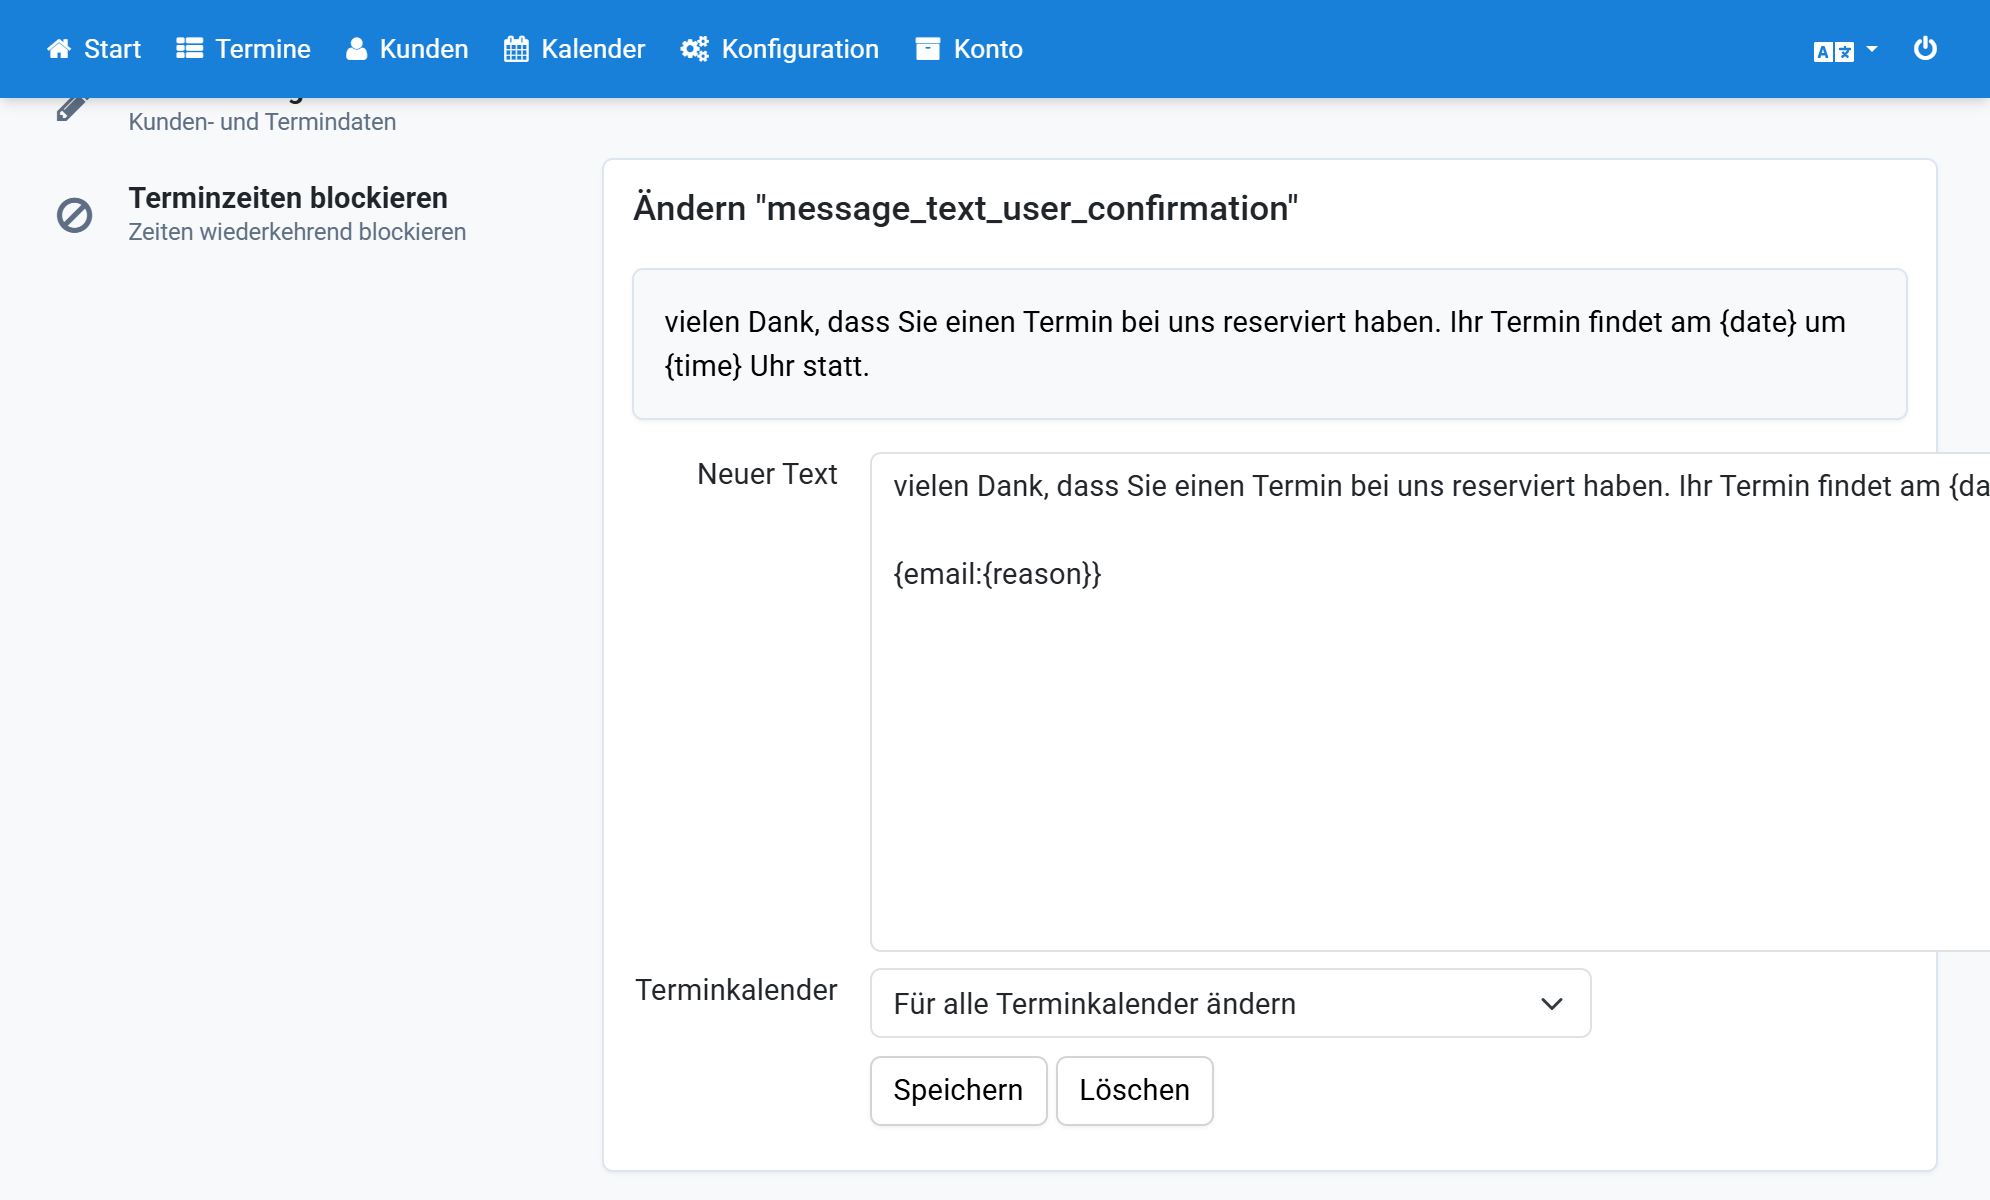
Click Save
14