Synchronize appointments with Outlook - access data by email
This guide shows you how to sync your appointments with Microsoft Outlook. You need the program Outlook CalDav Synchronizer for this.
- Download the program Outlook CalDav Synchronizer and install it on your computer..
- Open your Outlook calendar and click CalDav Synchronizer.
- Click Synchronization Profiles.
- Click the large green plus sign.
- Select Generic CalDAV/CardDAV.
- Click Ok.
- Think up a name for the profile and enter it.
- Click the button with the three dots to select a calendar.
- Select the calendar whose appointments are to be synchronized. In Outlook you can also create subcalendars and synchronize with those.
- Click Ok.
- Tick Synchronize items immediately after change.
- Open the email that contains the access data for the appointment calendar.
- Copy the URL for the Outlook calendar.
- Paste the URL into DAV Url in Outlook.
- Copy the number after User name.
- Paste the number into Username in Outlook.
- Copy the lower password.
- Paste the password into Password in Outlook.
- Test in Outlook whether the settings work.
- Click Show advanced settings.
- Tick Use WebDAV collection sync.
- Click Ok to save the settings.
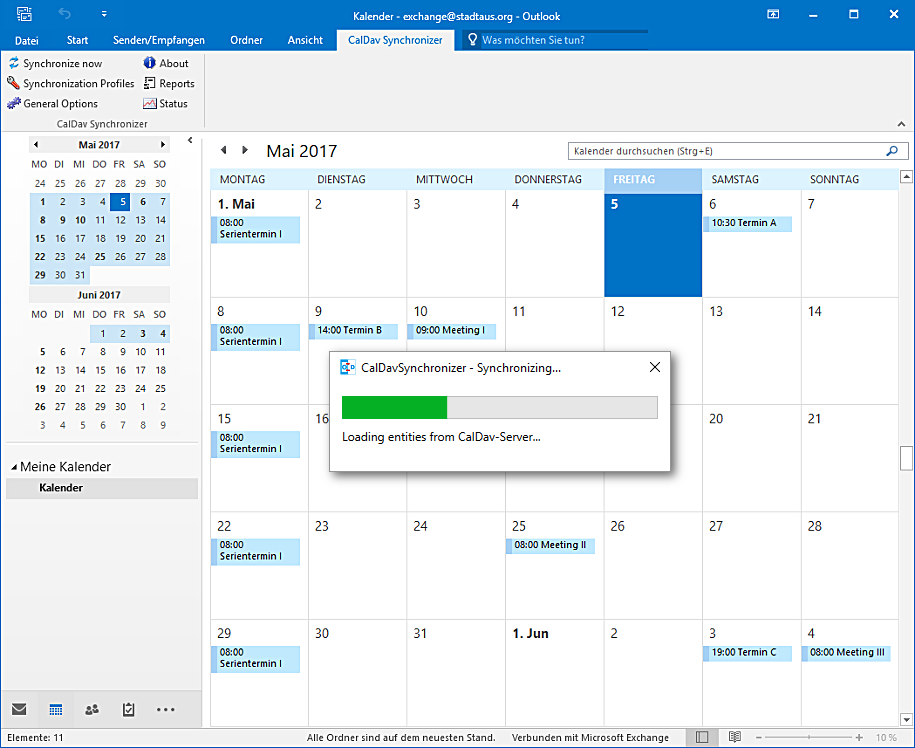
- In Outlook you can start the synchronization manually by clicking Synchronize now.
- During the first synchronization a status is displayed.
Screenshots
Download the program Outlook CalDav Synchronizer and install it on your computer.
1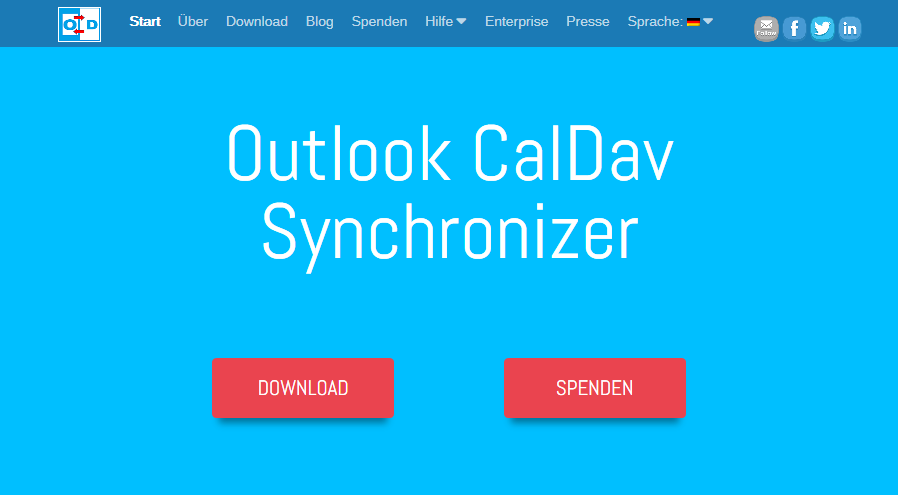
Open your Outlook calendar and click CalDav Synchronizer
2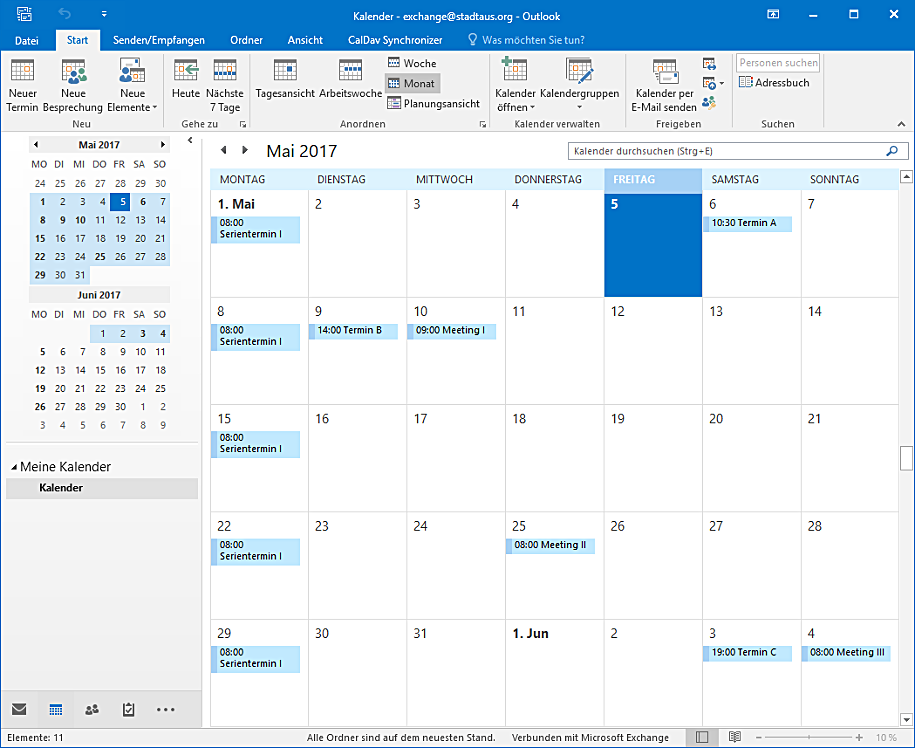
Click Synchronization Profiles
3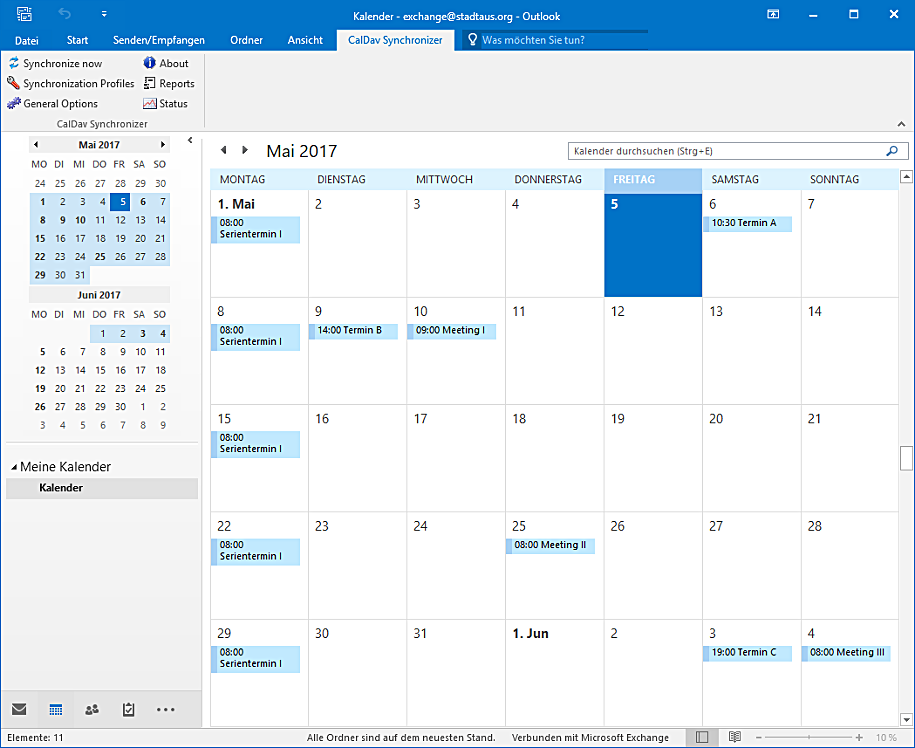
Click the large green plus sign
4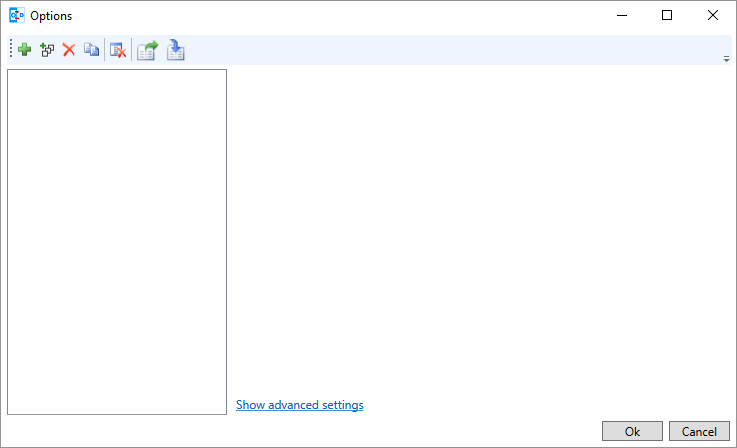
Select Generic CalDAV/CardDAV
5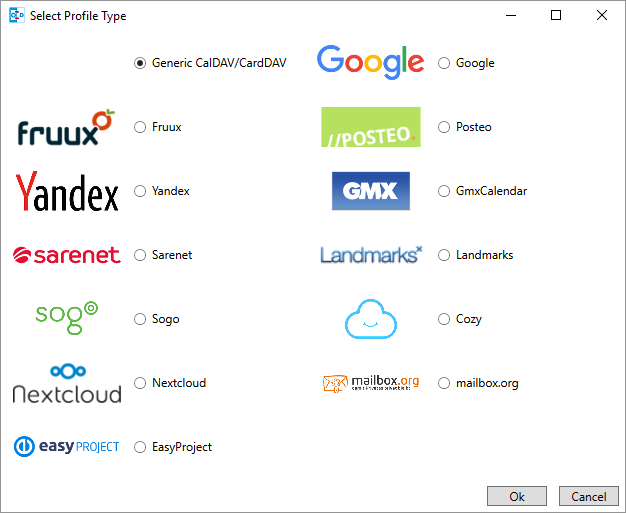
Click Ok
6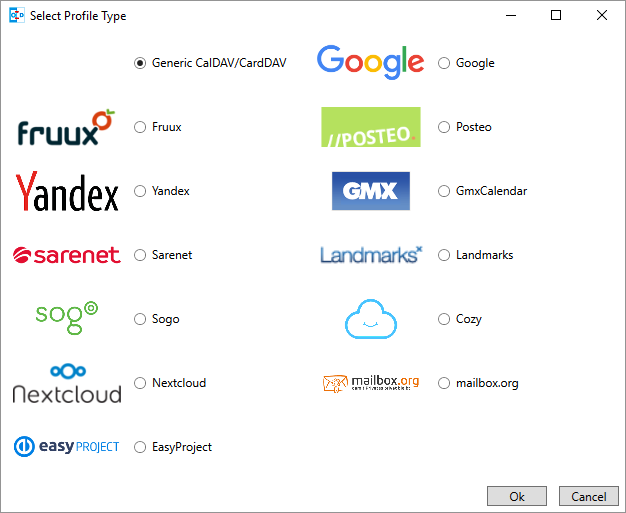
Think up a name for the profile and enter it
7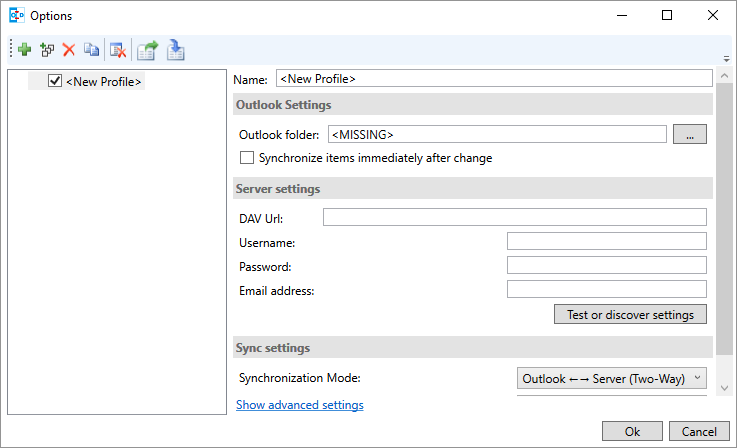
Click the button with the three dots to select a calendar
8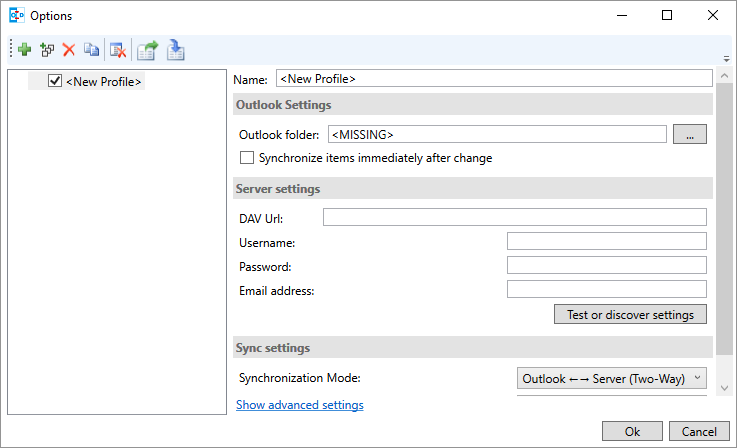
Select the calendar whose appointments are to be synchronized. In Outlook you can also create subcalendars and synchronize with those
9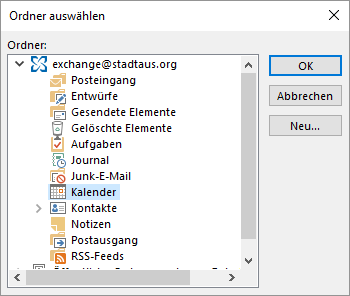
Click Ok
10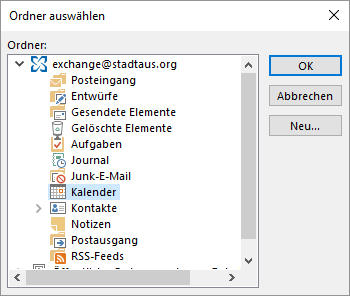
Tick Synchronize items immediately after change
11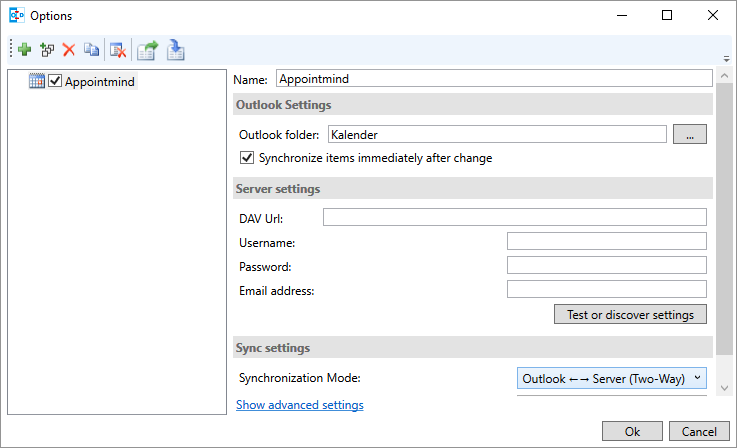
Open the email that contains the access data for the appointment calendar
12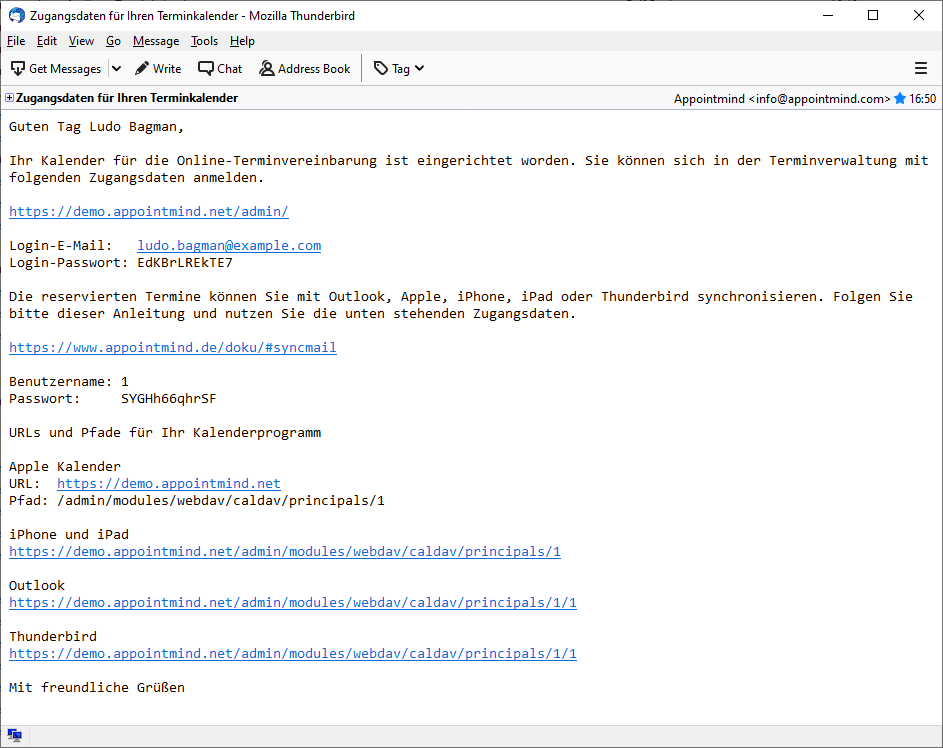
Copy the URL for the Outlook calendar
13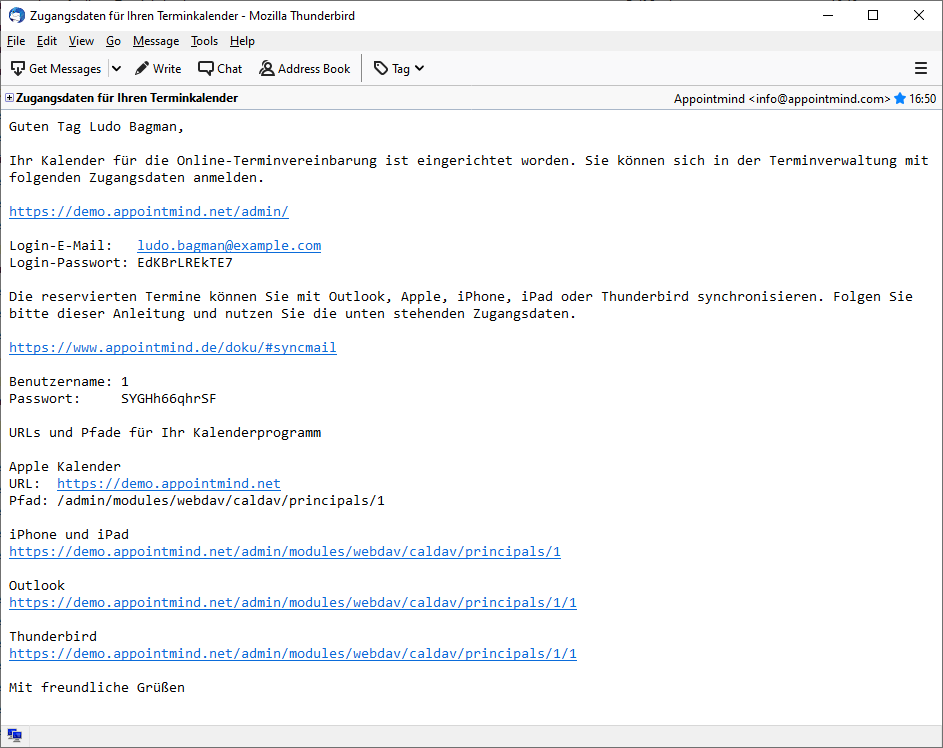
Paste the URL into DAV Url in Outlook
14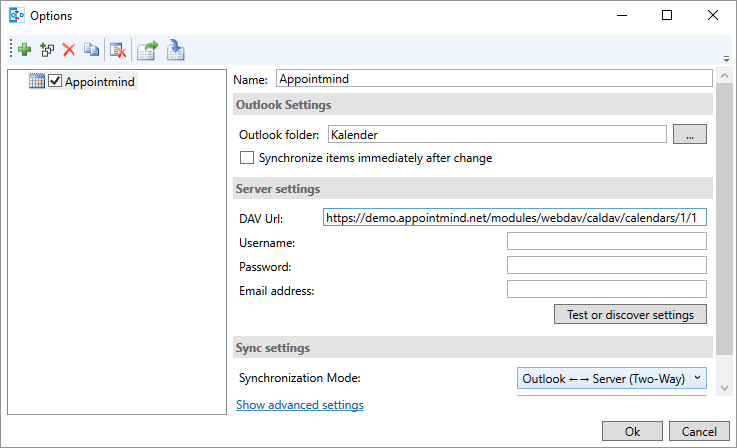
Copy the number after User name
15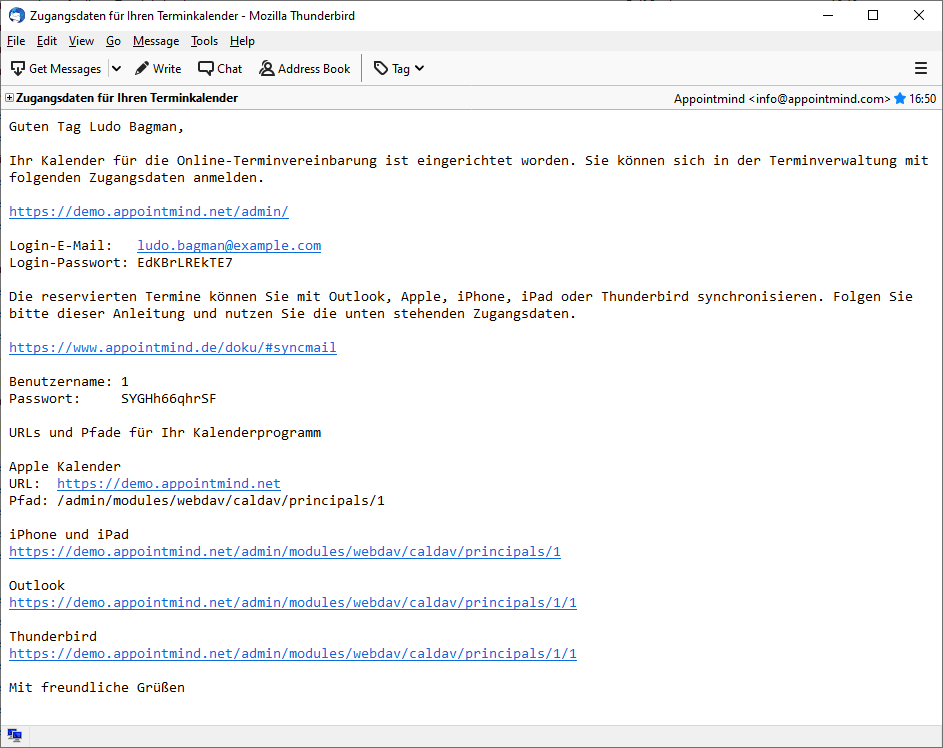
Paste the number into Username in Outlook
16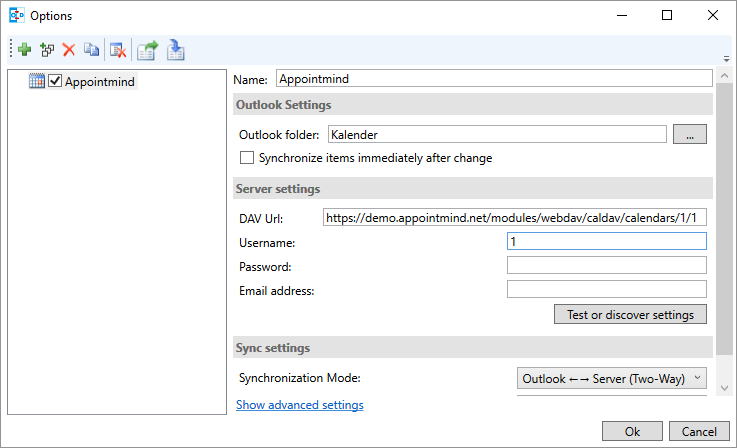
Copy the lower password
17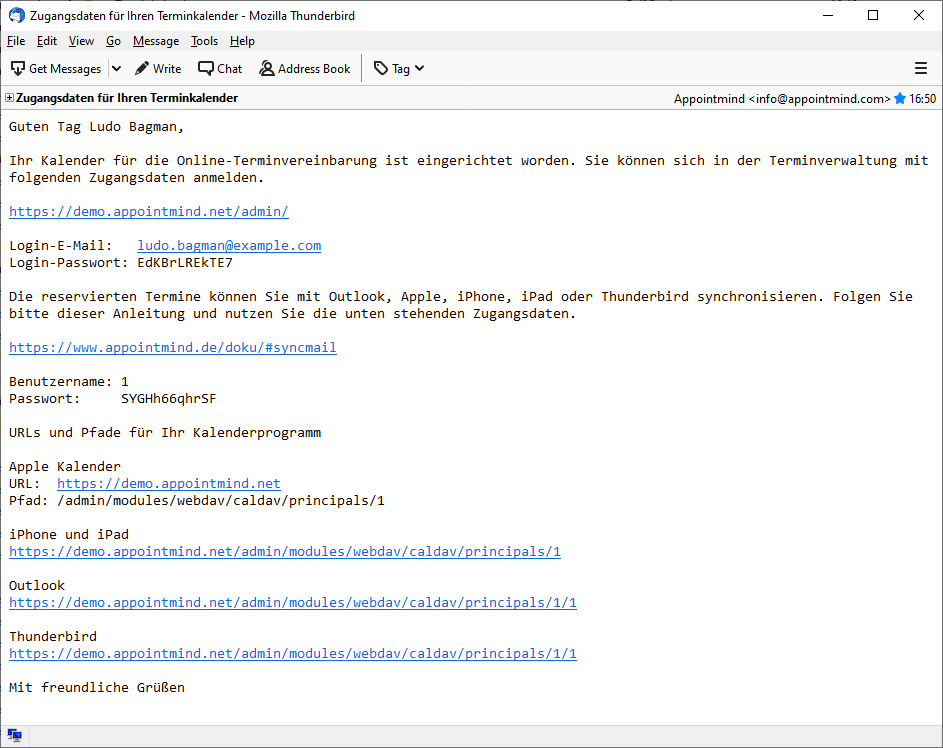
Paste the password into Password in Outlook
18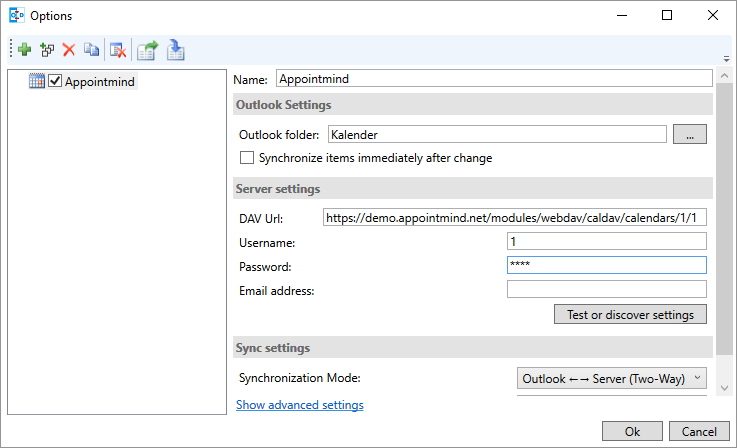
Test in Outlook whether the settings work
19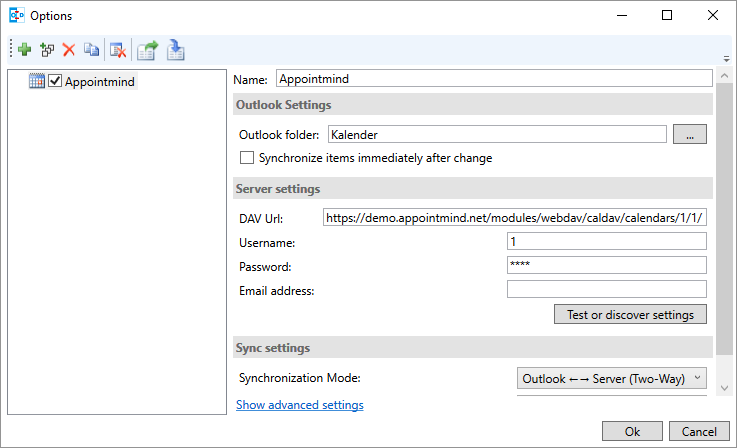
Click Show advanced settings
20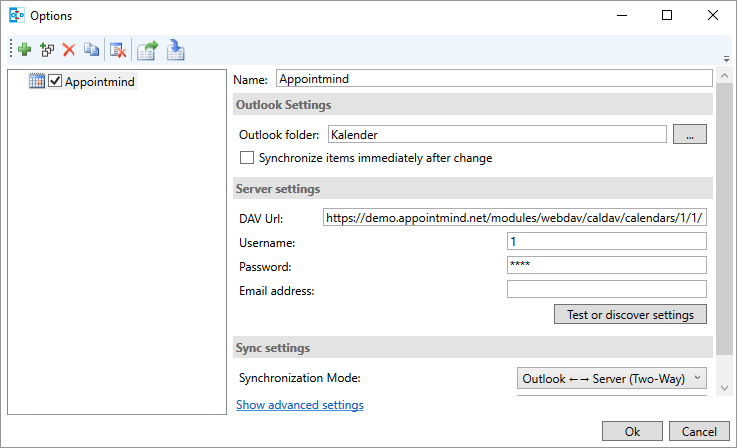
Tick Use WebDAV collection sync
21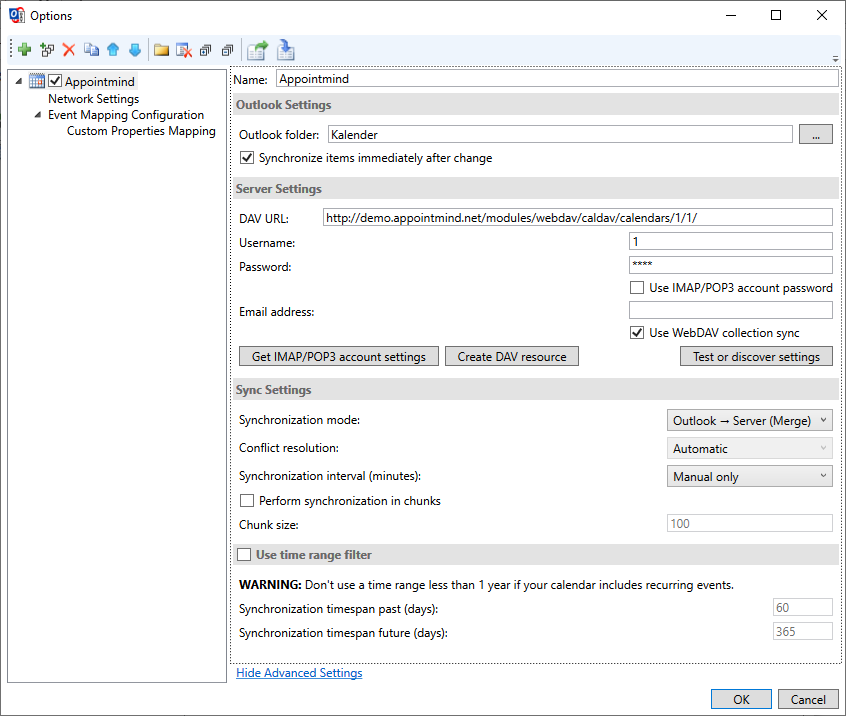
Click Ok to save the settings
22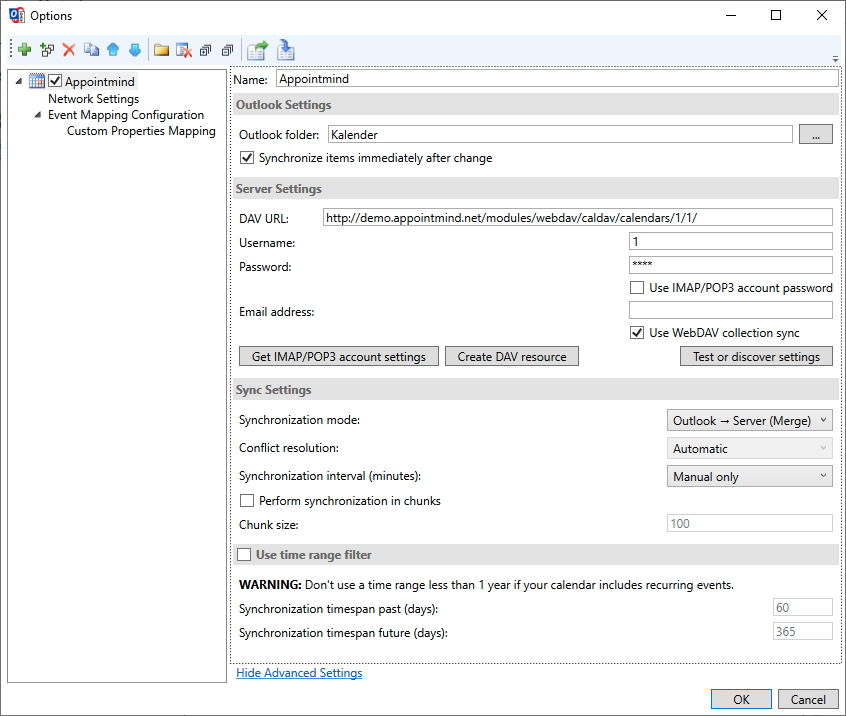
In Outlook you can start the synchronization manually by clicking Synchronize now
23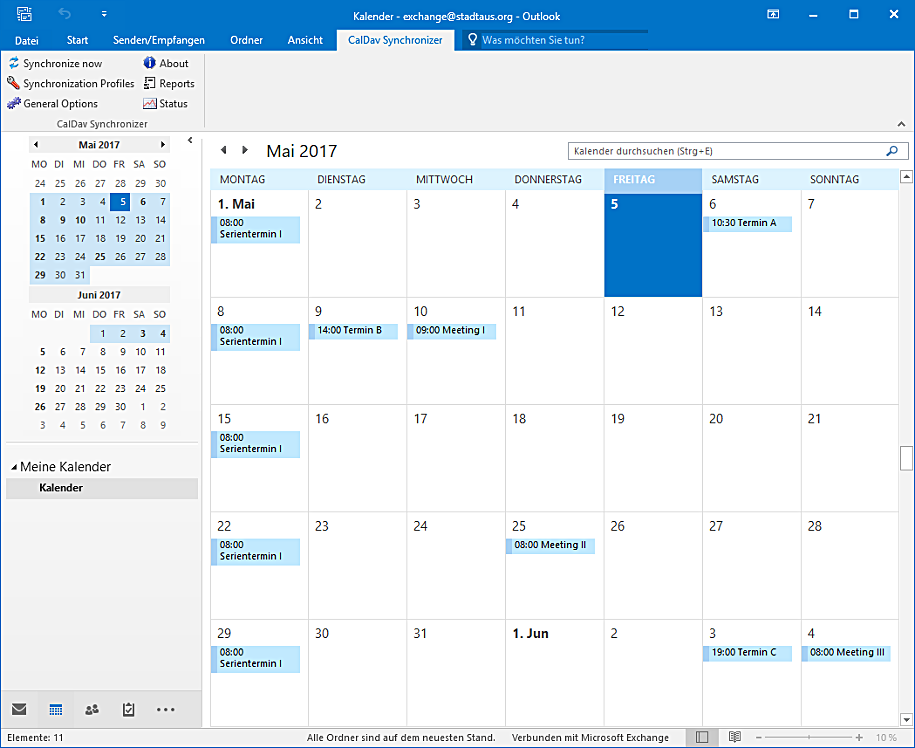
During the first synchronization a status is displayed
24