Synchronize appointments with Outlook
This guide shows you how to sync your appointments with Microsoft Outlook. You need the program Outlook CalDav Synchronizer for this.
- Download the program Outlook CalDav Synchronizer and install it on your computer..
- Open your Outlook calendar and click CalDav Synchronizer.
- Click Synchronization Profiles.
- Click the large green plus sign.
- Select Generic CalDAV/CardDAV.
- Click Ok.
- Think up a name for the profile and enter it.
- Click the button with the three dots to select a calendar.
- Select the calendar whose appointments are to be synchronized. In Outlook you can also create subcalendars and synchronize with those.
- Click Ok.
- Tick Synchronize items immediately after change.
- Log in to the admin area of your online appointment scheduler.
- Click Configuration in the navigation.
- Click General settings in the subnavigation.
- Click Synchronization in the navigation on the left.
- Select Outlook CalDav Synchronizer.
- Activate the appointment sync and click Save changes.
- Select the calendar that Outlook is to synchronize with.
- Scroll all the way down to URLs for various apps and programs.
- Copy the URL for the Outlook calendar.
- Paste the URL into DAV Url in Outlook.
- At Appointmind, scroll to User name and password for the sync.
- Copy the number in bold. That is your user name.
- Paste the number into Username in Outlook.
- Think up a password and enter it into Password in Outlook.
- Enter exactly the same password in the password field at Appointmind and click Save changes.
- Test in Outlook whether the settings work.
- Click Show advanced settings.
- Tick Use WebDAV collection sync.
- Click Ok to save the settings.
- In Outlook you can start the synchronization manually by clicking Synchronize now.
- During the first synchronization a status is displayed.
Screenshots
Download the program Outlook CalDav Synchronizer and install it on your computer.
1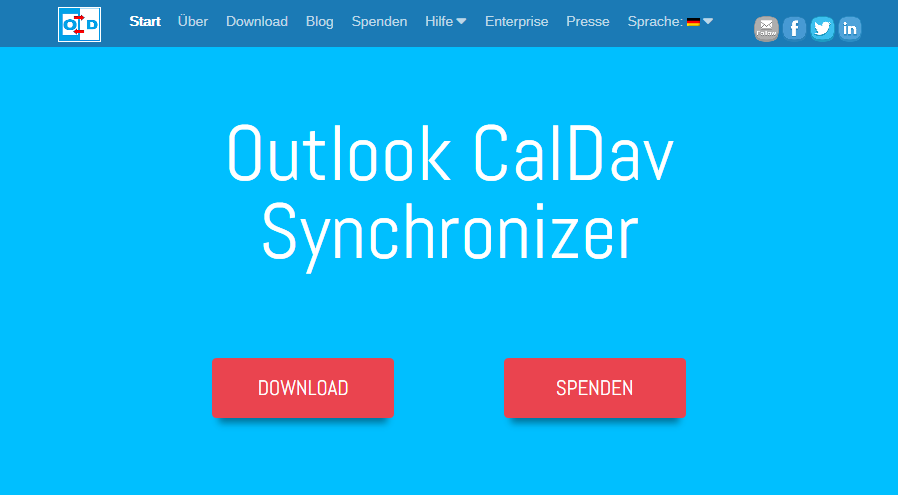
Open your Outlook calendar and click CalDav Synchronizer
2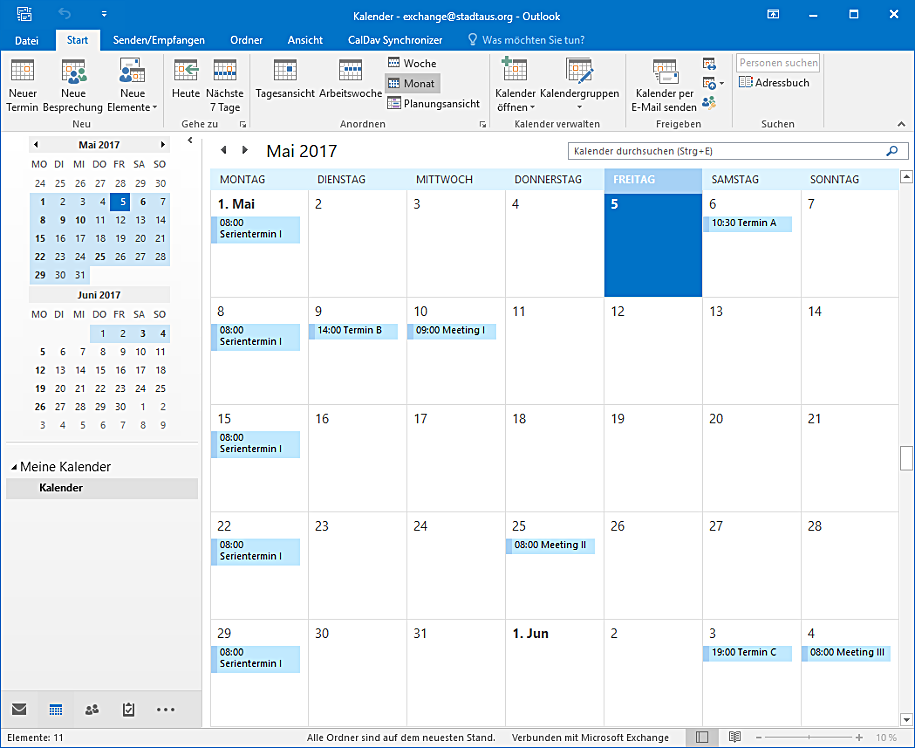
Click Synchronization Profiles
3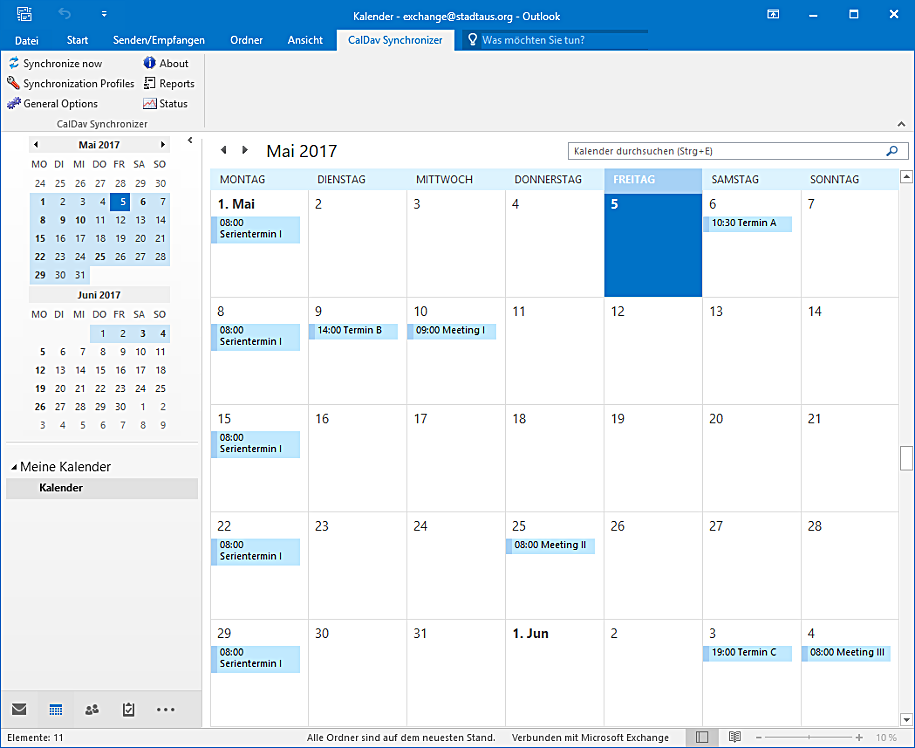
Click the large green plus sign
4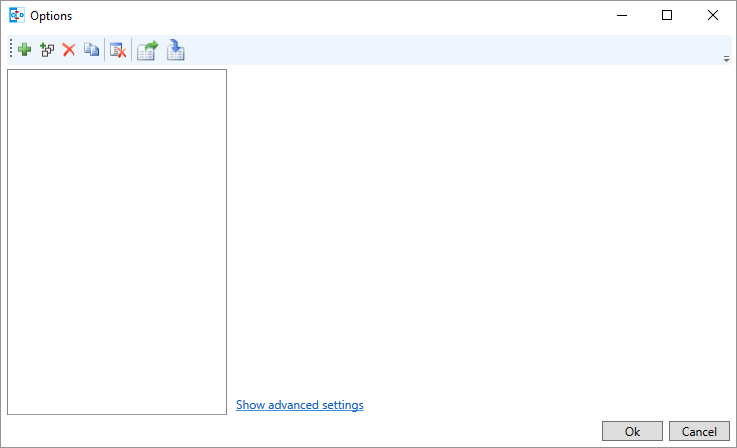
Select Generic CalDAV/CardDAV
5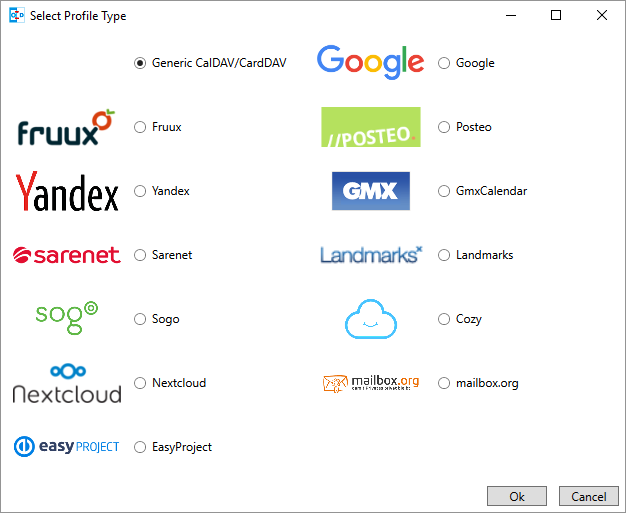
Click Ok
6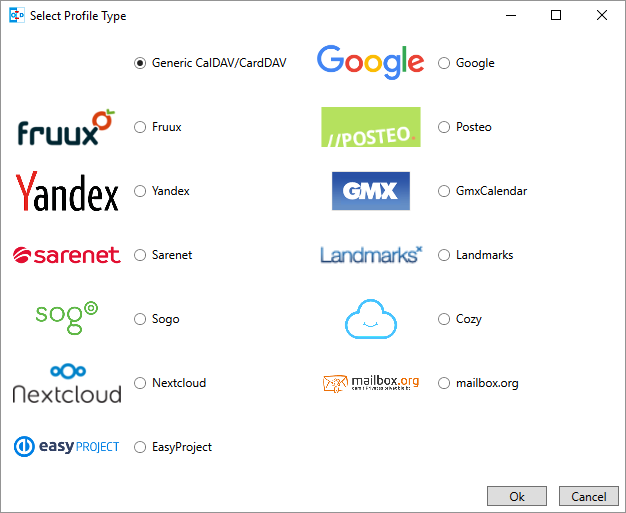
Think up a name for the profile and enter it
7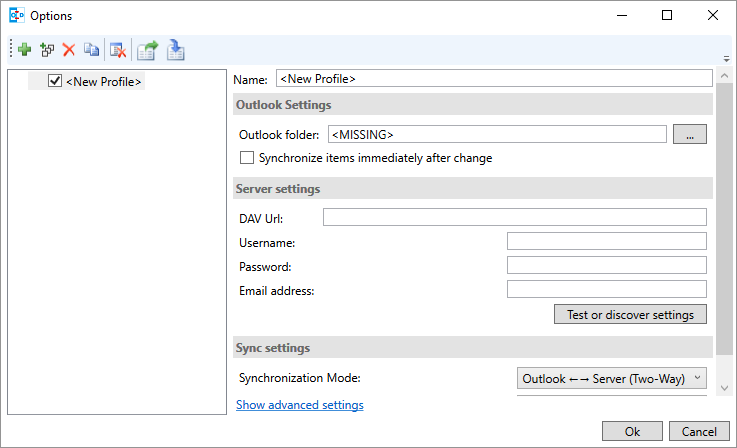
Click the button with the three dots to select a calendar
8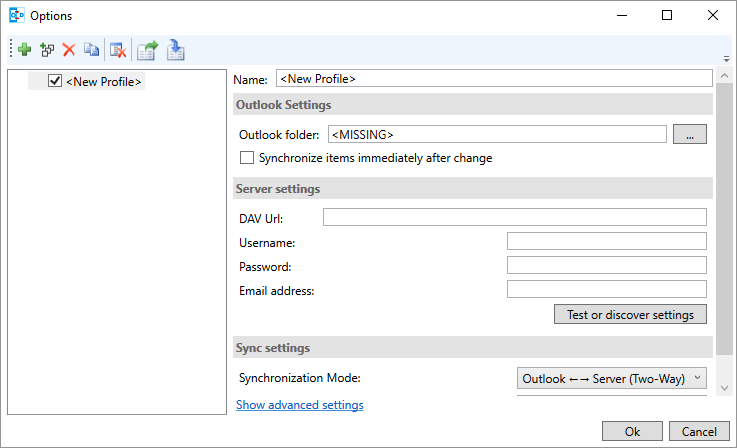
Select the calendar whose appointments are to be synchronized. In Outlook you can also create subcalendars and synchronize with those
9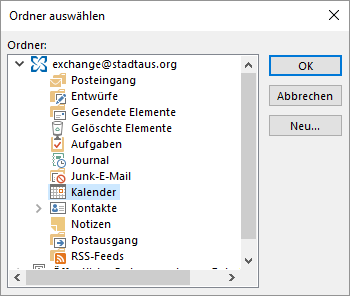
Click Ok
10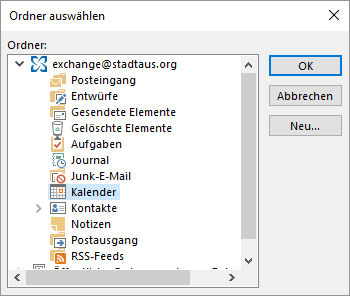
Tick Synchronize items immediately after change
11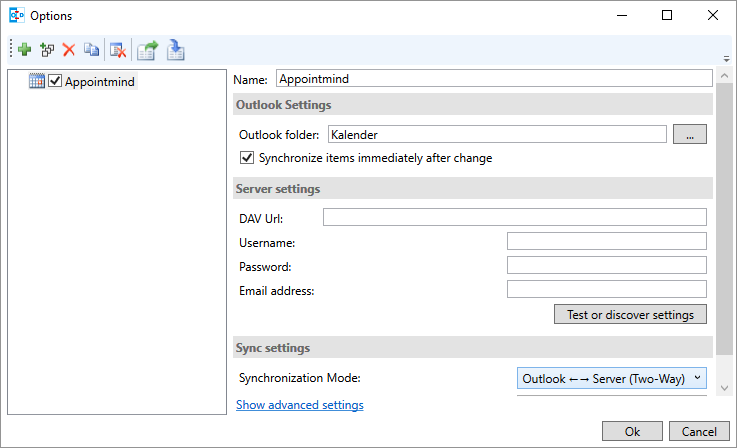
Log in to the admin area of your online appointment scheduler
12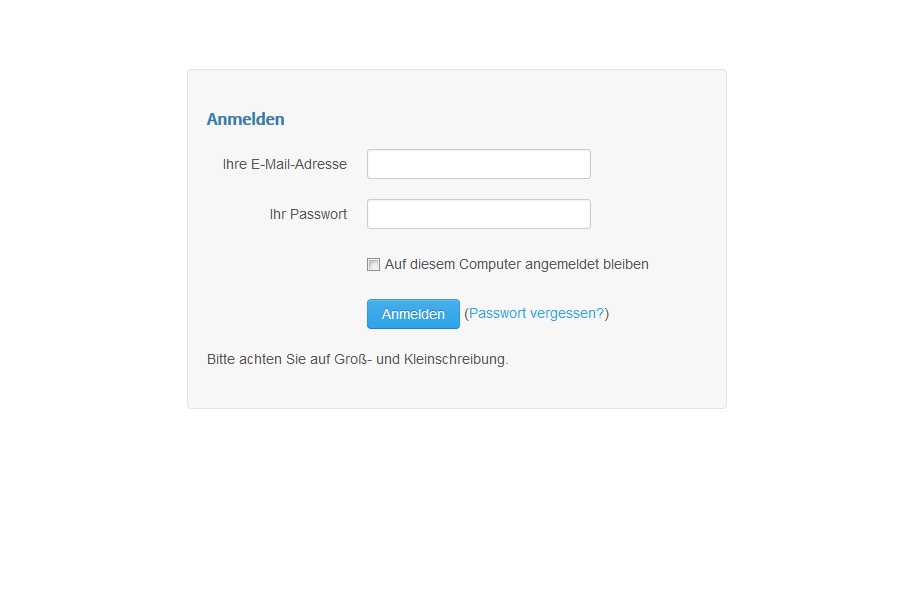
Click Configuration in the navigation
13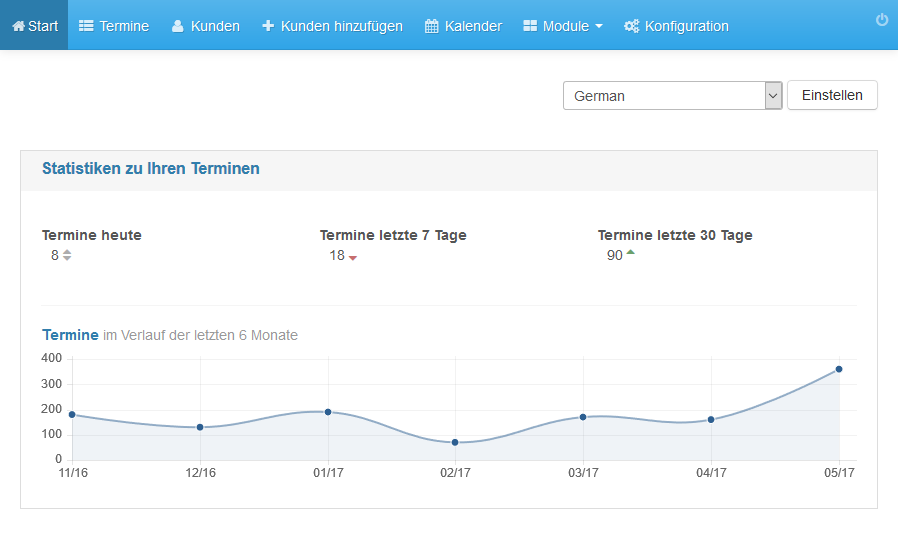
Click General settings in the subnavigation
14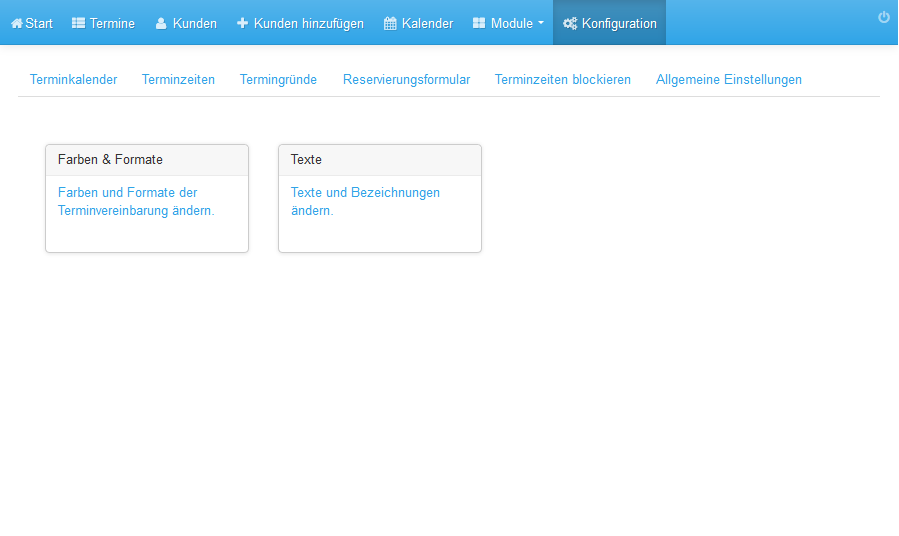
Click Synchronization in the navigation on the left
15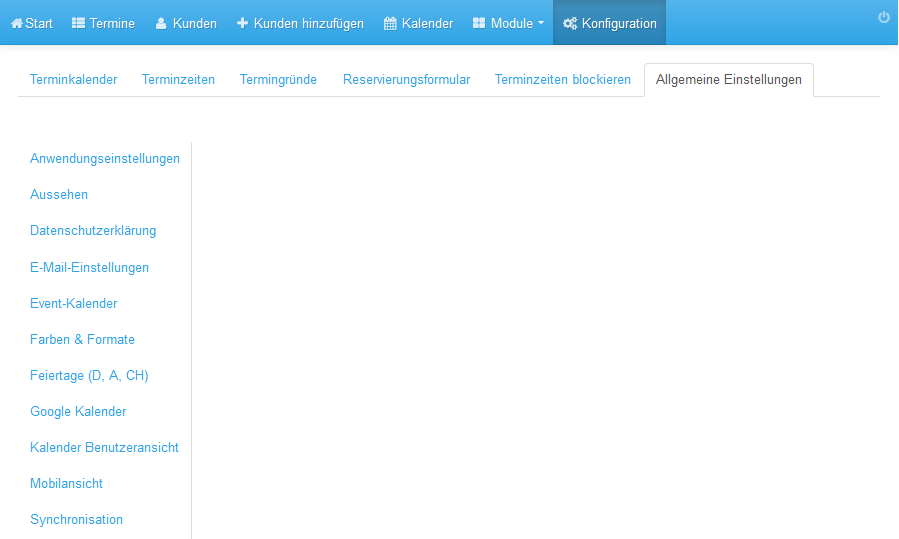
Select Outlook CalDav Synchronizer
16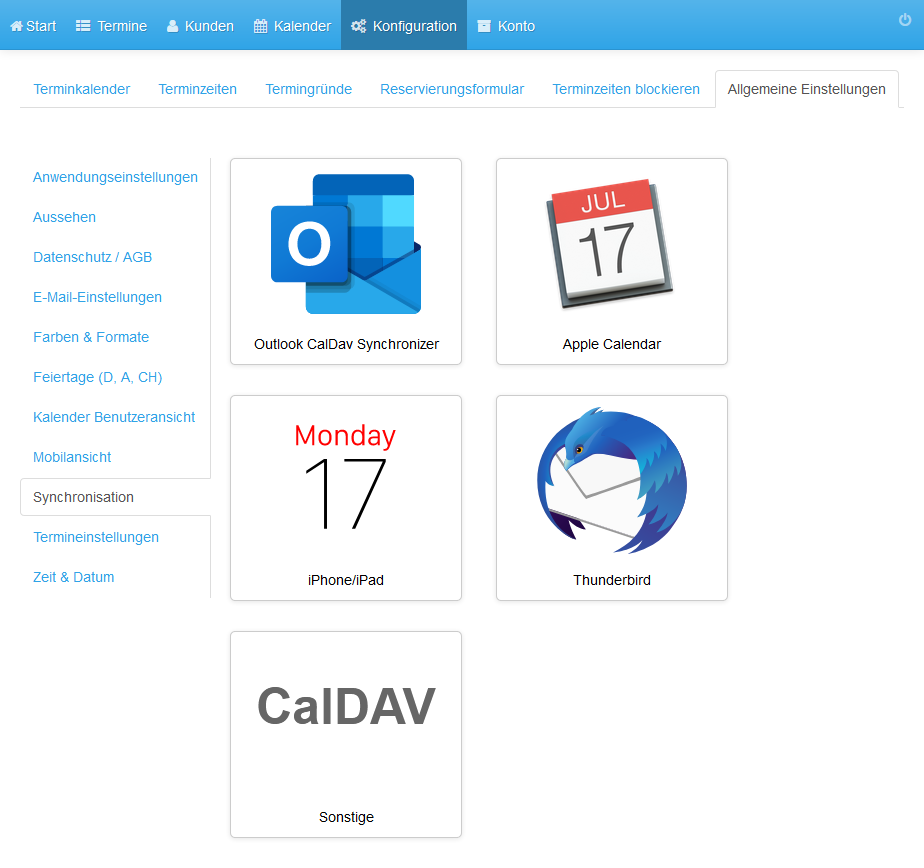
Activate the appointment sync and click Save changes
17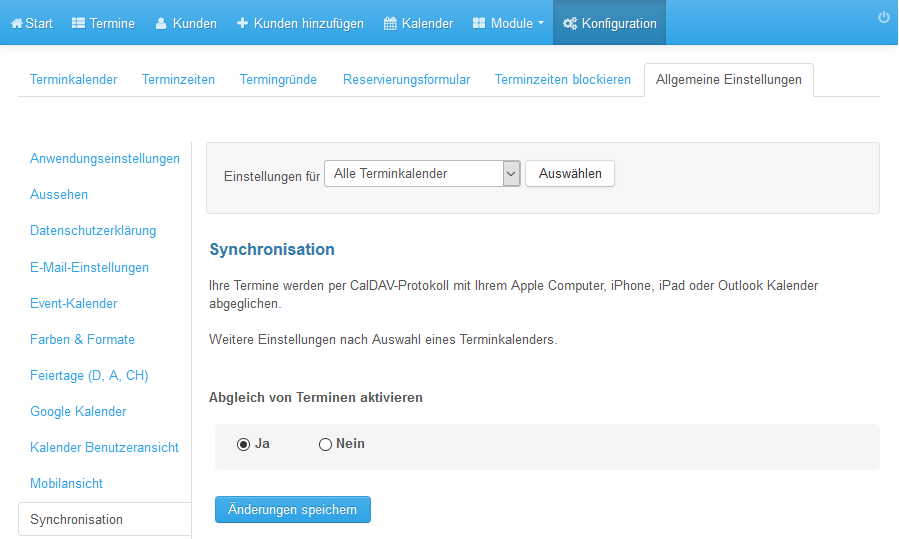
Select the calendar that Outlook is to synchronize with
18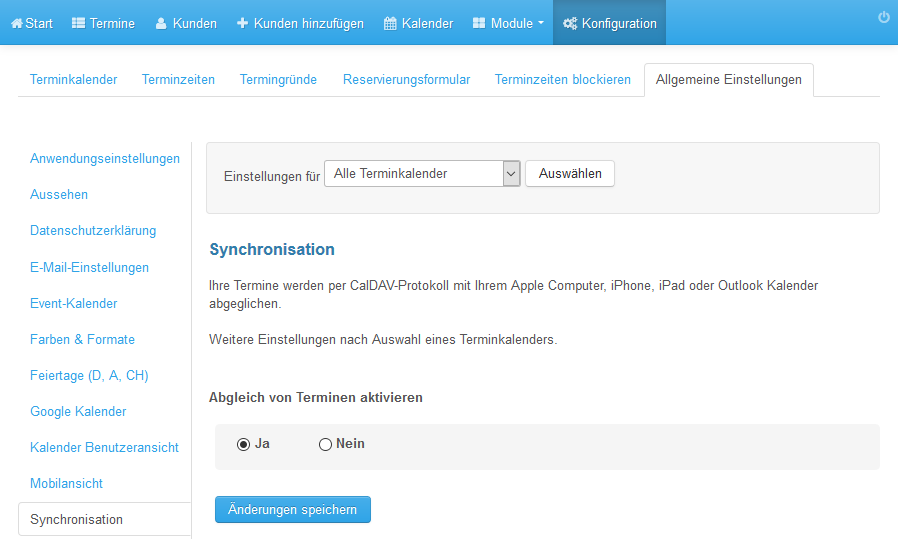
Scroll all the way down to URLs for various apps and programs
19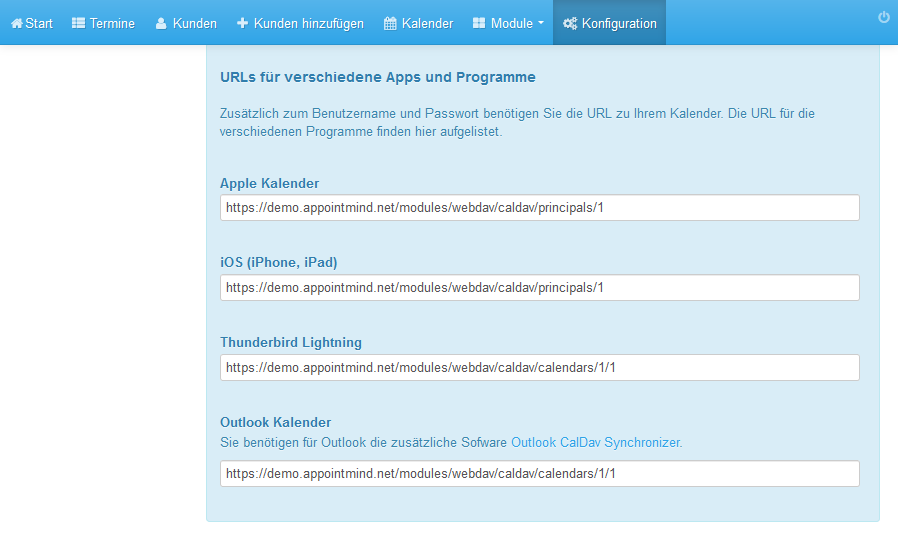
Copy the URL for the Outlook calendar
20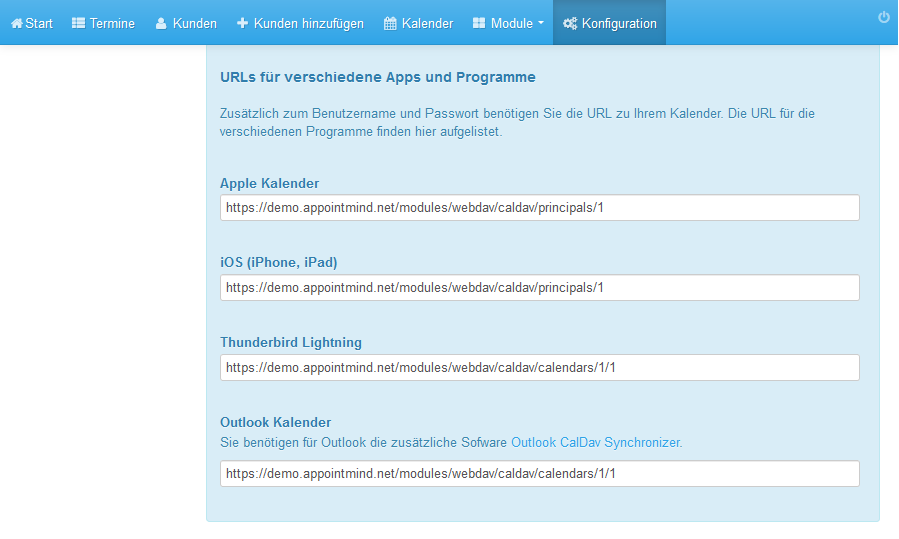
Paste the URL into DAV Url in Outlook
21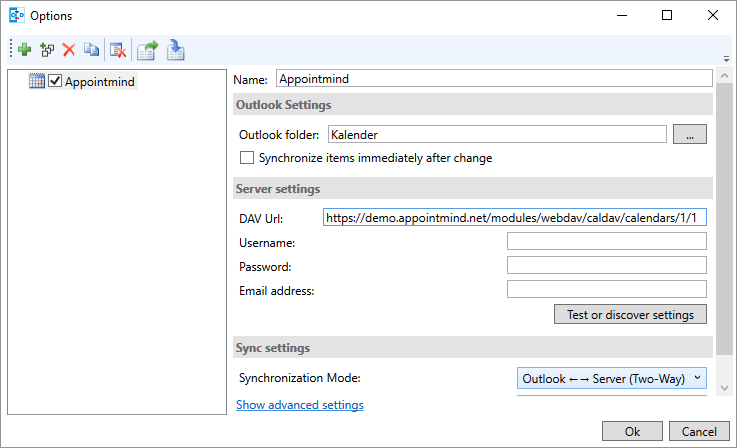
At Appointmind, scroll to User name and password for the sync
22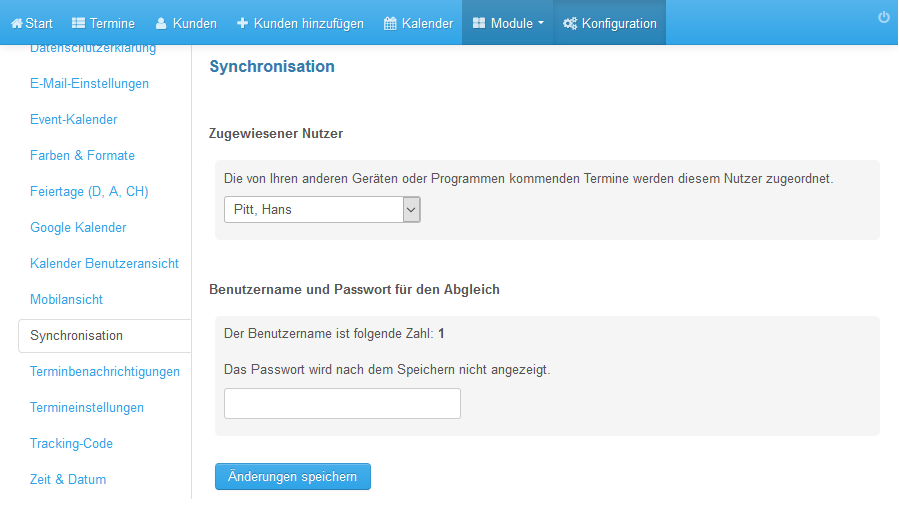
Copy the number in bold. That is your user name
23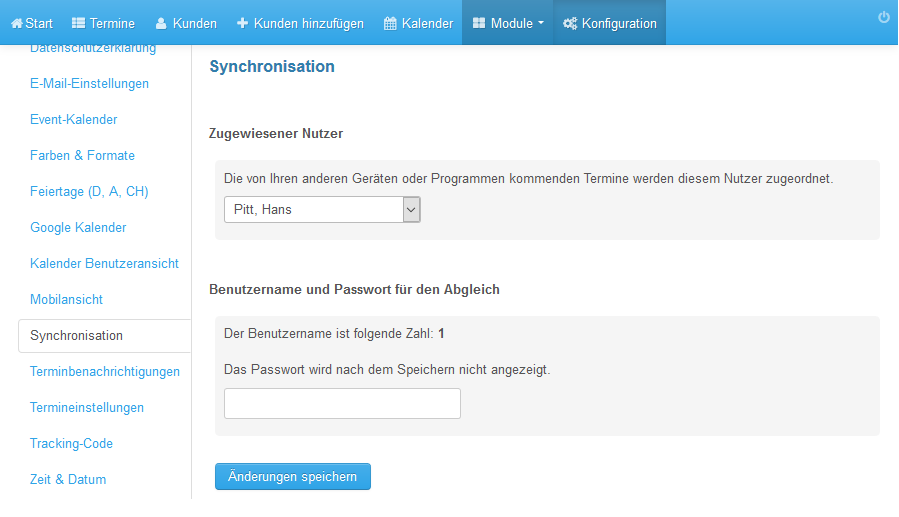
Paste the number into Username in Outlook
24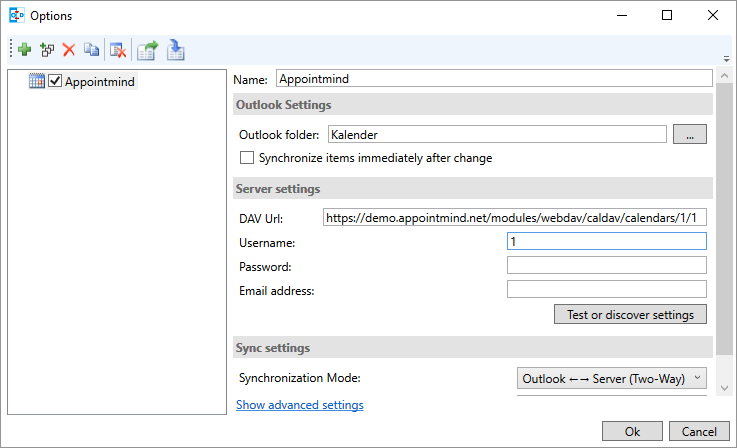
Think up a password and enter it into Password in Outlook
25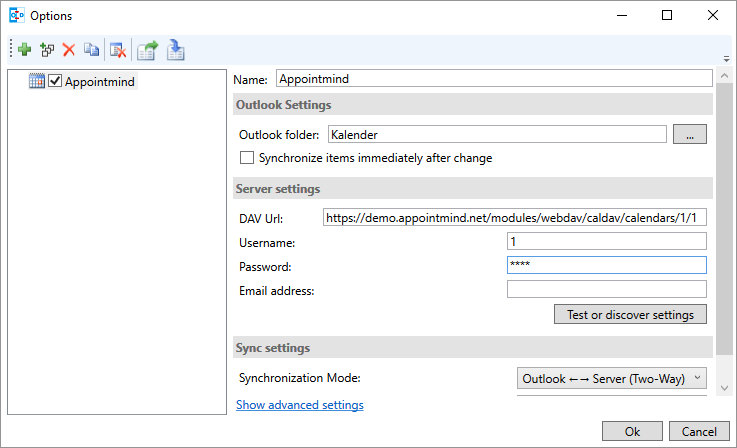
Enter exactly the same password in the password field at Appointmind and click Save changes
26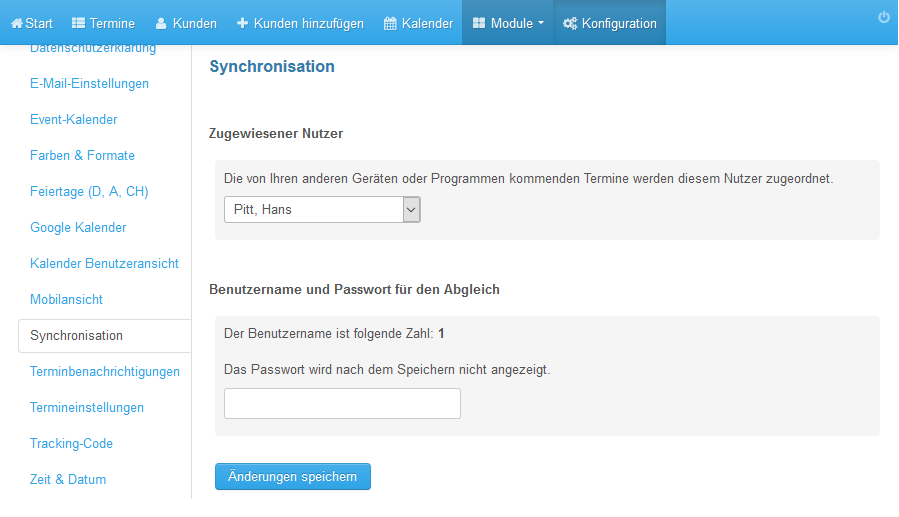
Test in Outlook whether the settings work
27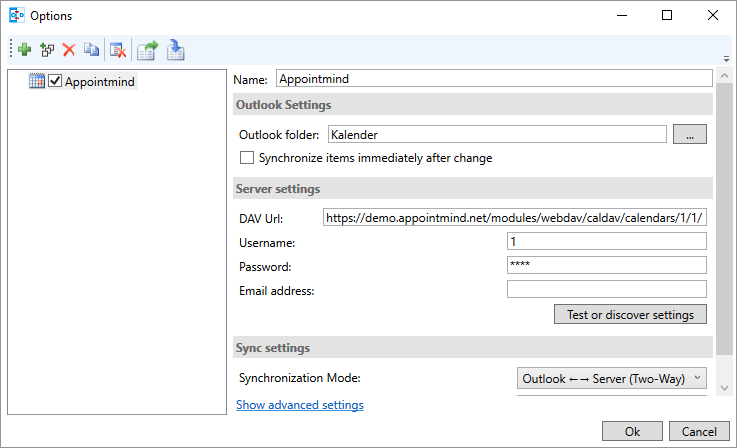
Click Show advanced settings
28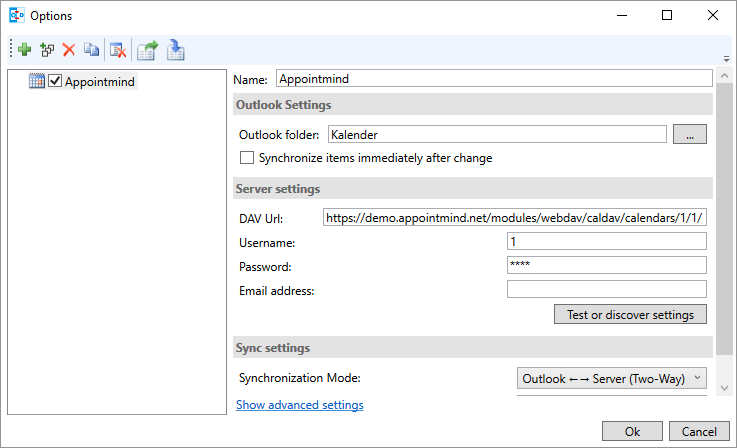
Tick Use WebDAV collection sync
29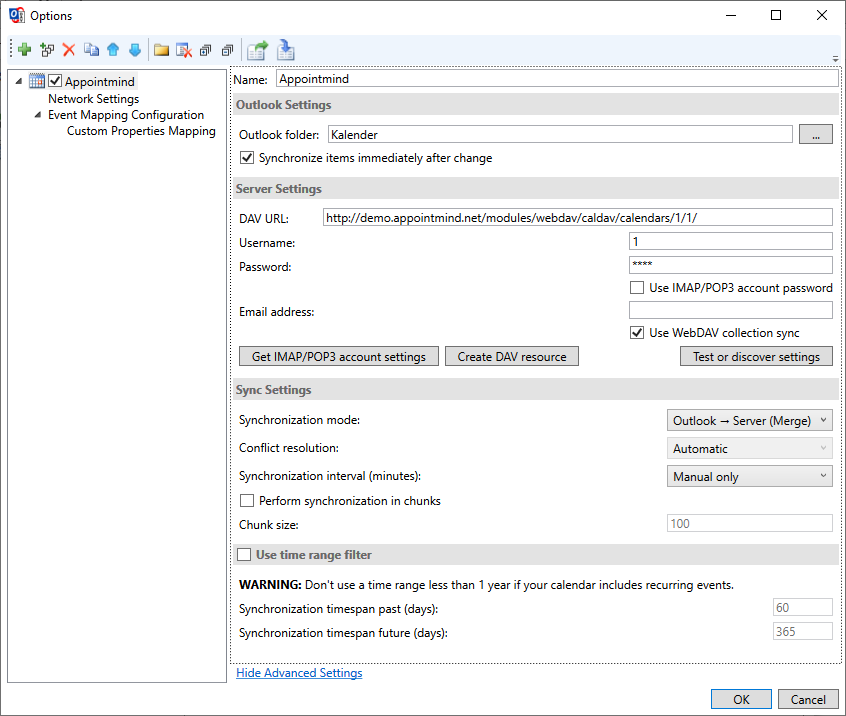
Click Ok to save the settings
30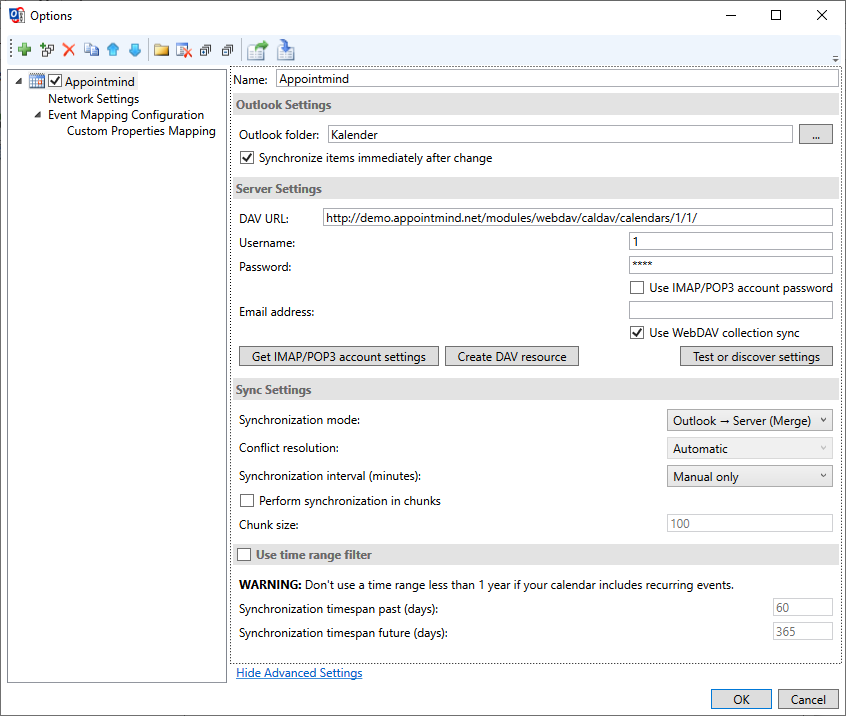
In Outlook you can start the synchronization manually by clicking Synchronize now
31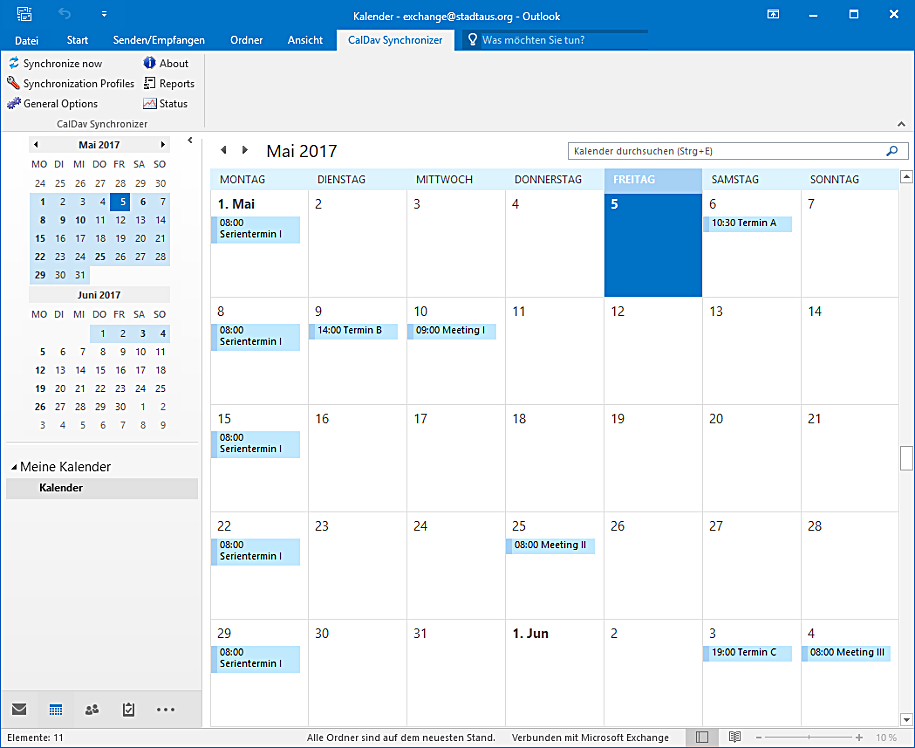
During the first synchronization a status is displayed
32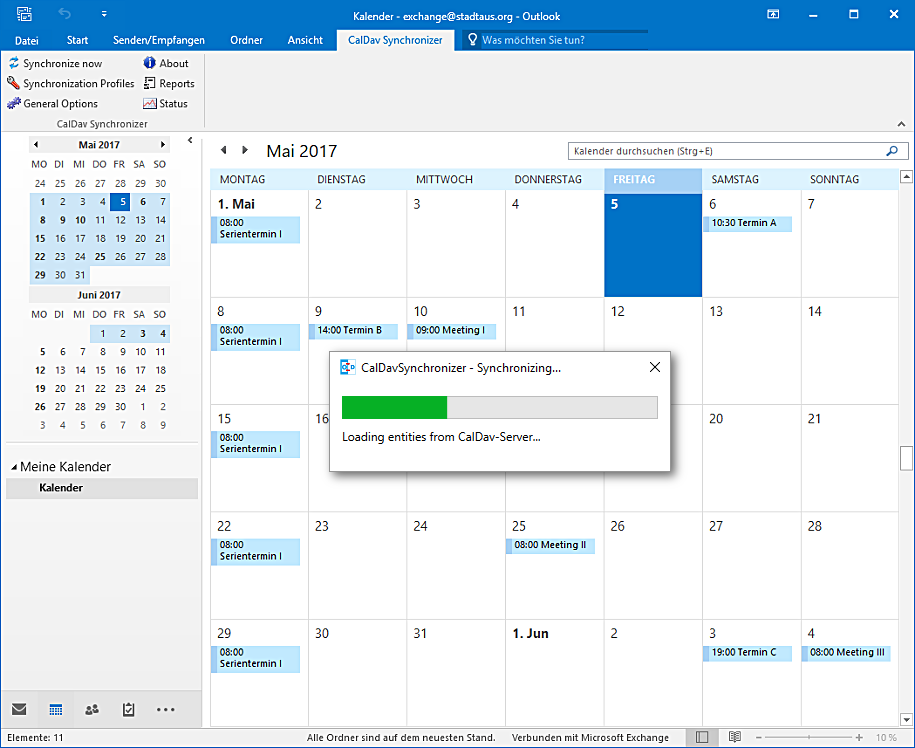
This guide explains how to synchronize your online appointment booking with CalDAV
Our online appointment booking system is a convenient way to plan and manage appointments and to share them with others. Whether you are a freelancer, a small business or a larger organization, our system lets you organize your appointments efficiently and keep an overview.With our CalDAV synchronization you can sync your appointments seamlessly with other calendar applications that support CalDAV. CalDAV is an open standard for exchanging calendar data over the internet. By synchronizing your online appointment scheduling via CalDAV you make sure that your appointments are always up to date and in sync with other devices and applications.
In this guide we explain step by step how to set up CalDAV synchronization for your online appointment reservation, so you can get the best of both worlds: our intuitive appointment management and flexible synchronization with other calendar applications.