Create a Project
- Click Configuration in the navigation.
- Click General settings.
- Click Application settings.
- Scroll down and click Show additional options.
- For Projects, click Use setting.
- Set Enable projects and Project selection to Yes, then save.
- Click Projects in the submenu.
- Enter a project name under Create new project and save it.
- Click the new project.
- Select every calendar that belongs to the project.
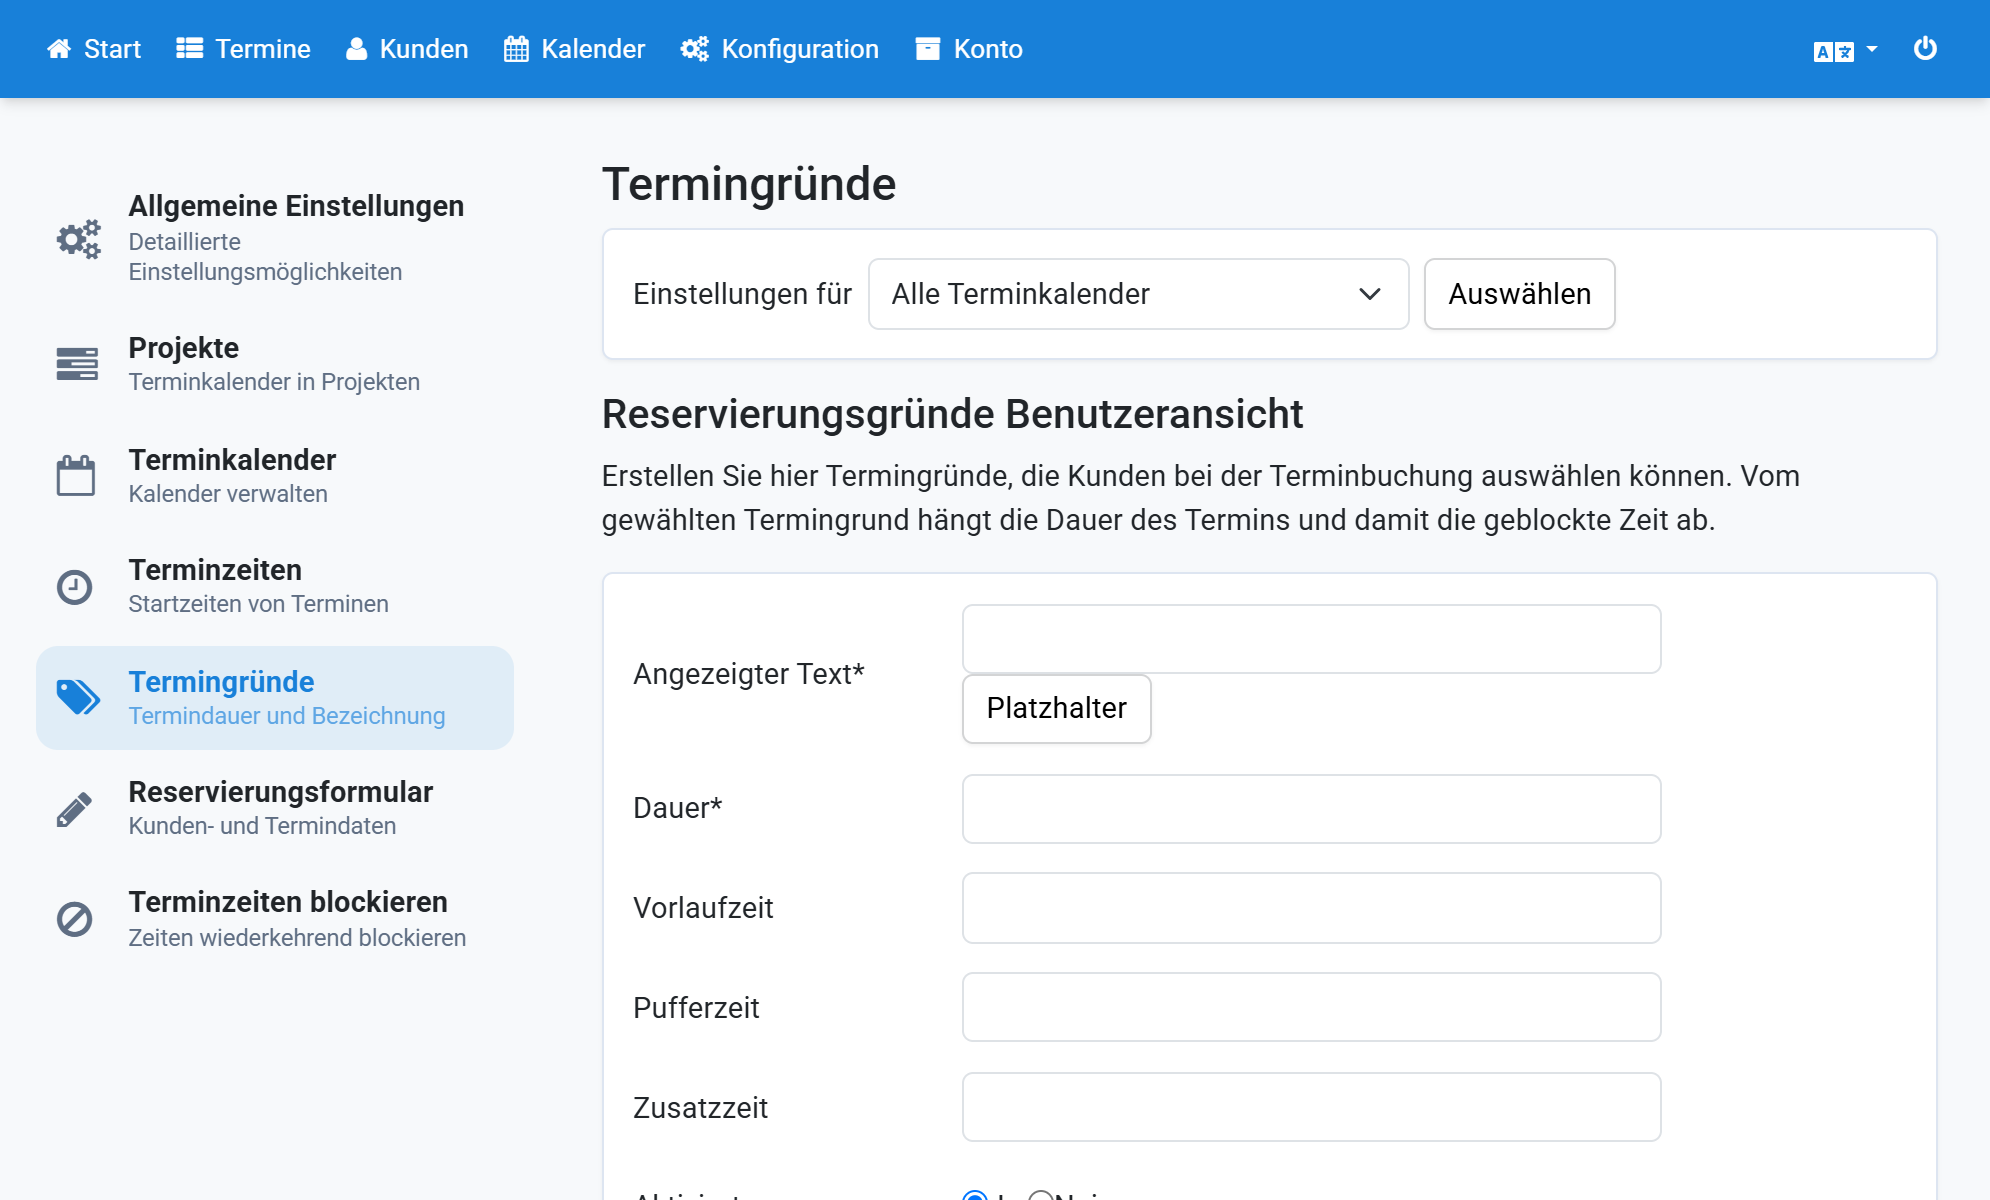
- Optionally click Appointment reasons to define reasons for this project.
- Select the project under Settings for all calendars and create its appointment reasons.
Screenshots
Click Configuration in the navigation
1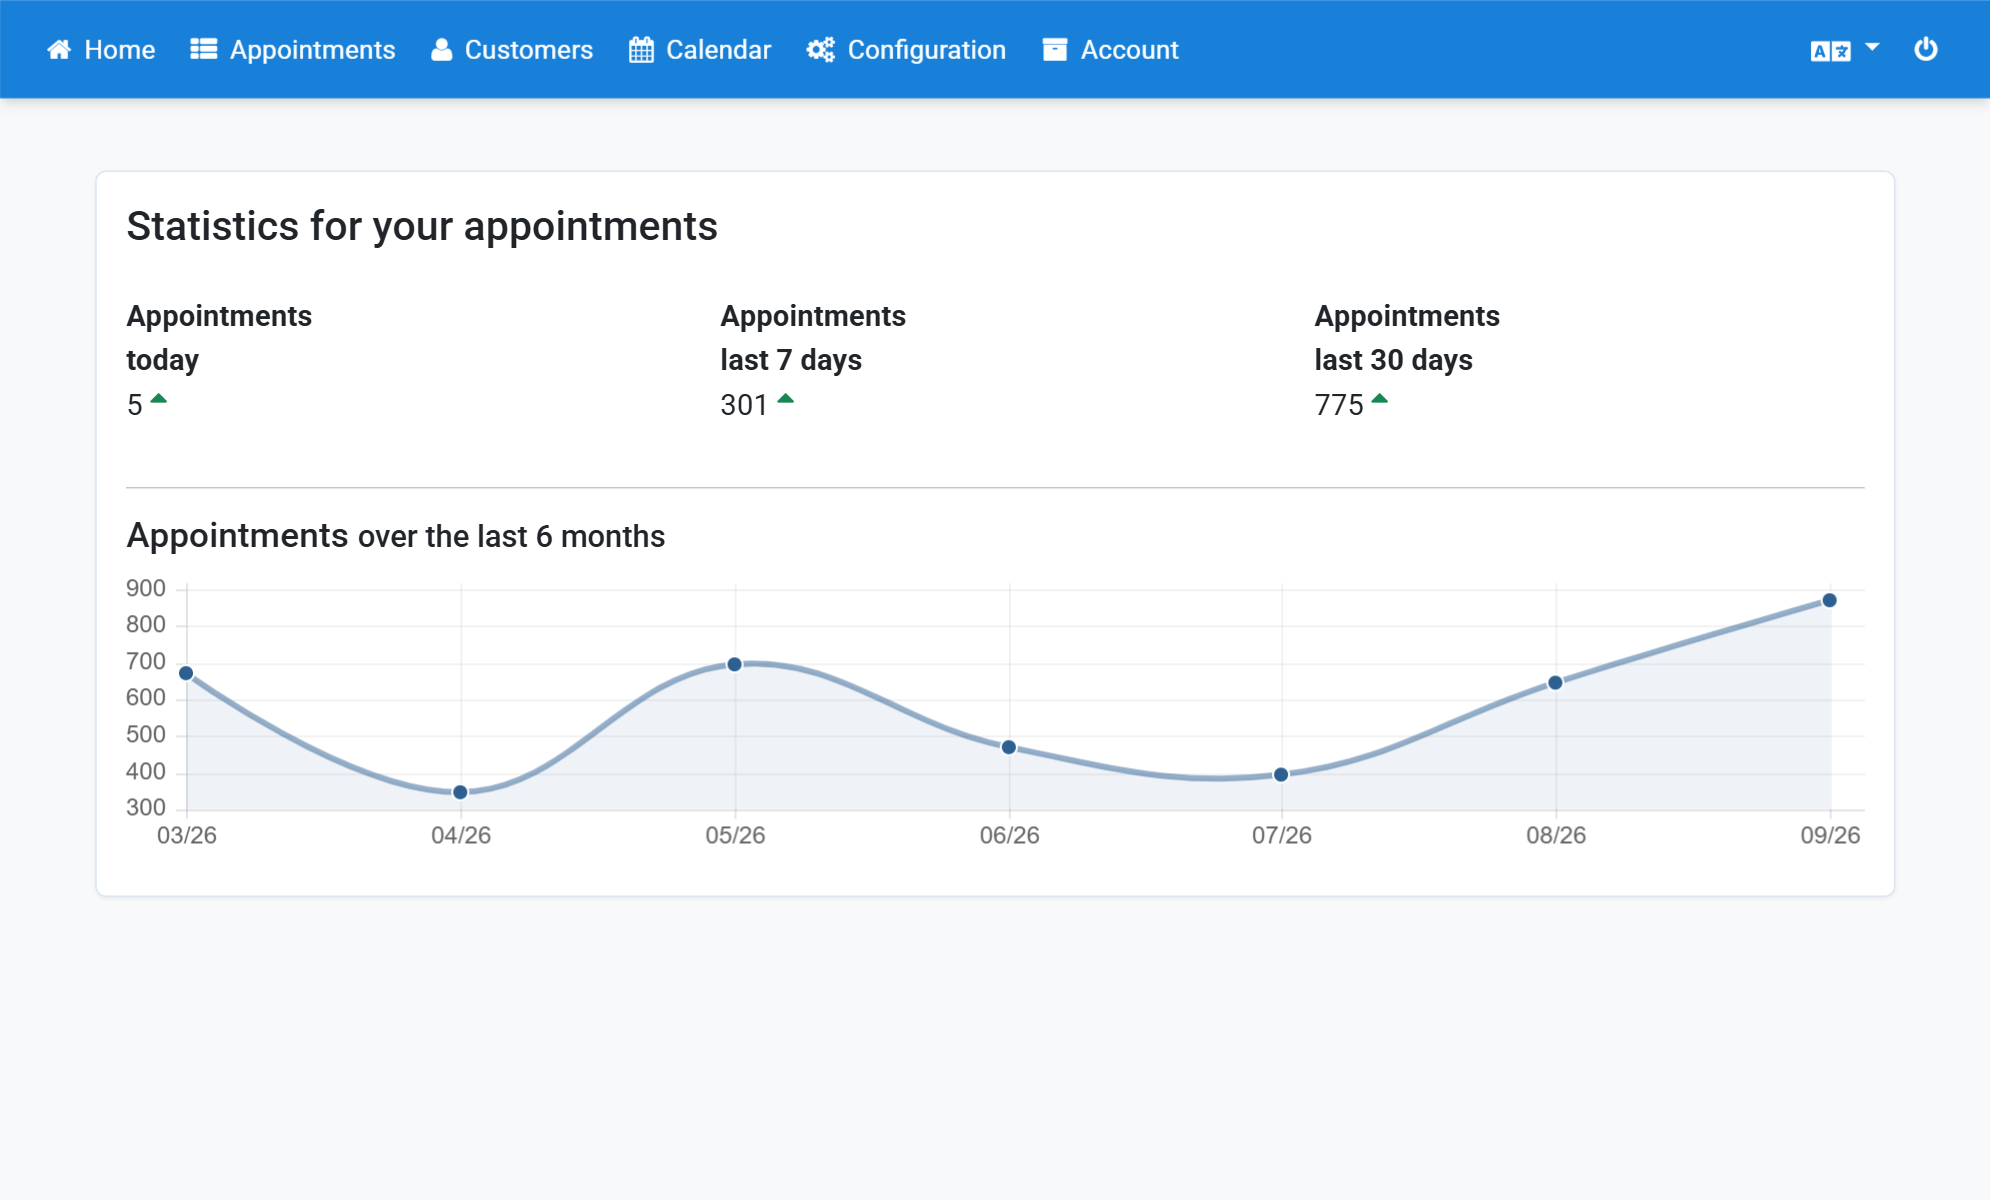
Click General settings
2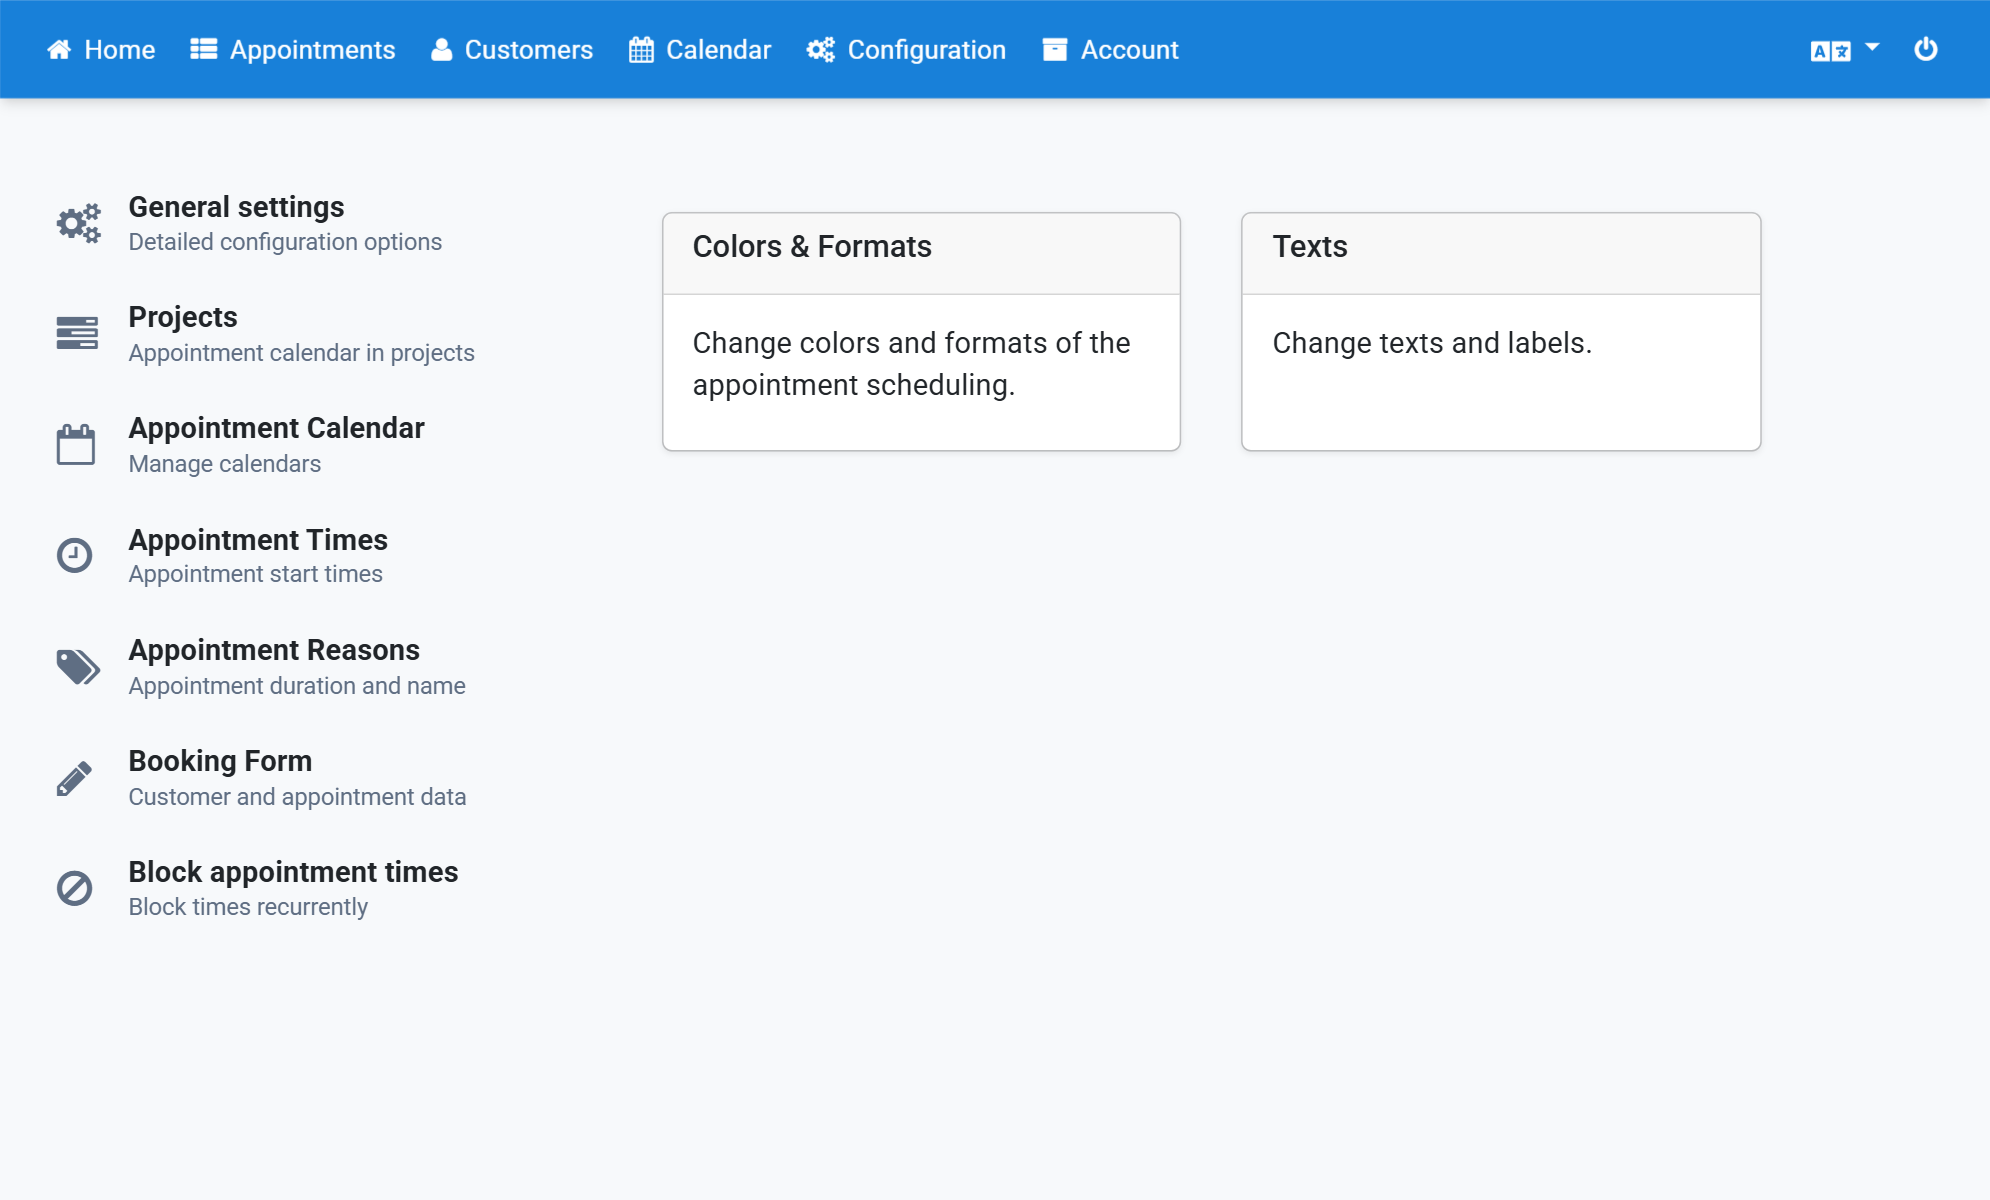
Click Application settings
3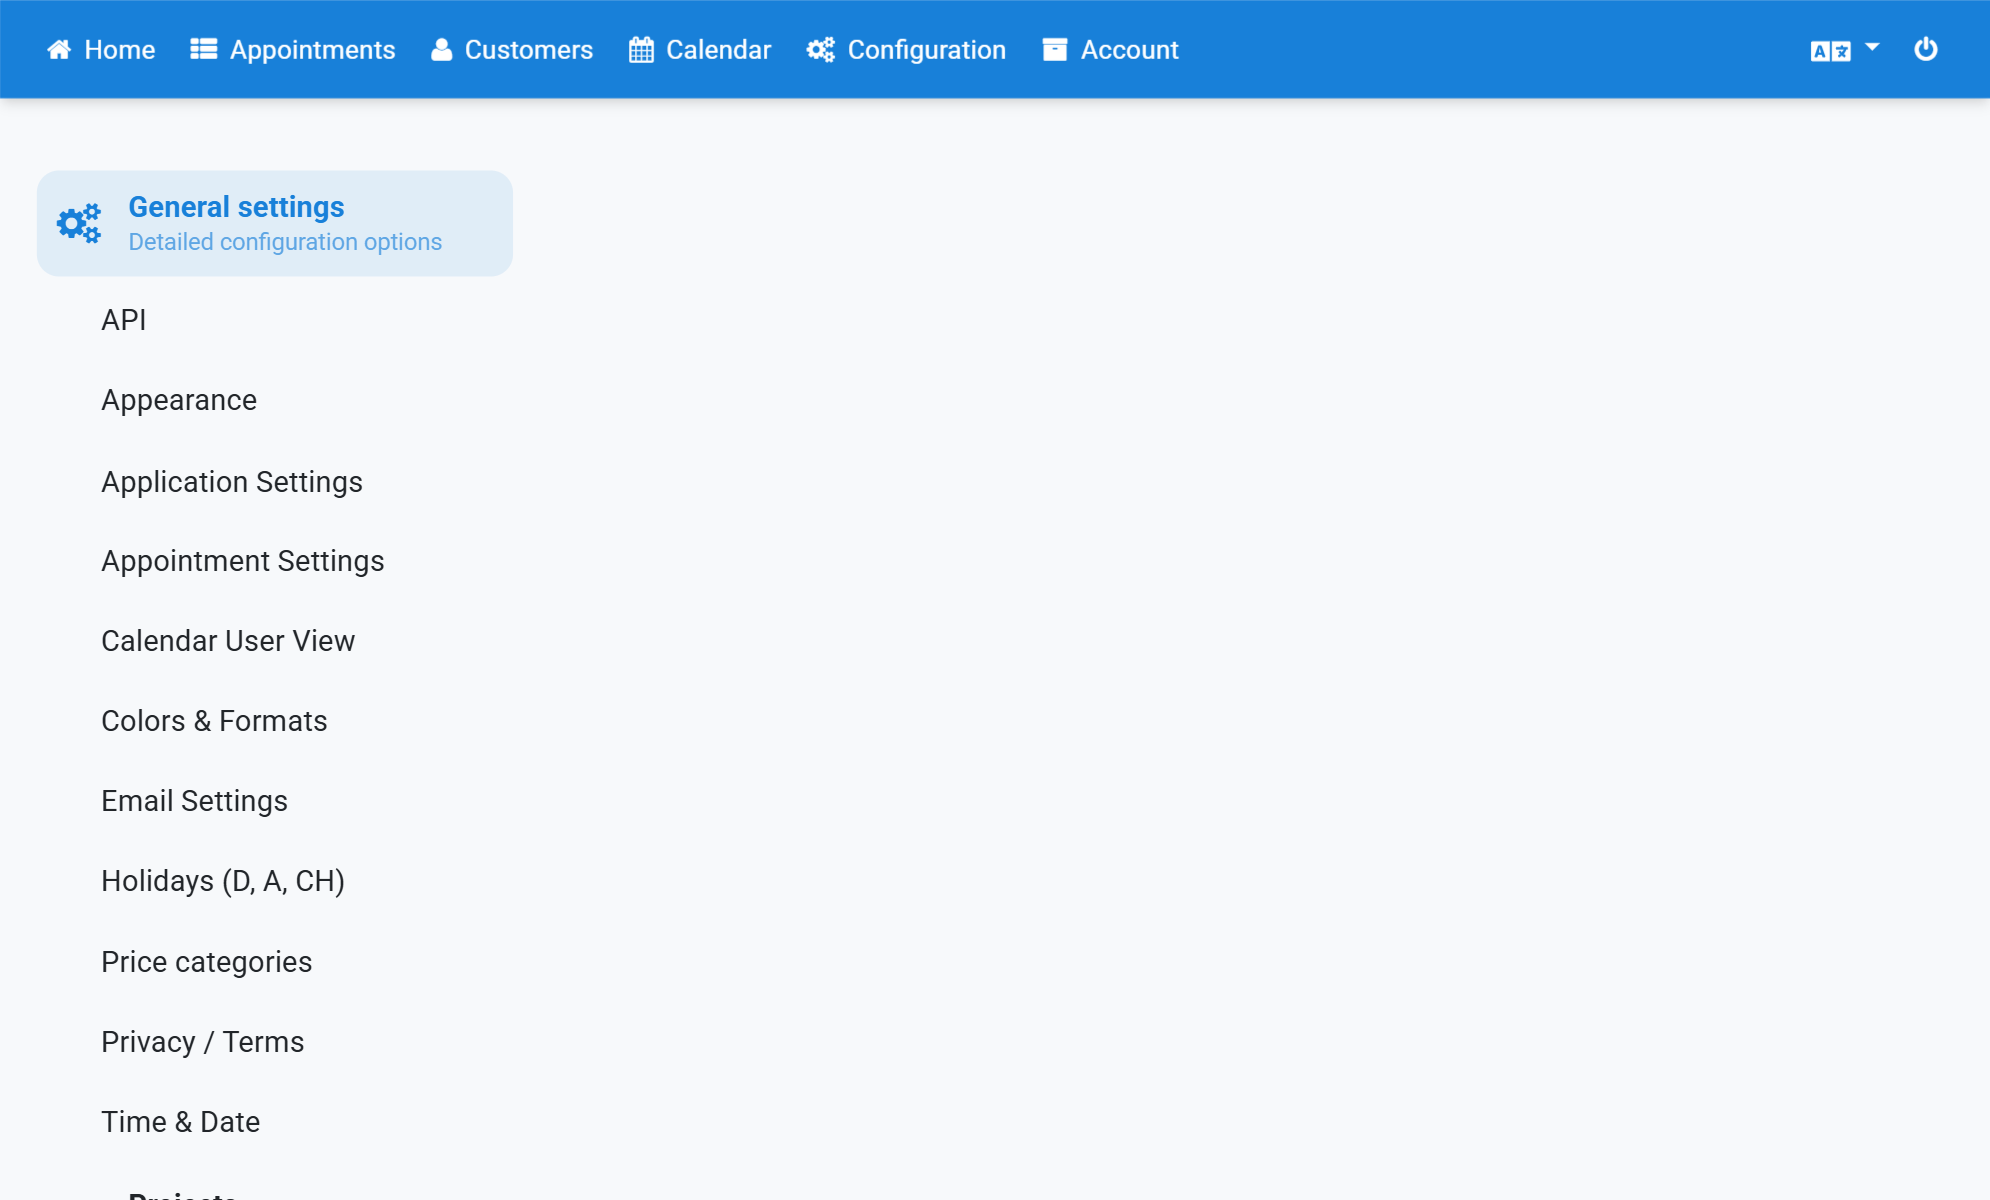
Scroll down and click Show additional options
4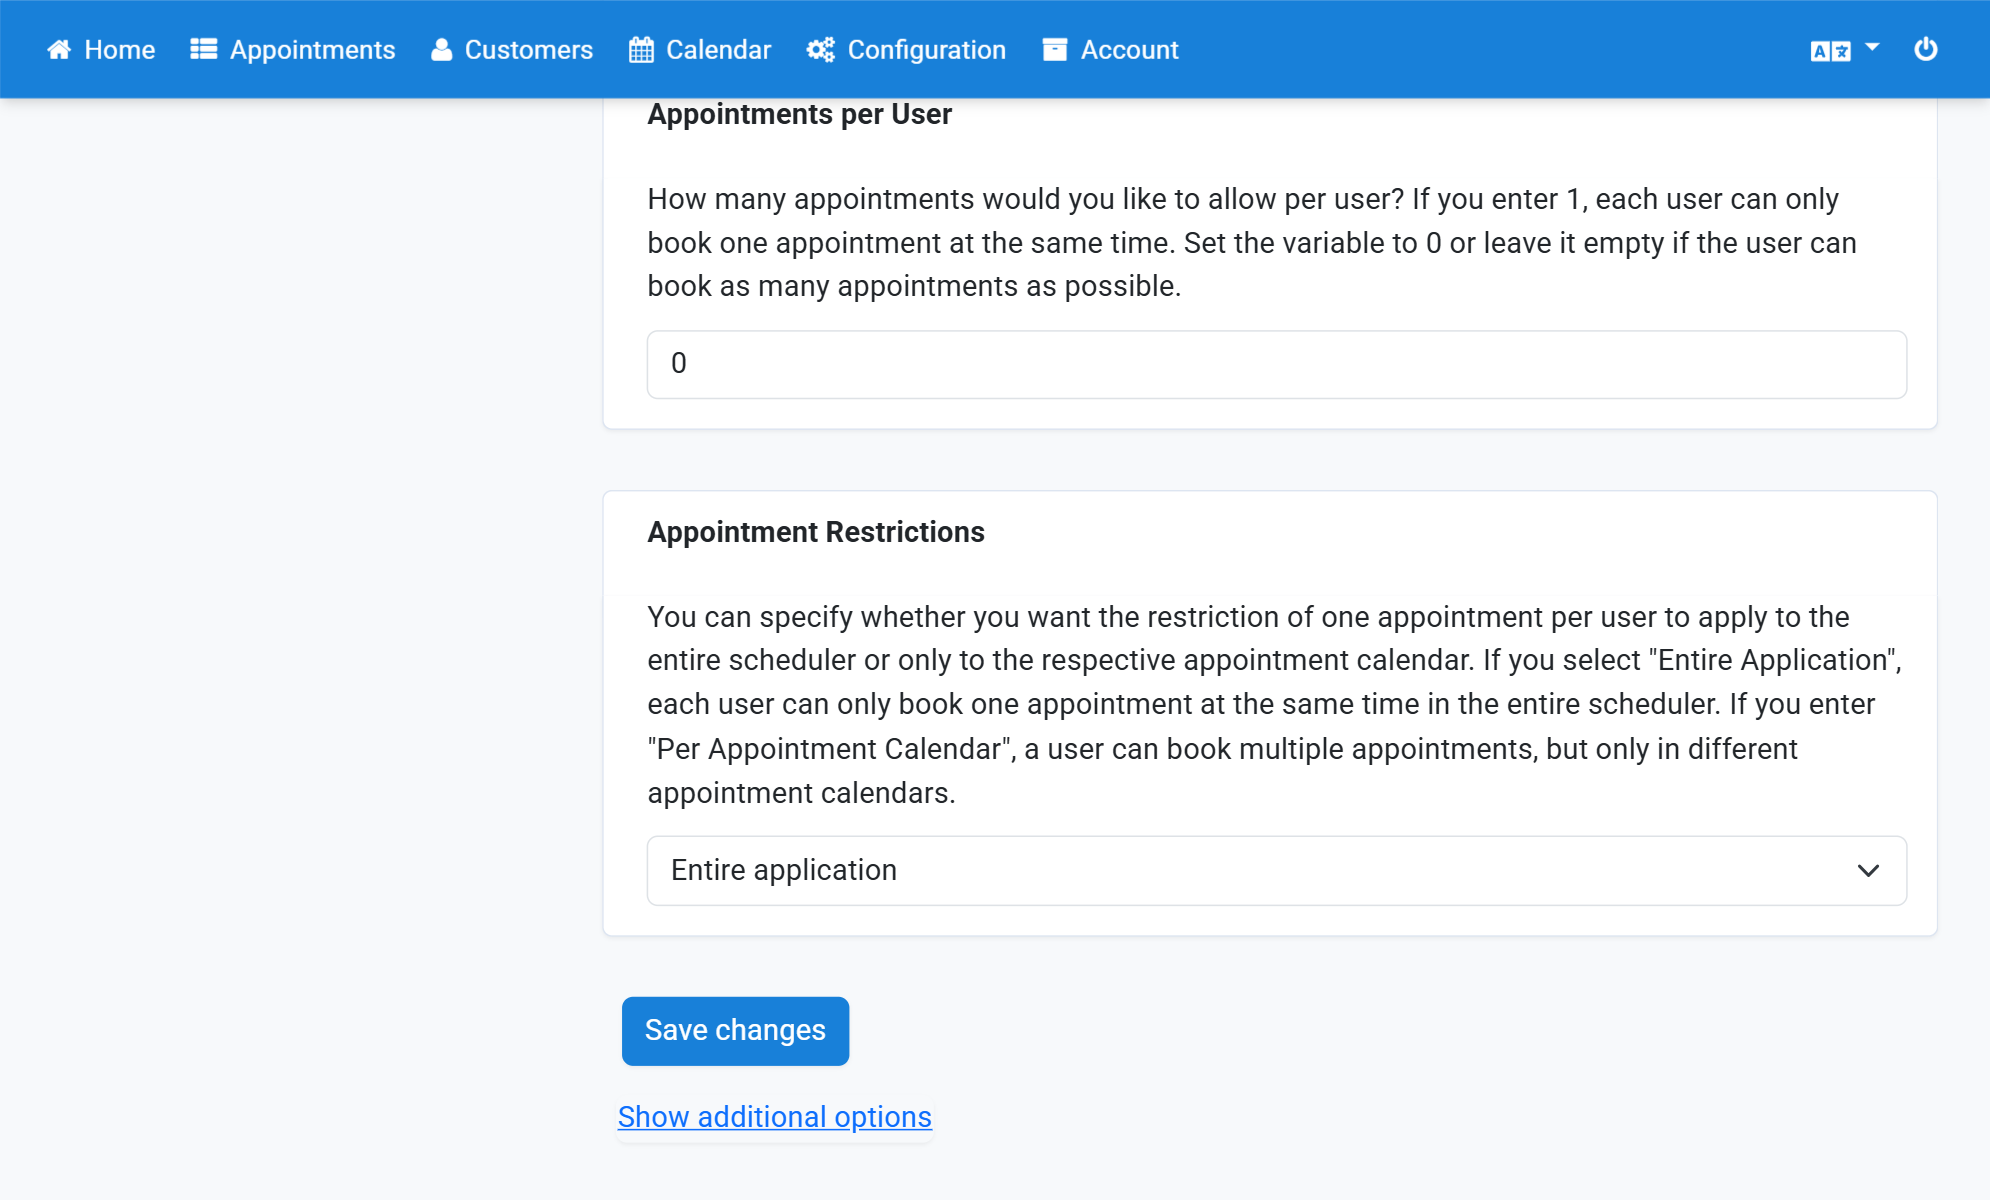
For Projects, click Use setting
5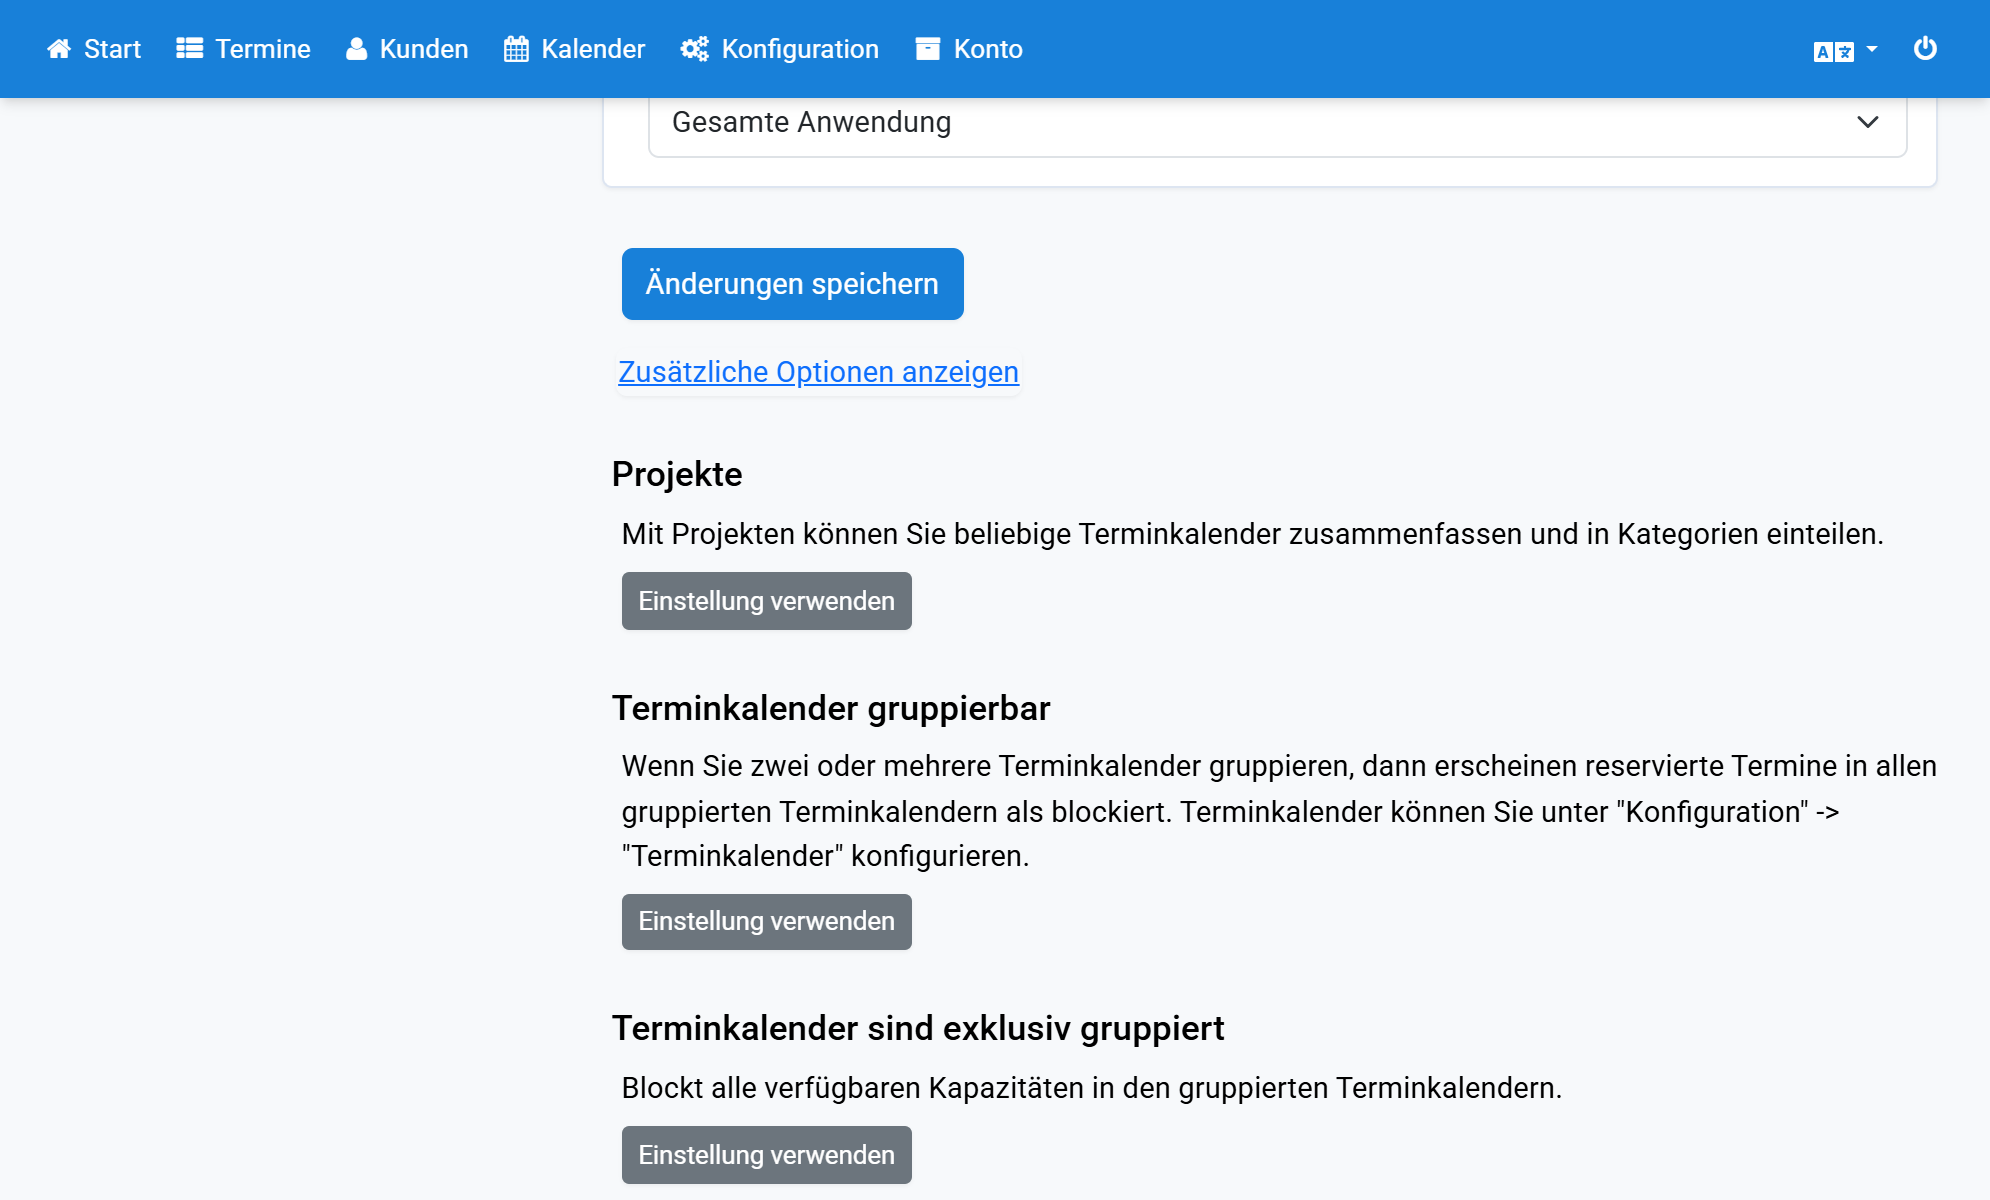
Set Enable projects and Project selection to Yes, then save
6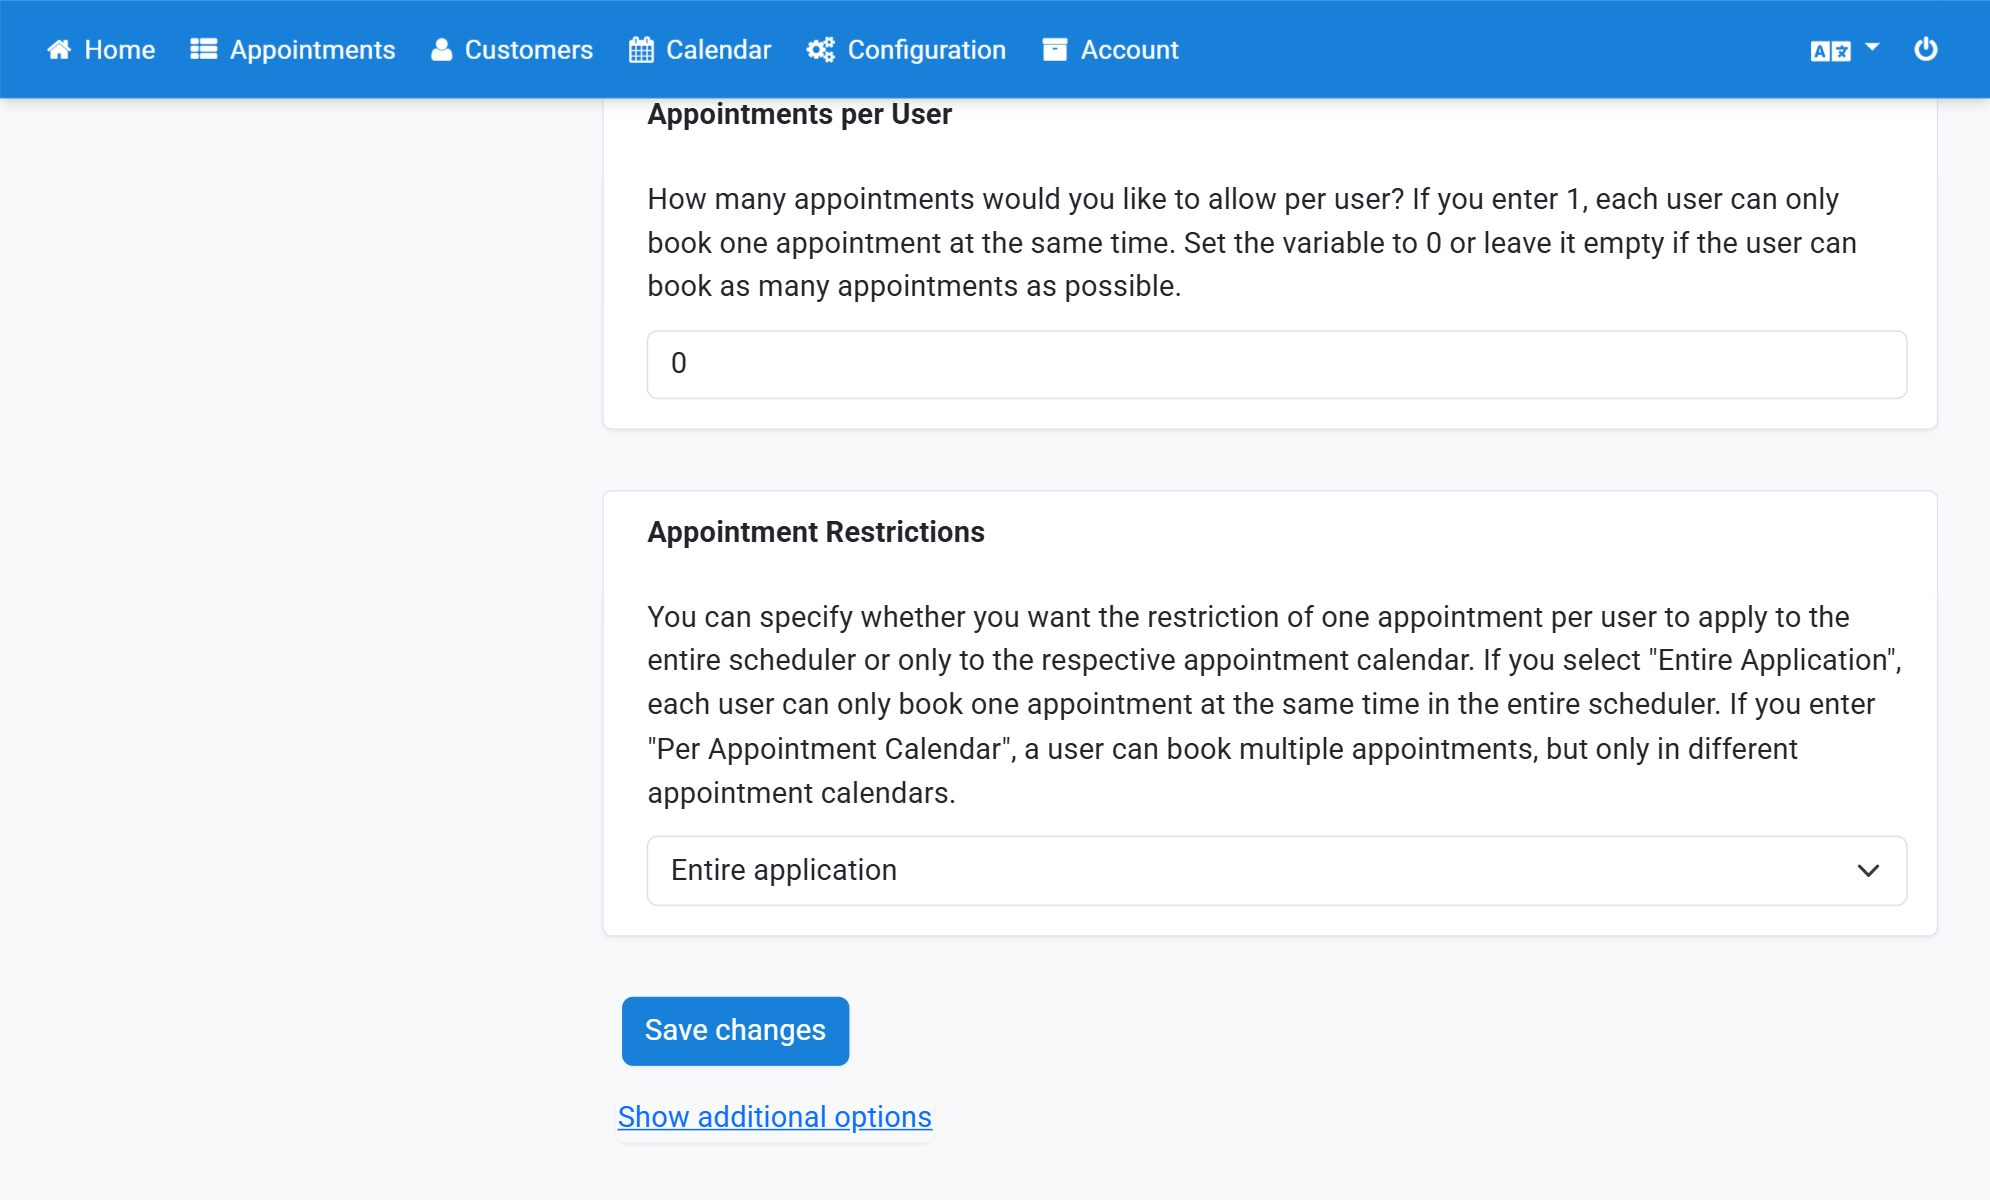
Click Projects in the submenu
7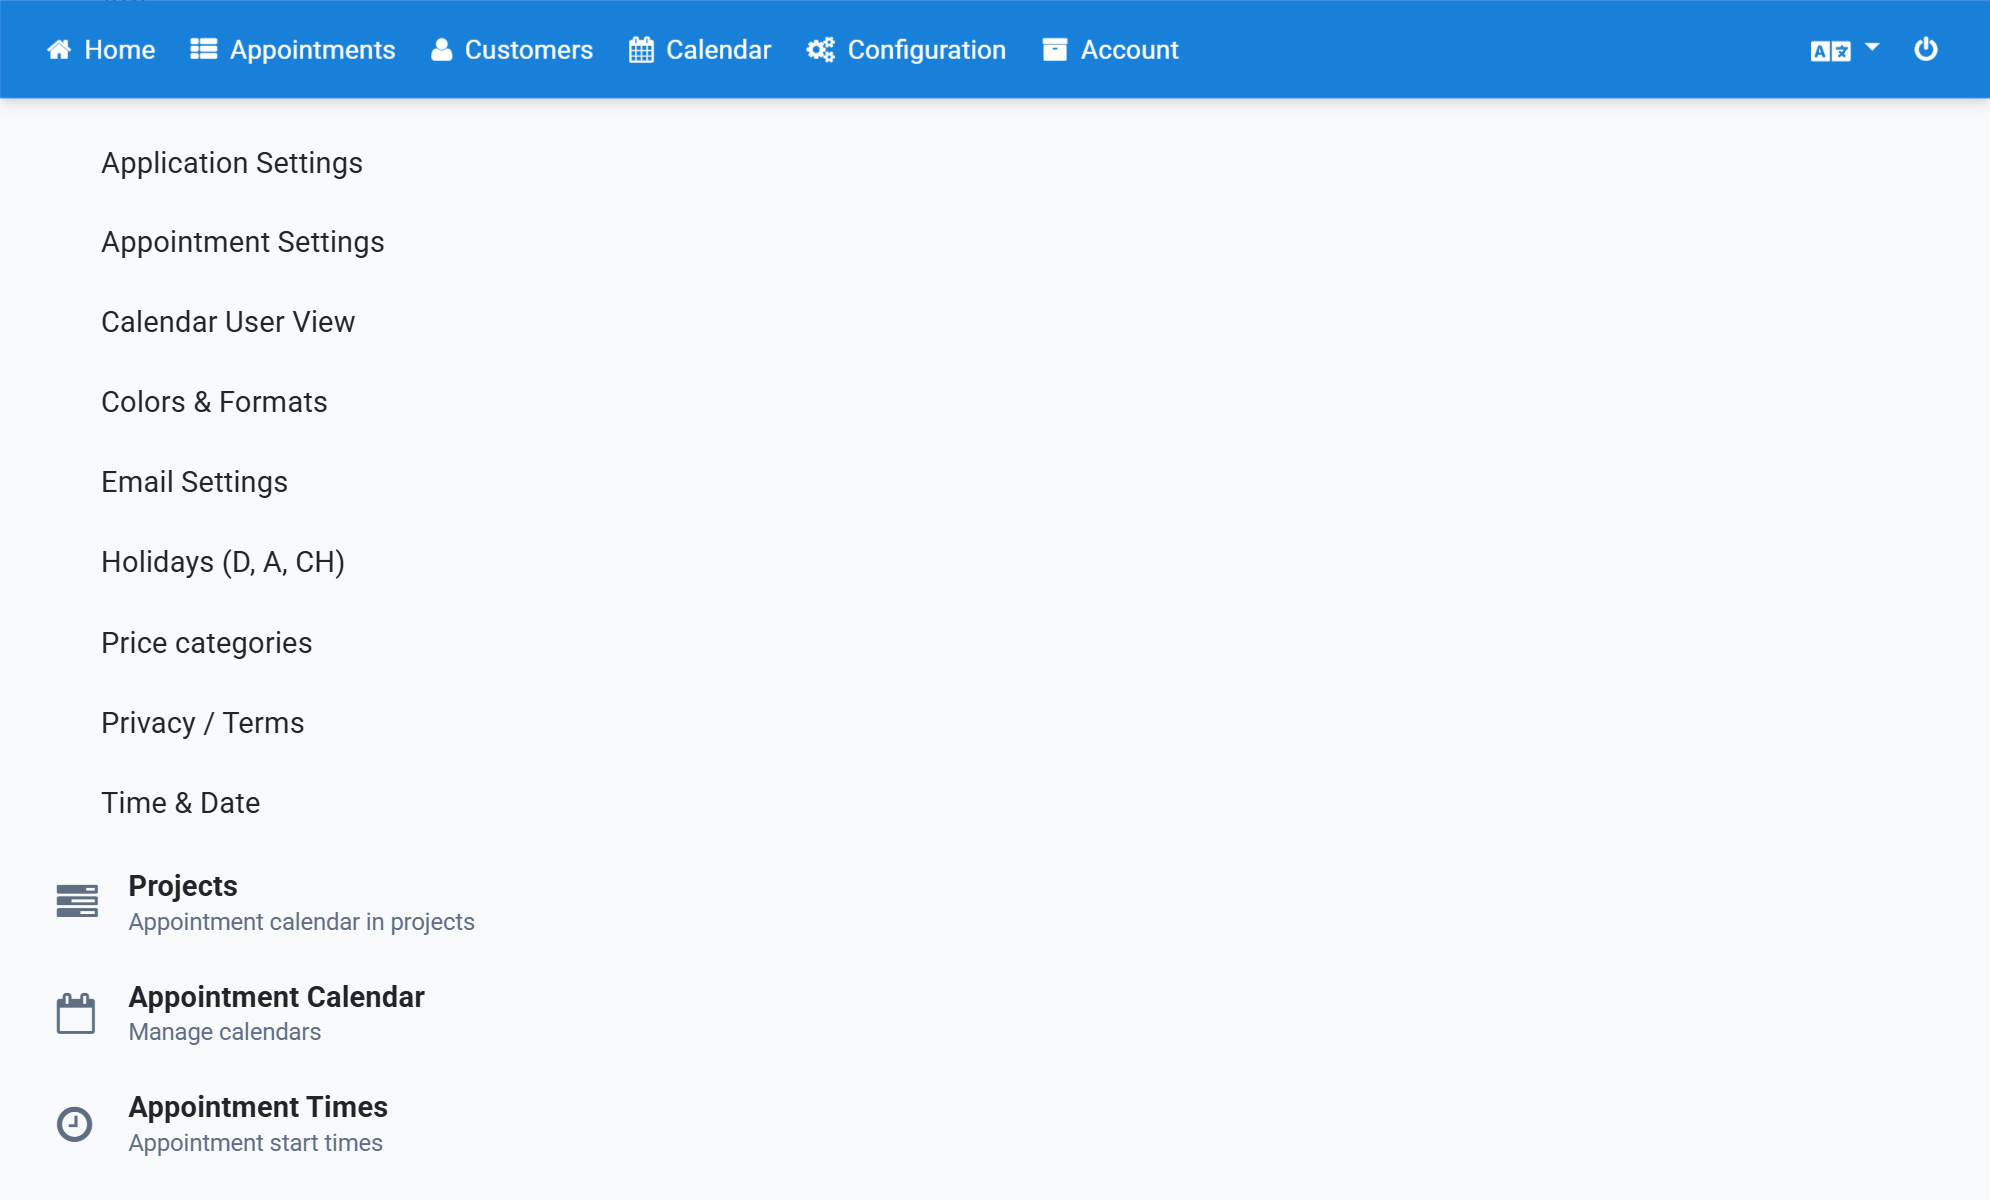
Enter a project name under Create new project and save it
8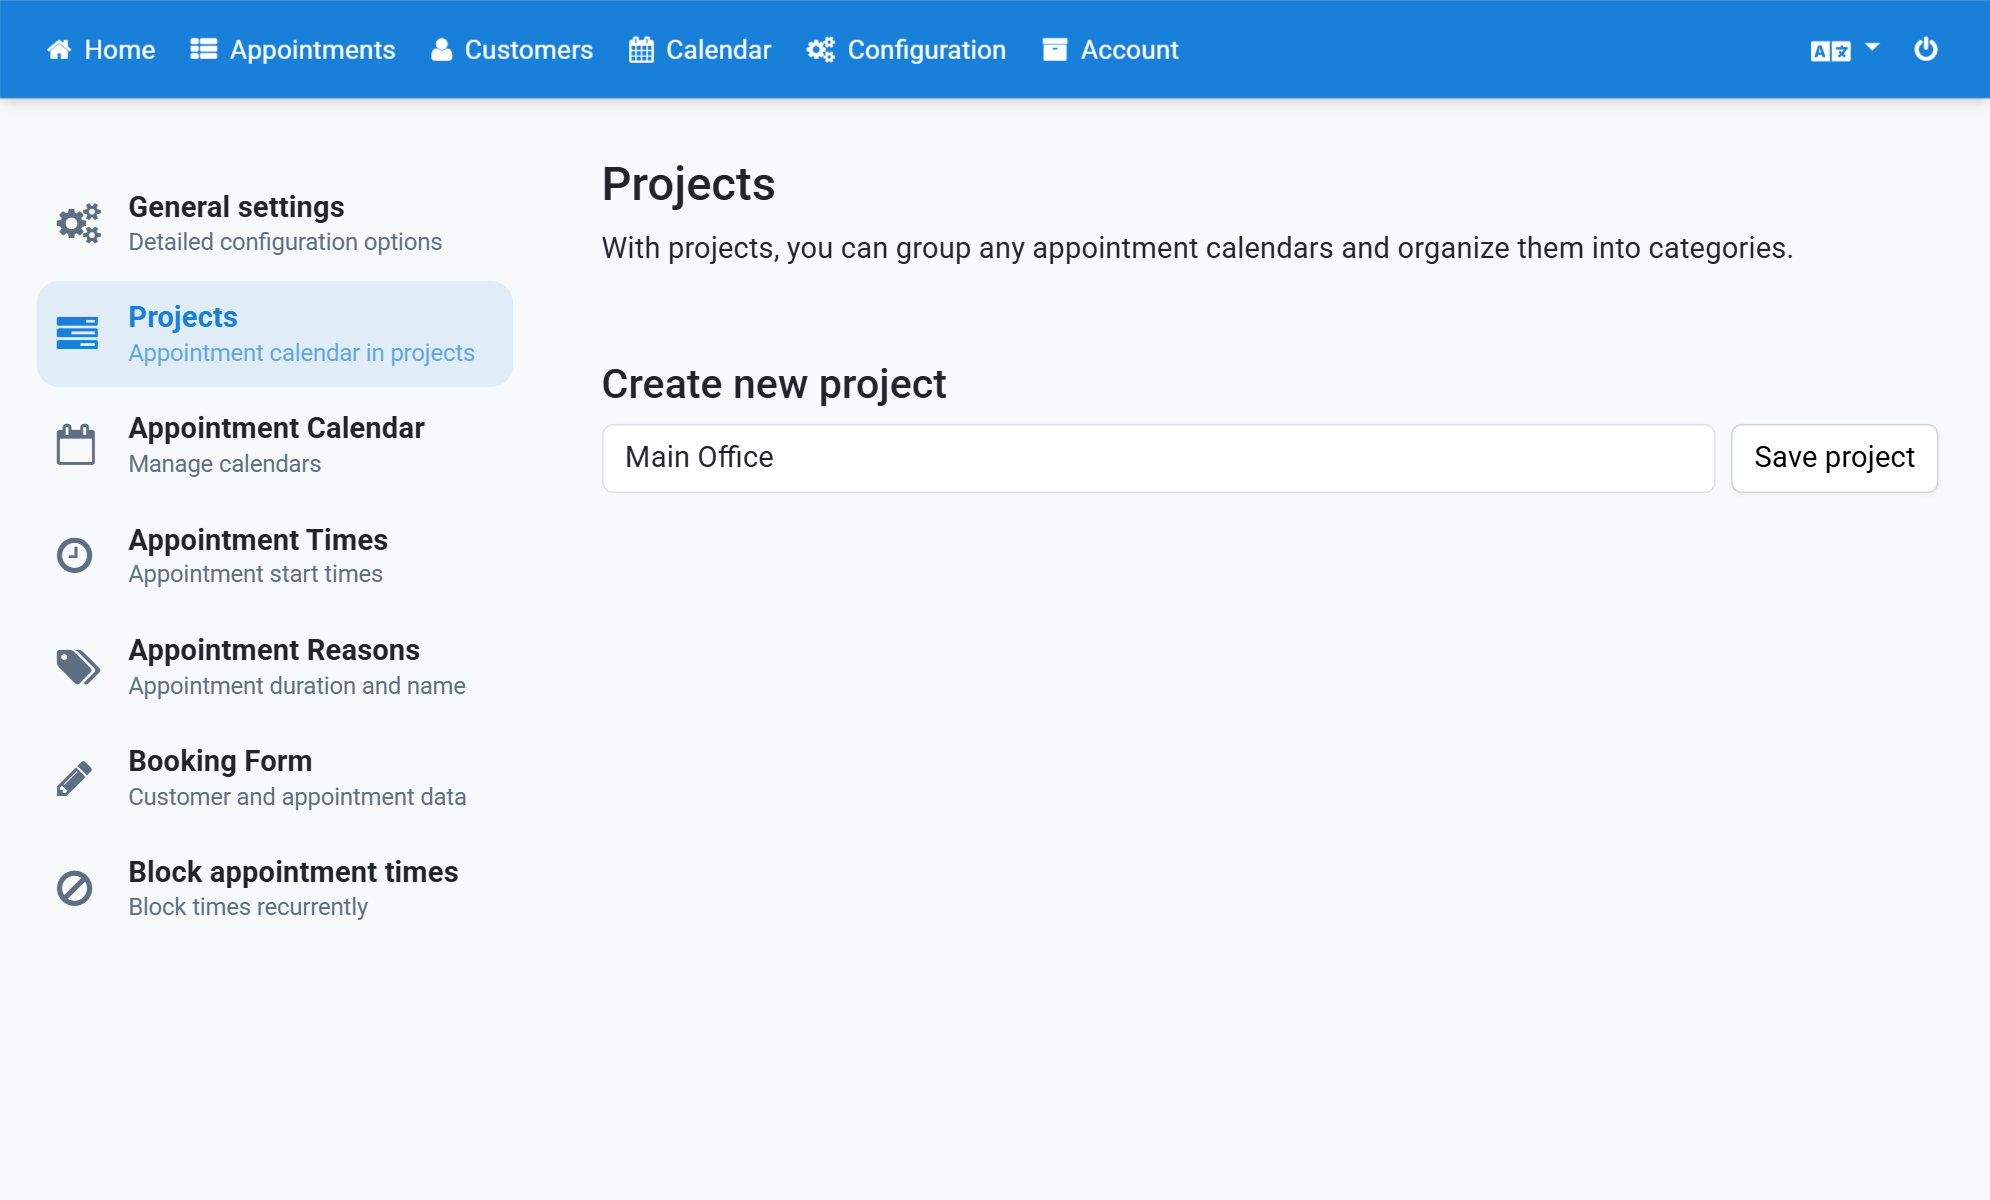
Click the new project
9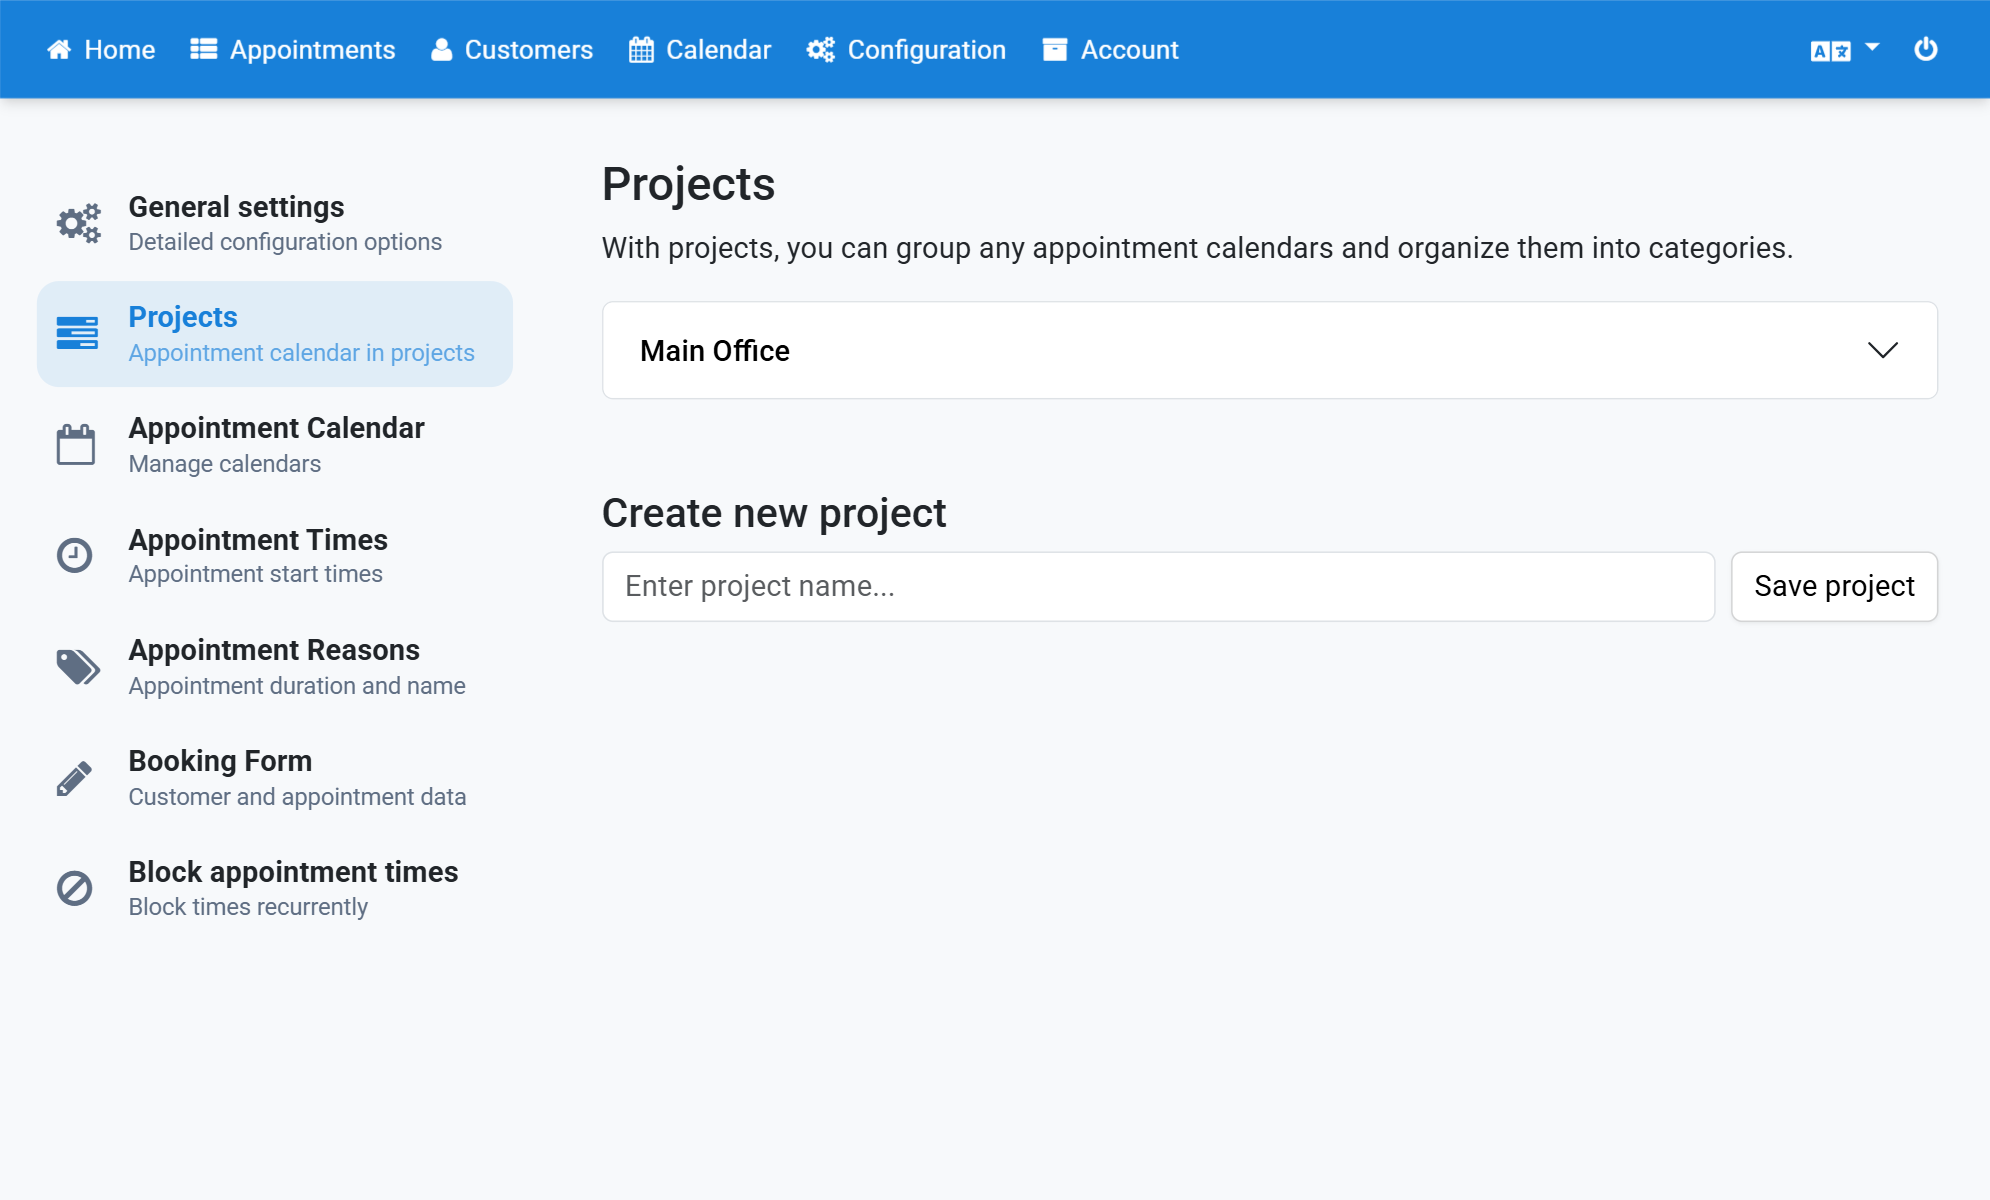
Select every calendar that belongs to the project
10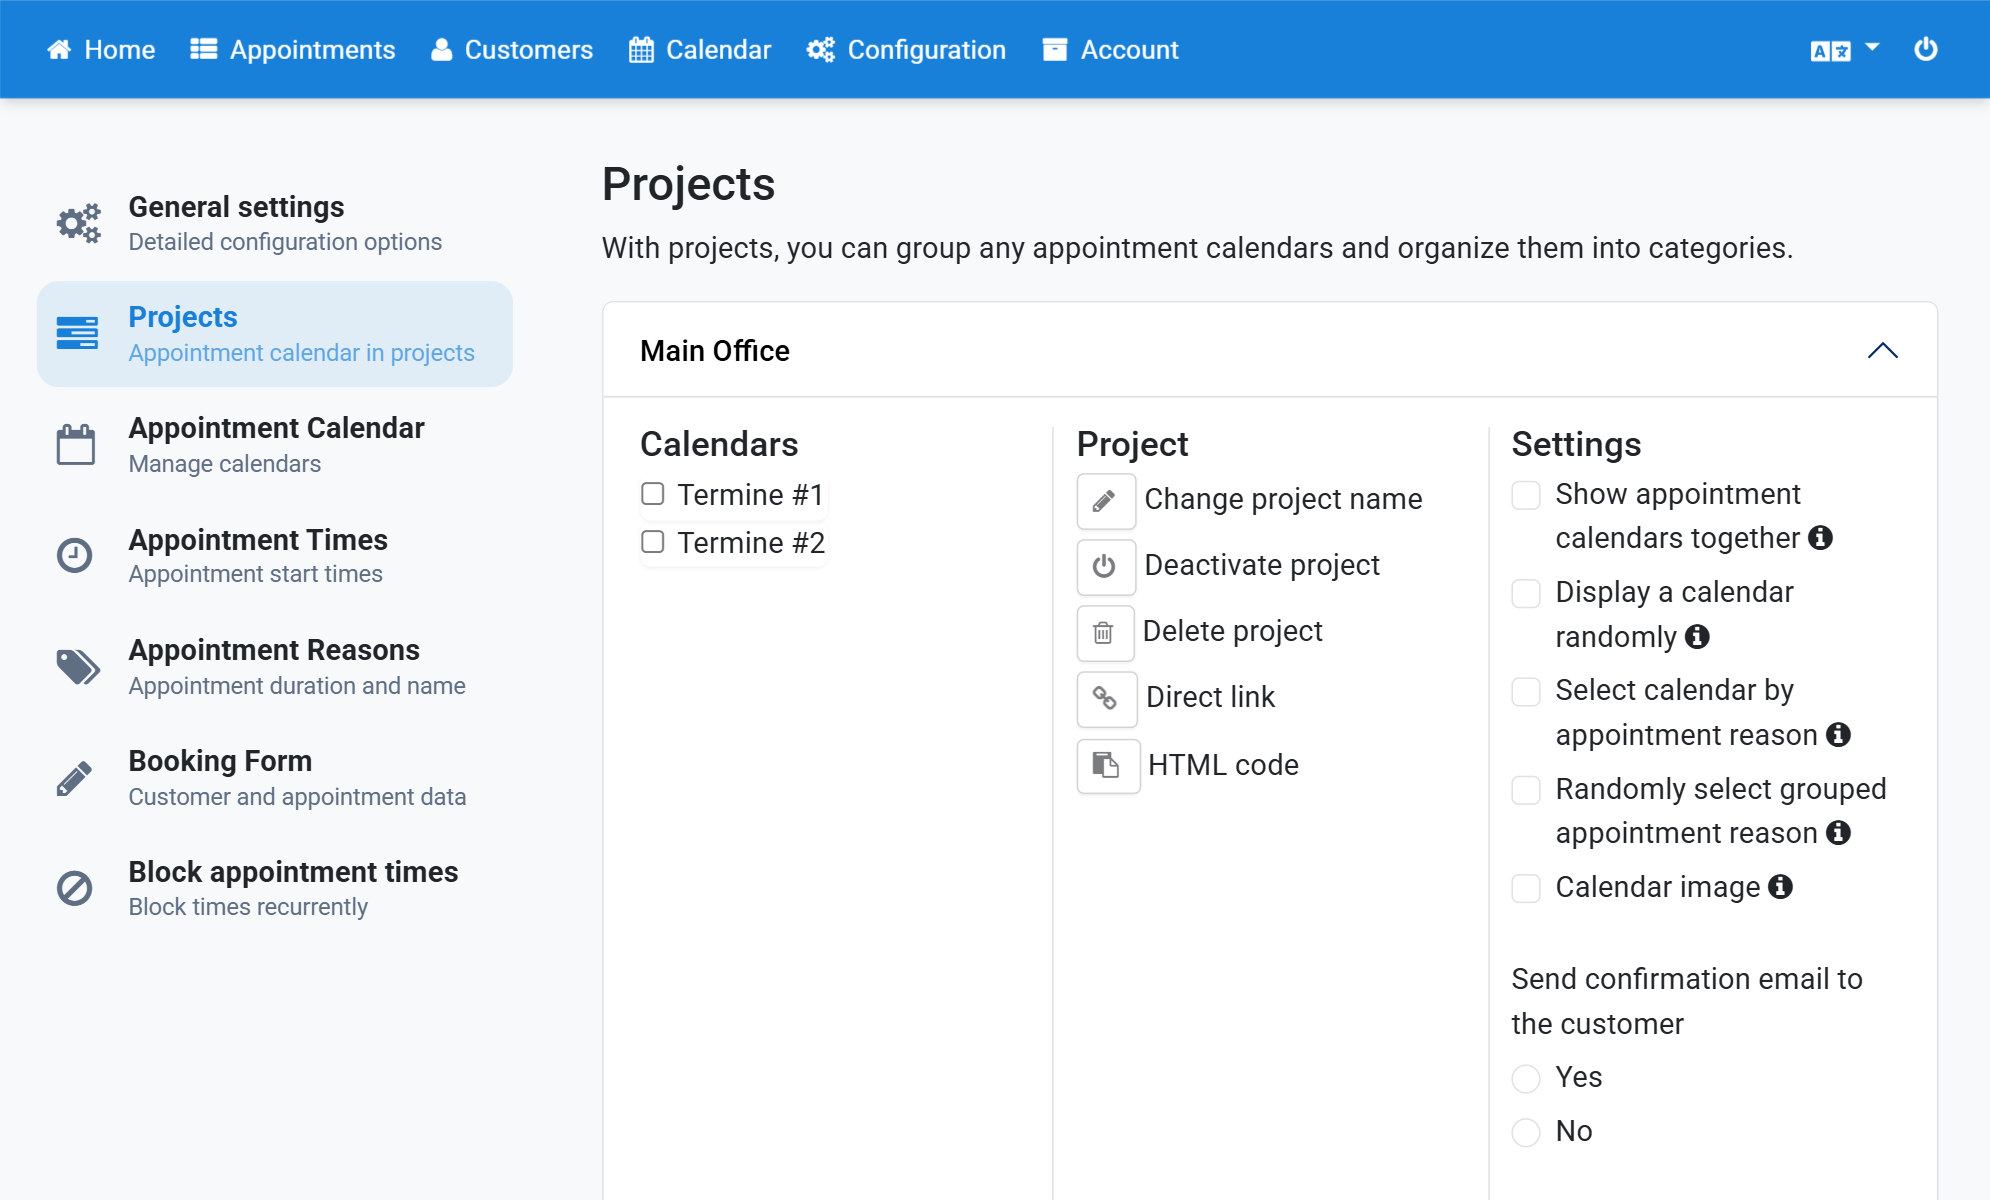
Optionally click Appointment reasons to define reasons for this project
11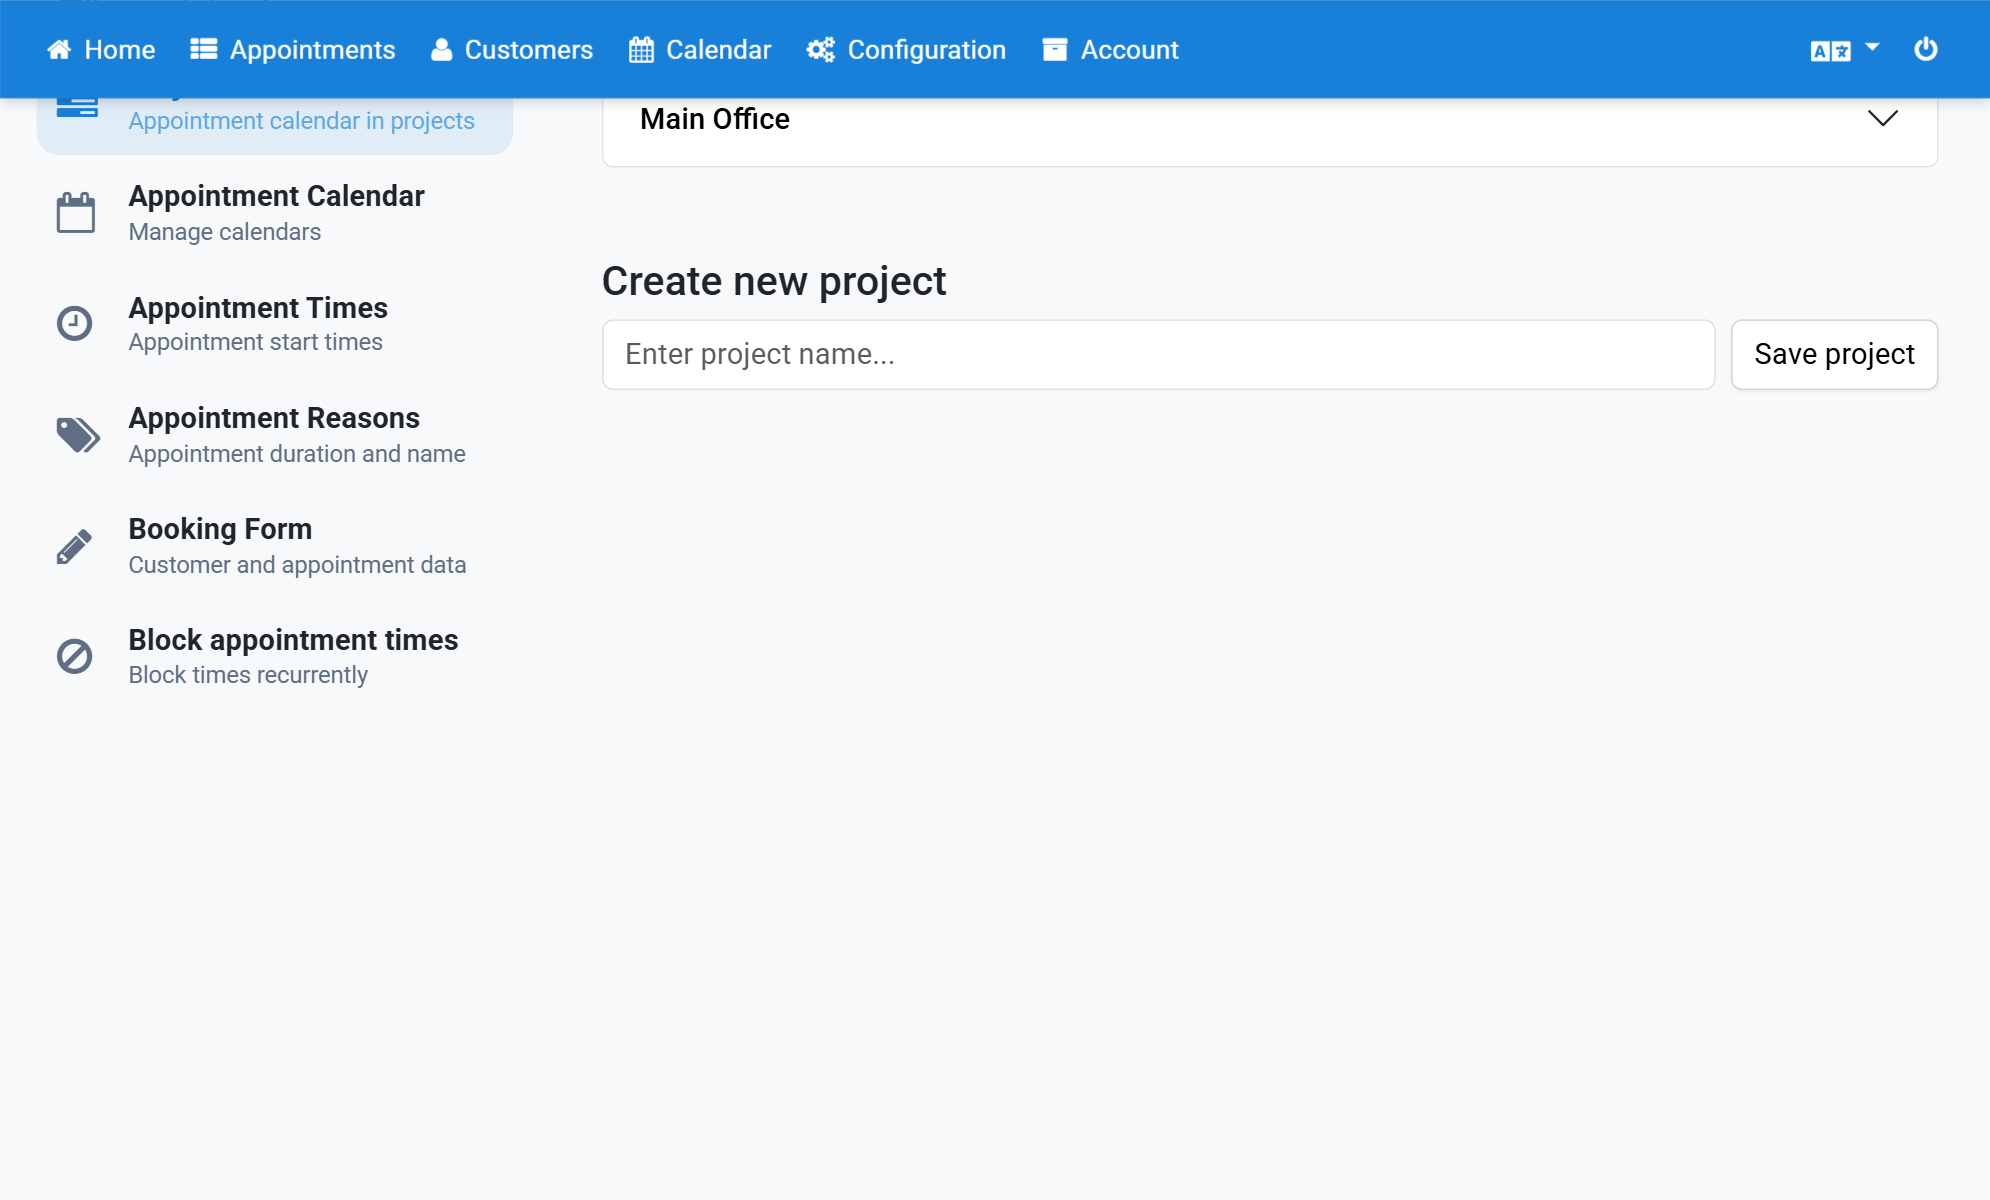
Select the project under Settings for all calendars and create its appointment reasons
12