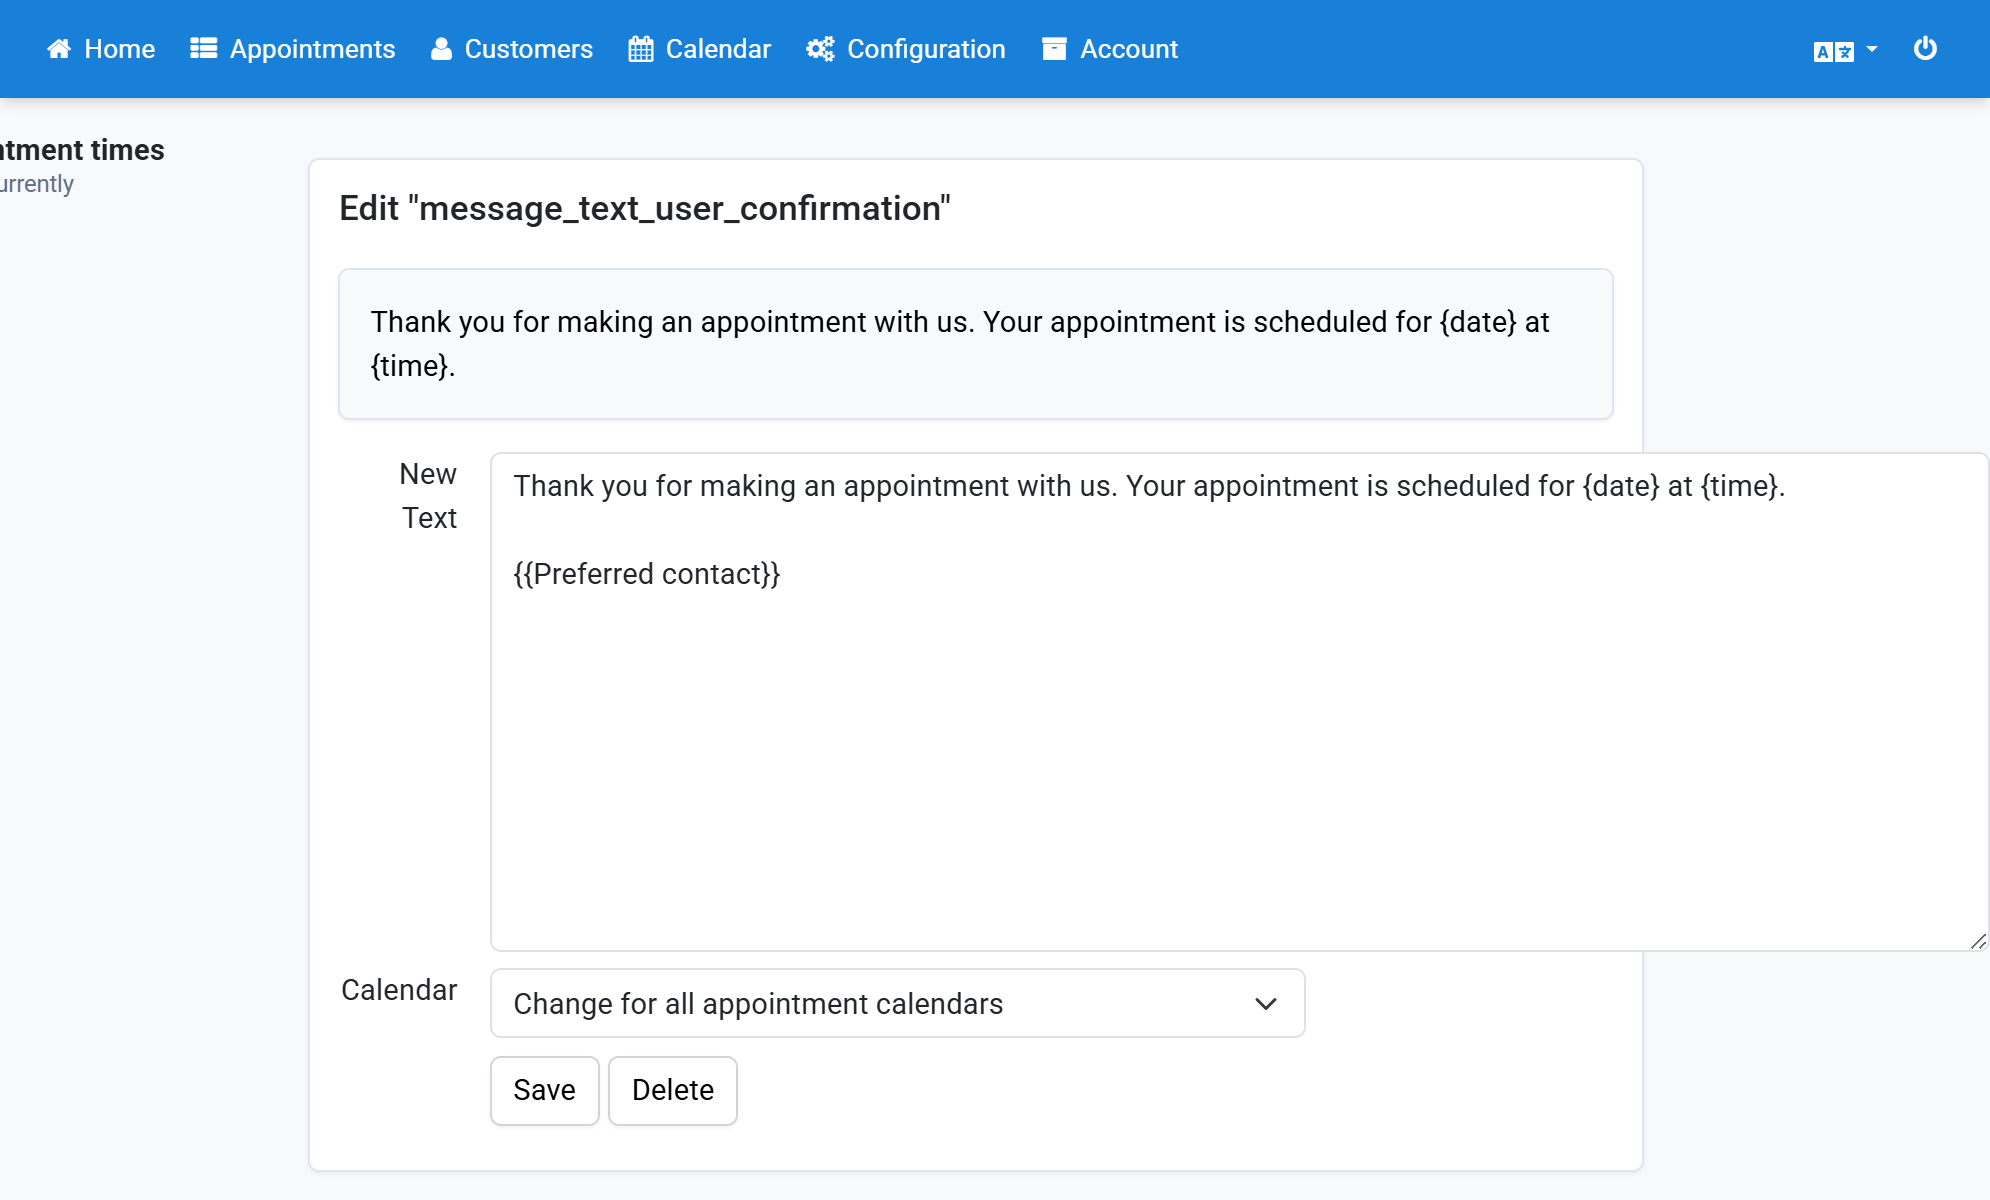
Text in Emails Depending on the Form Selection
If your booking form contains a selection field with several options, you can store an individual text for every option. The customer then receives the text that belongs to the option they picked.
- Click Configuration in the navigation bar.
- Click Booking Form in the subnavigation bar.
- Create a selection field with three options.
- Copy one of the options to the clipboard.
- Click Configuration in the navigation bar.
- Click Texts (Change texts and labels).
- Select English as the language in the right box and click Create New.
- Enter the text that should appear in the email under New Text.
- Paste the copied option into Label.
- Click Save.
- You receive a success message.
- Repeat the steps for all other options.
- Click Booking Form in the subnavigation bar.
- Go to the email template for the customer.
- Copy the placeholder of the selection field.
- Click Configuration in the navigation bar.
- Click Texts (Change texts and labels).
- Under New Appointment click Show next to Text of the email to the user.
- Insert an opening and a closing curly brace - {} - where the text should appear.
- Paste the copied placeholder inside the curly braces.
- The placeholder now has two opening and two closing curly braces.
- Finally click Save.
Screenshots
Click Configuration in the navigation bar
1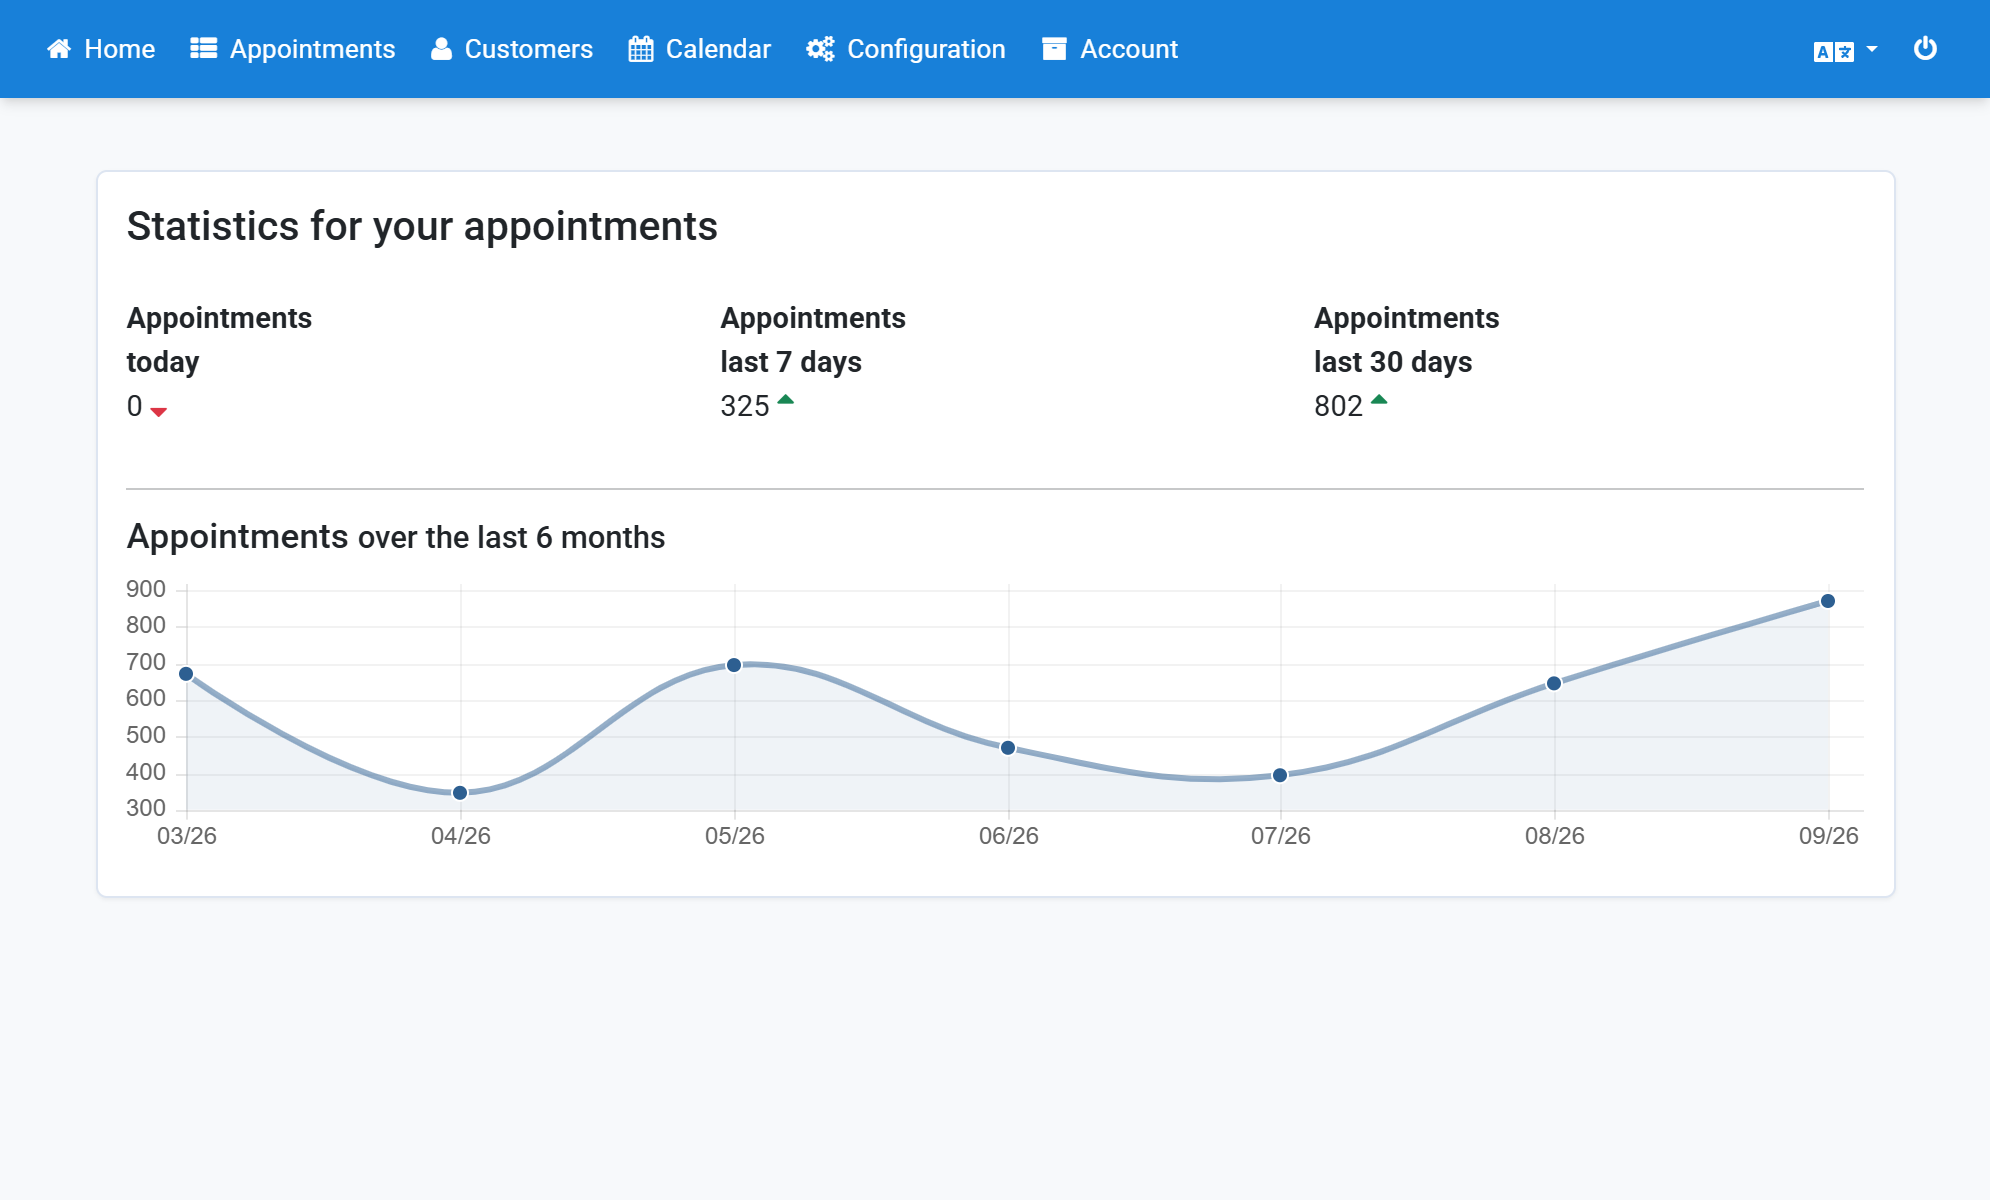
Click Booking Form in the subnavigation bar
2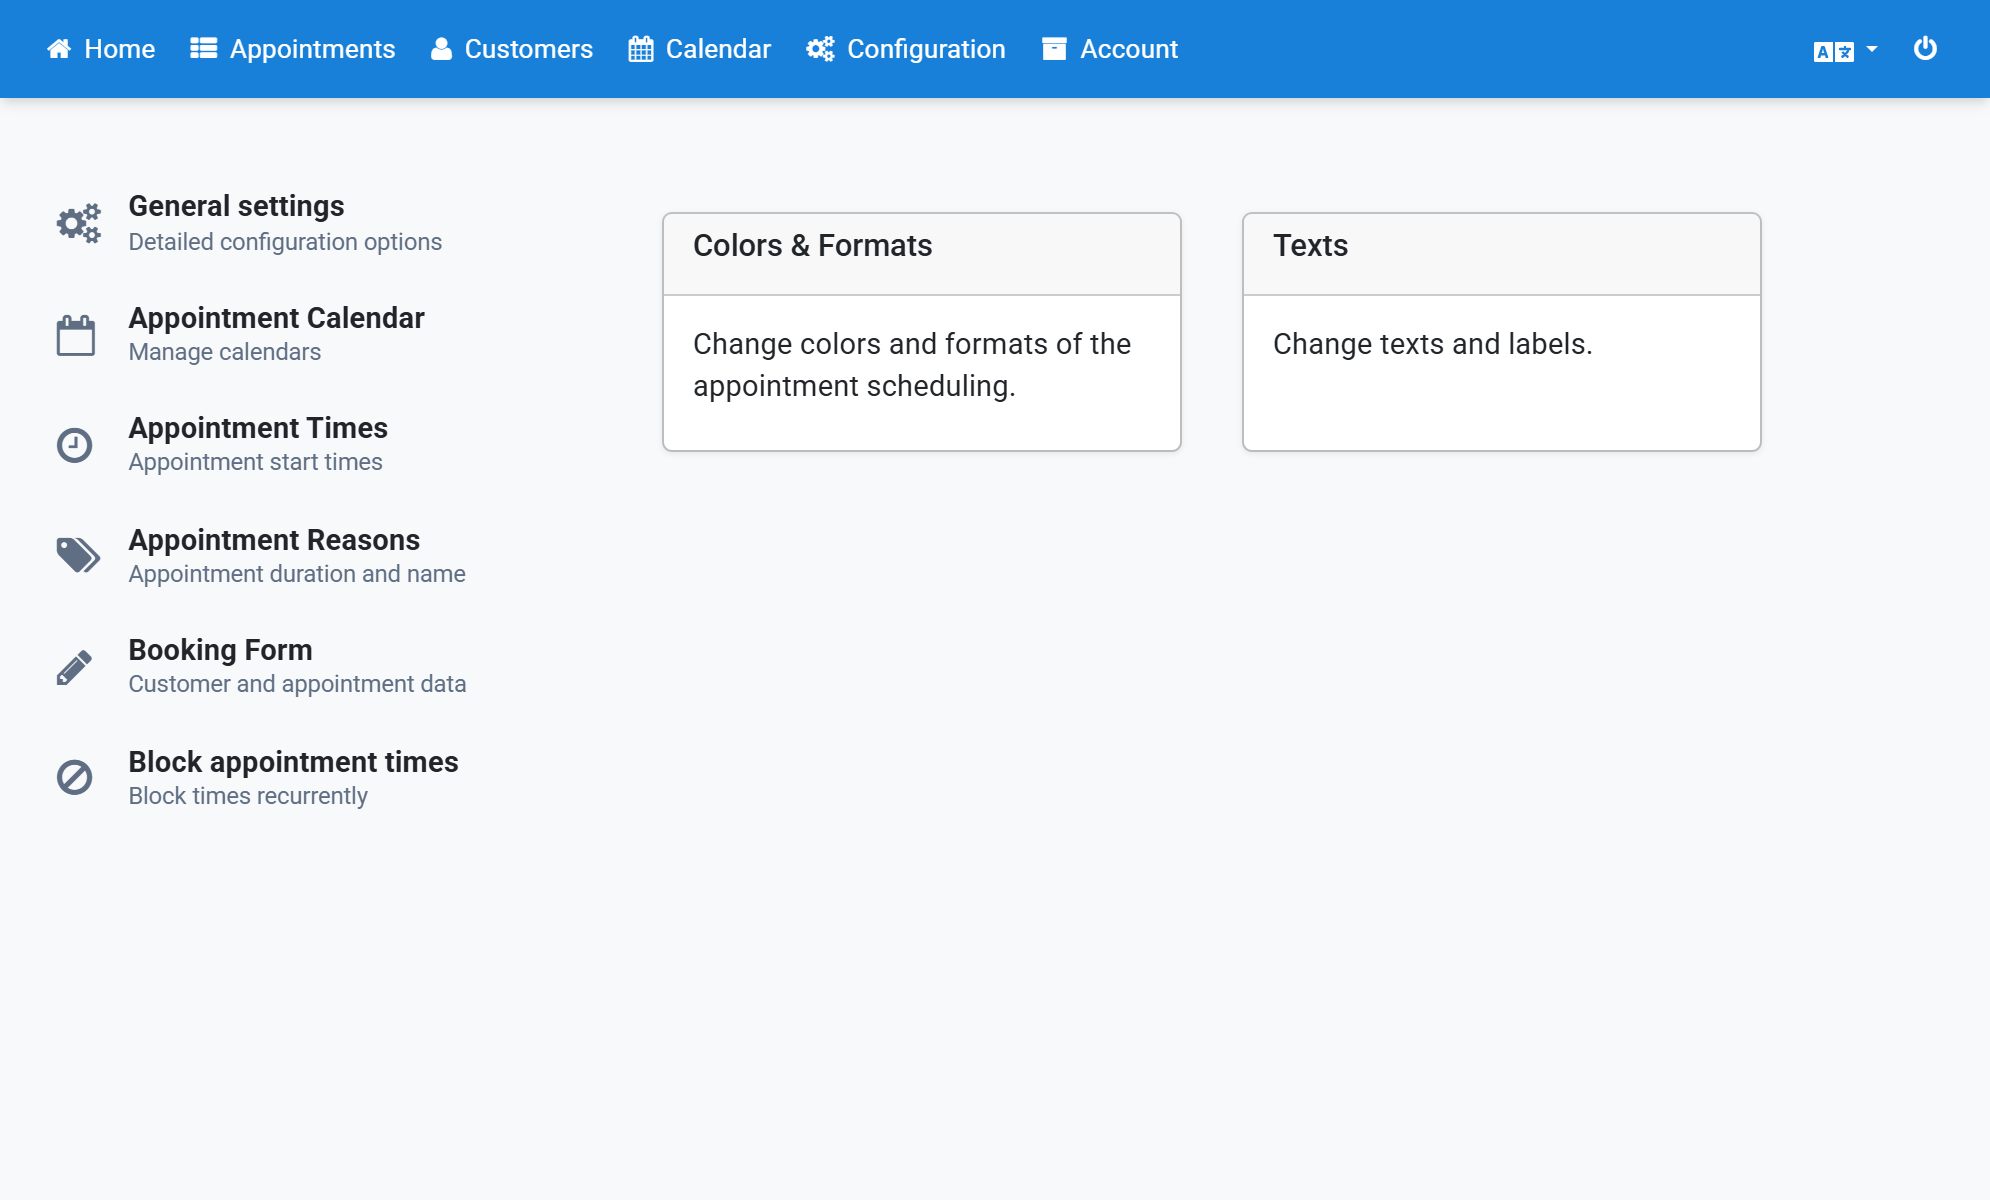
Create a selection field with three options
3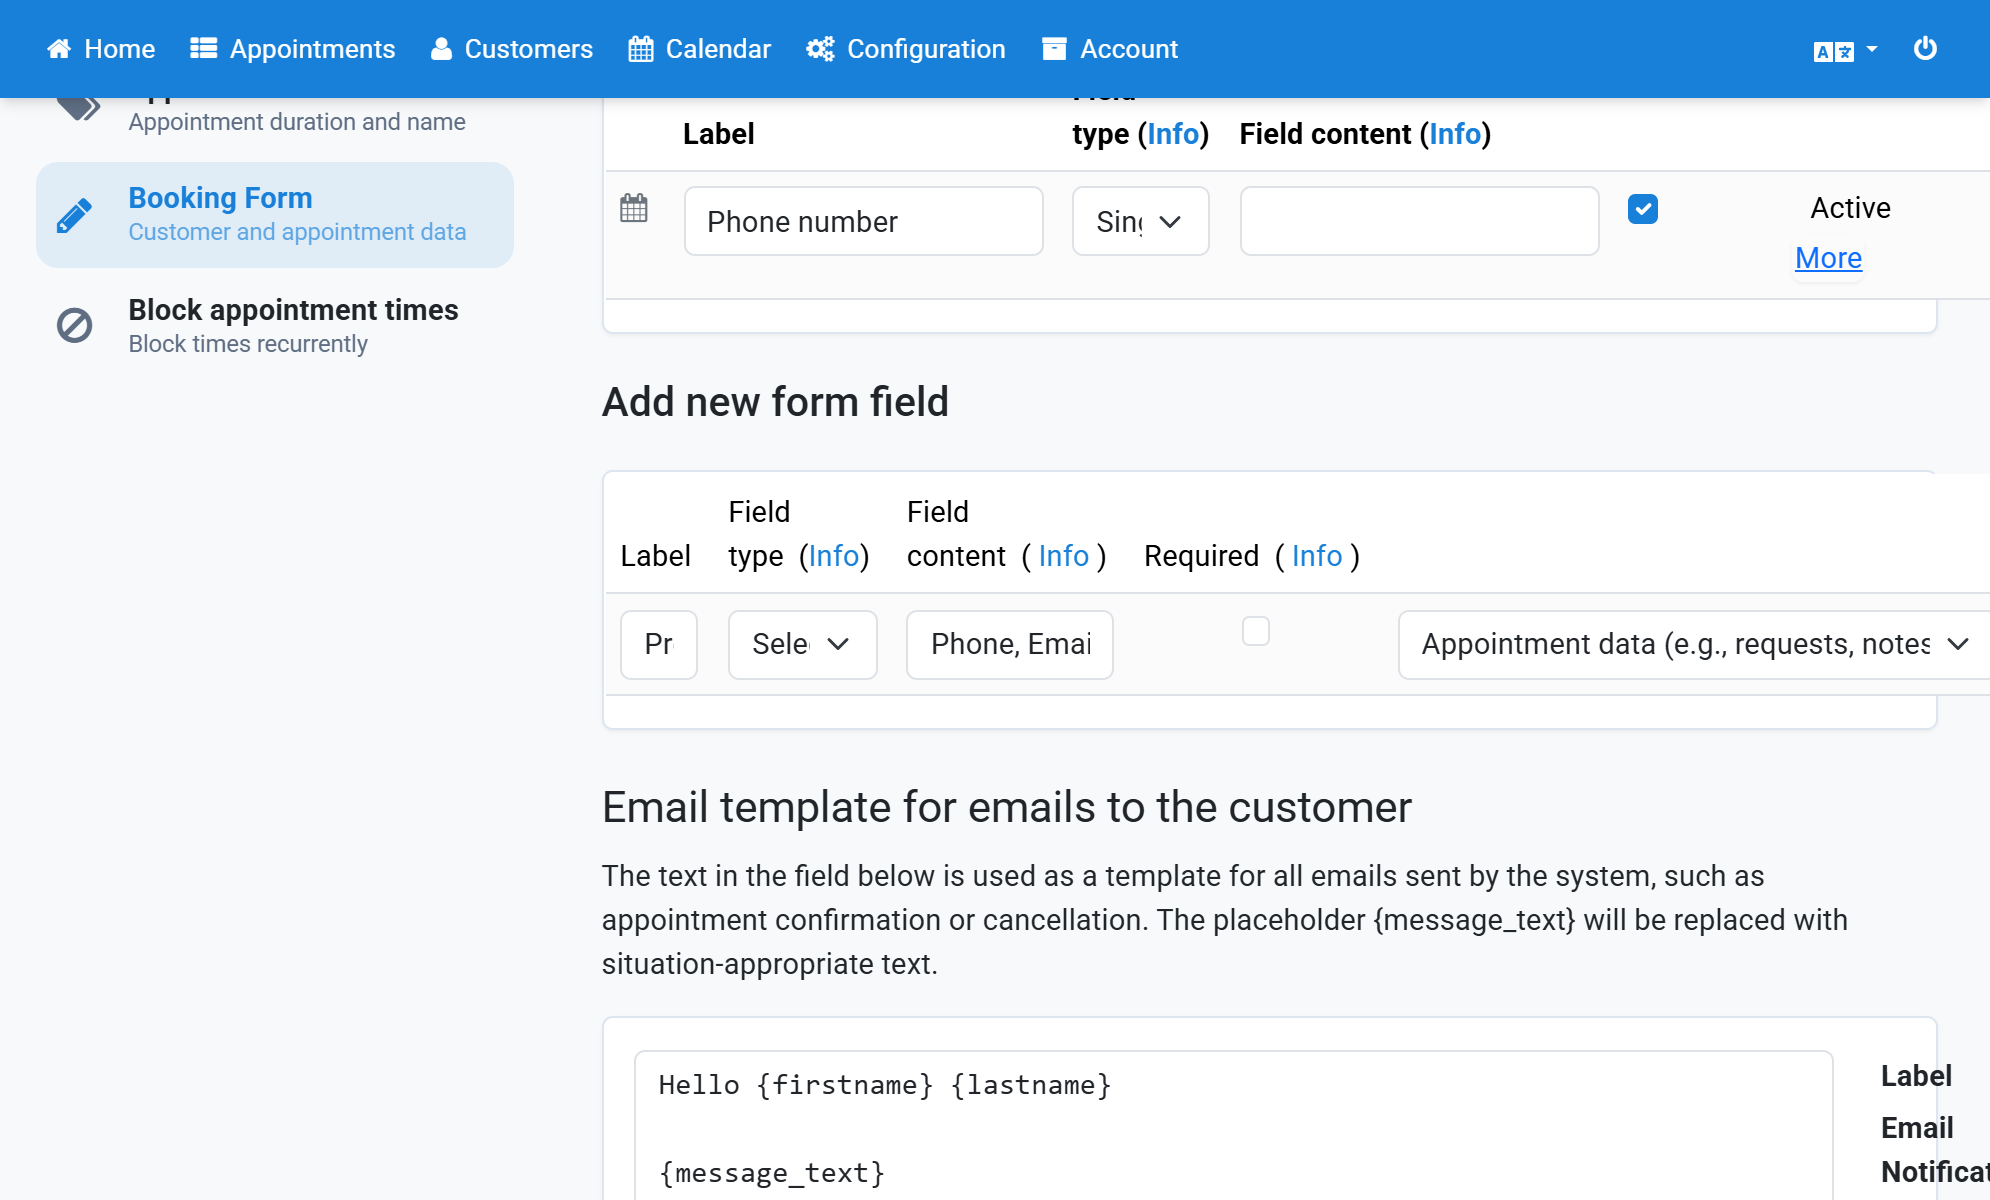
Copy one of the options to the clipboard
4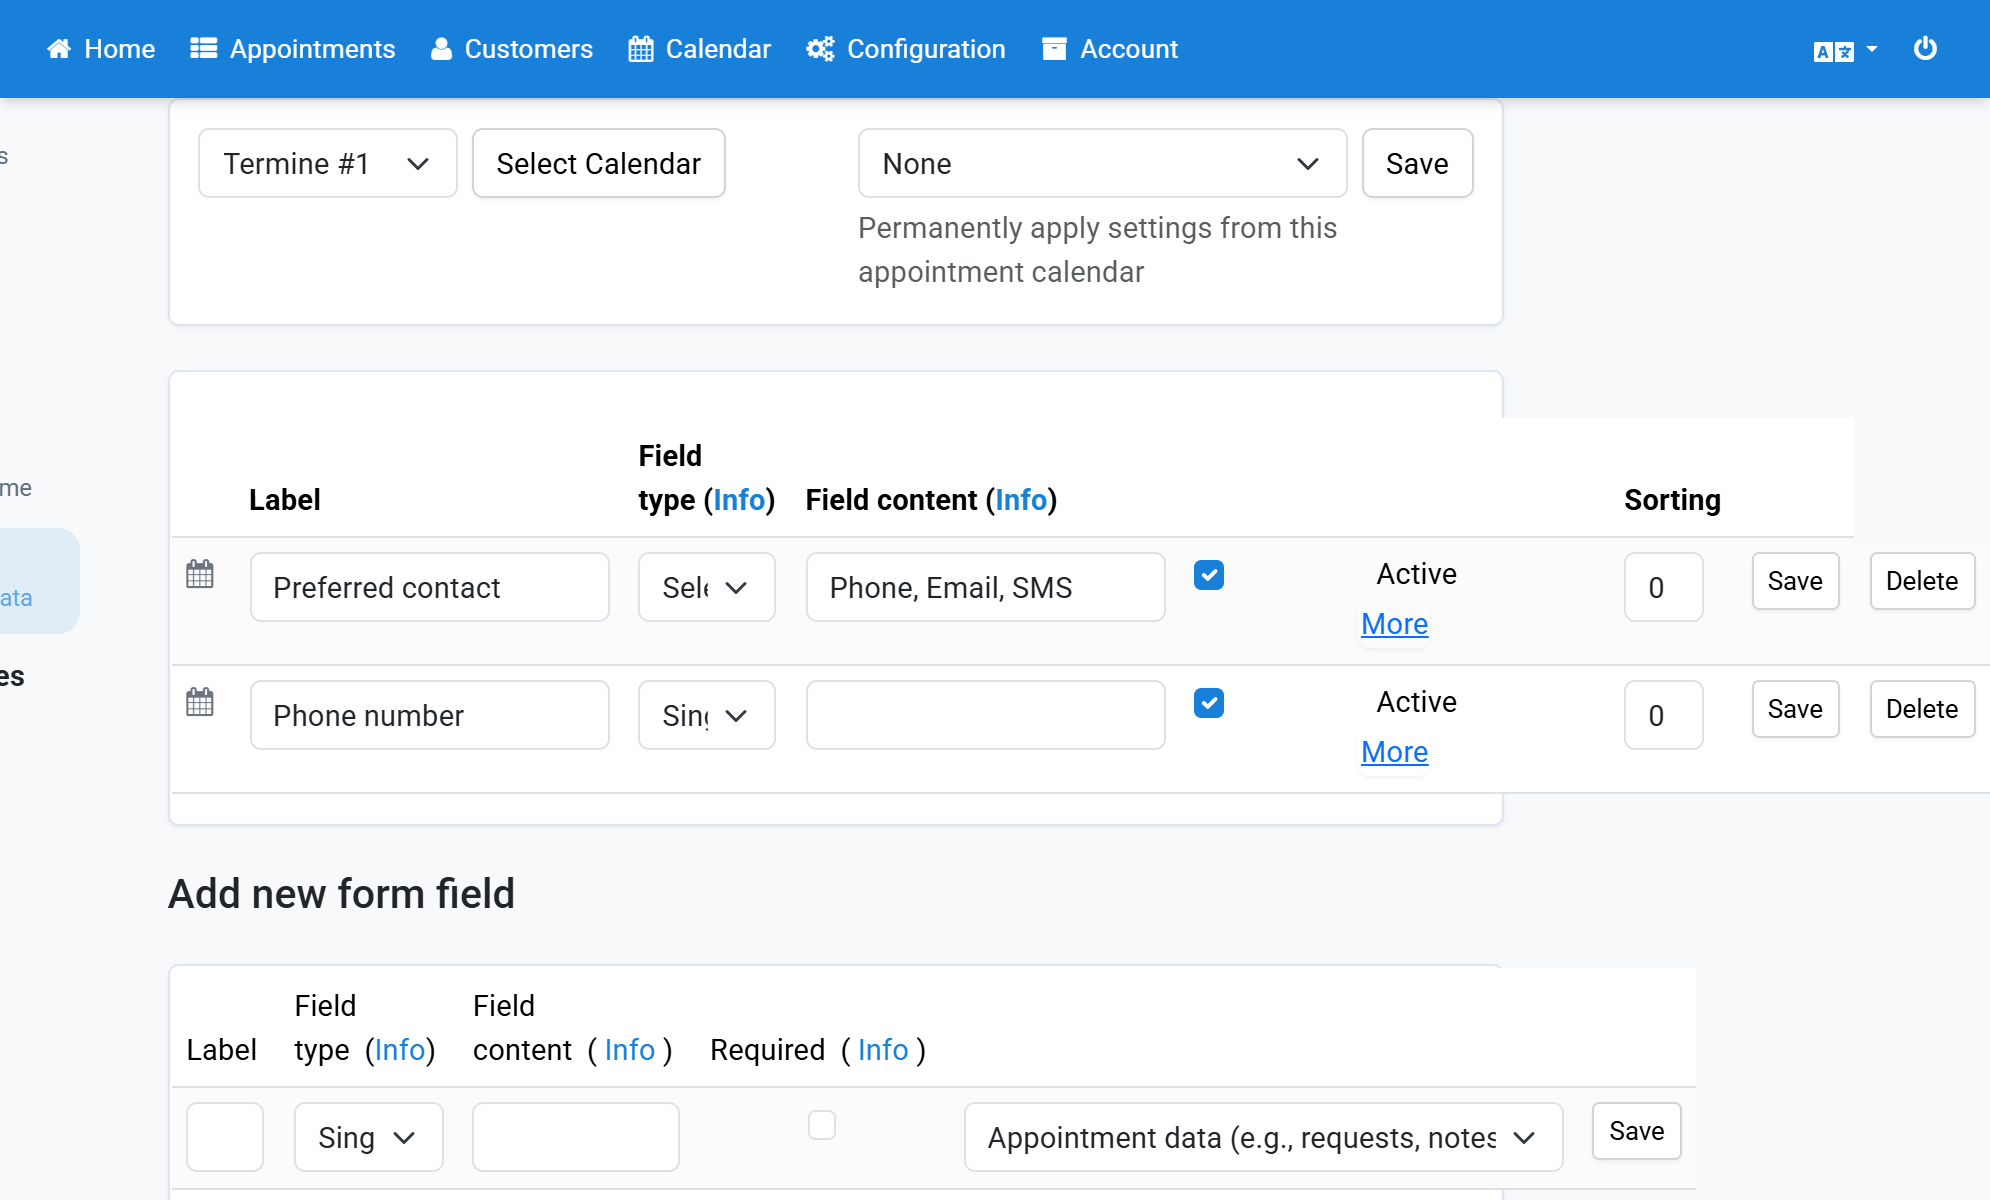
Click Configuration in the navigation bar
5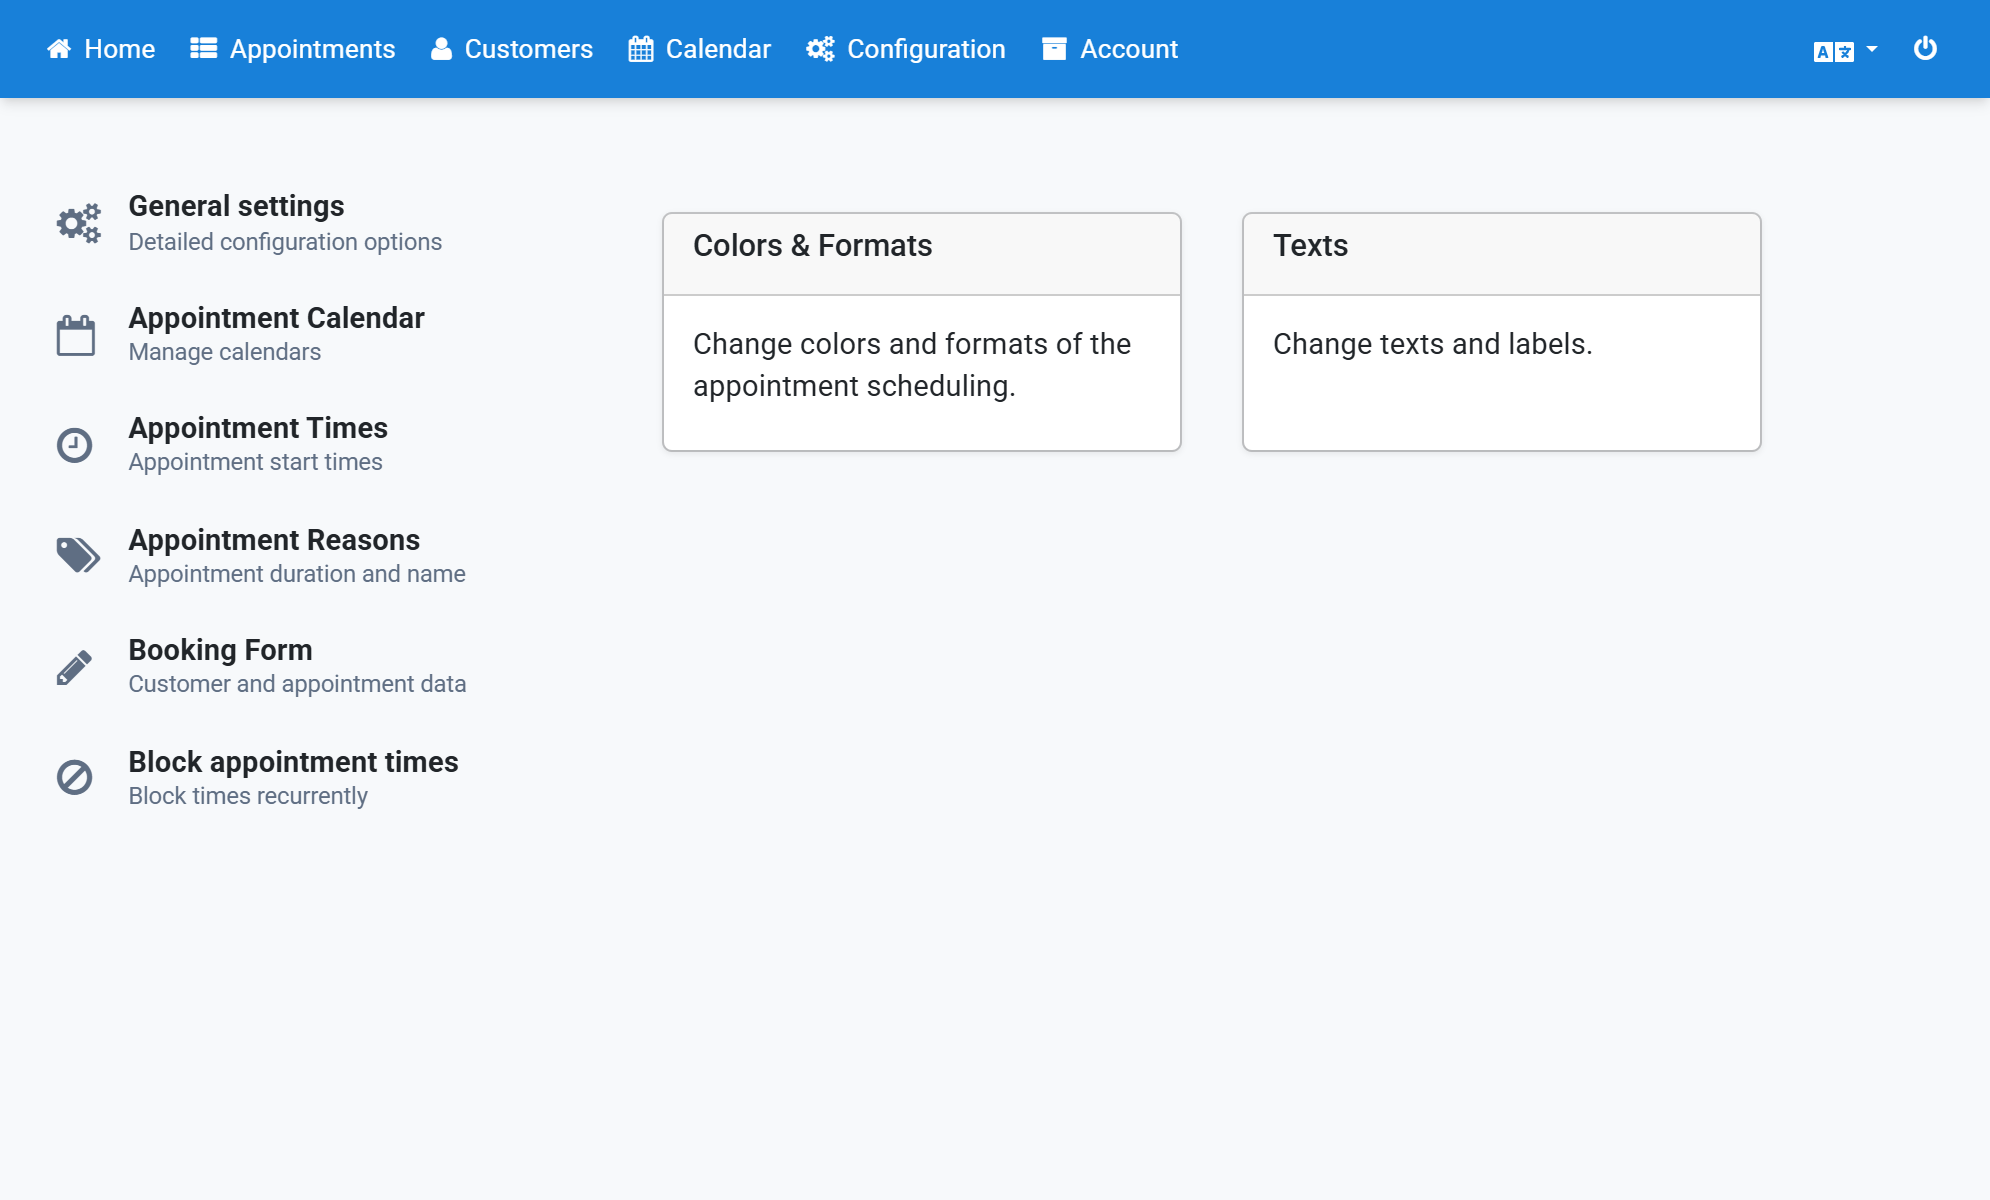
Click Texts (Change texts and labels)
6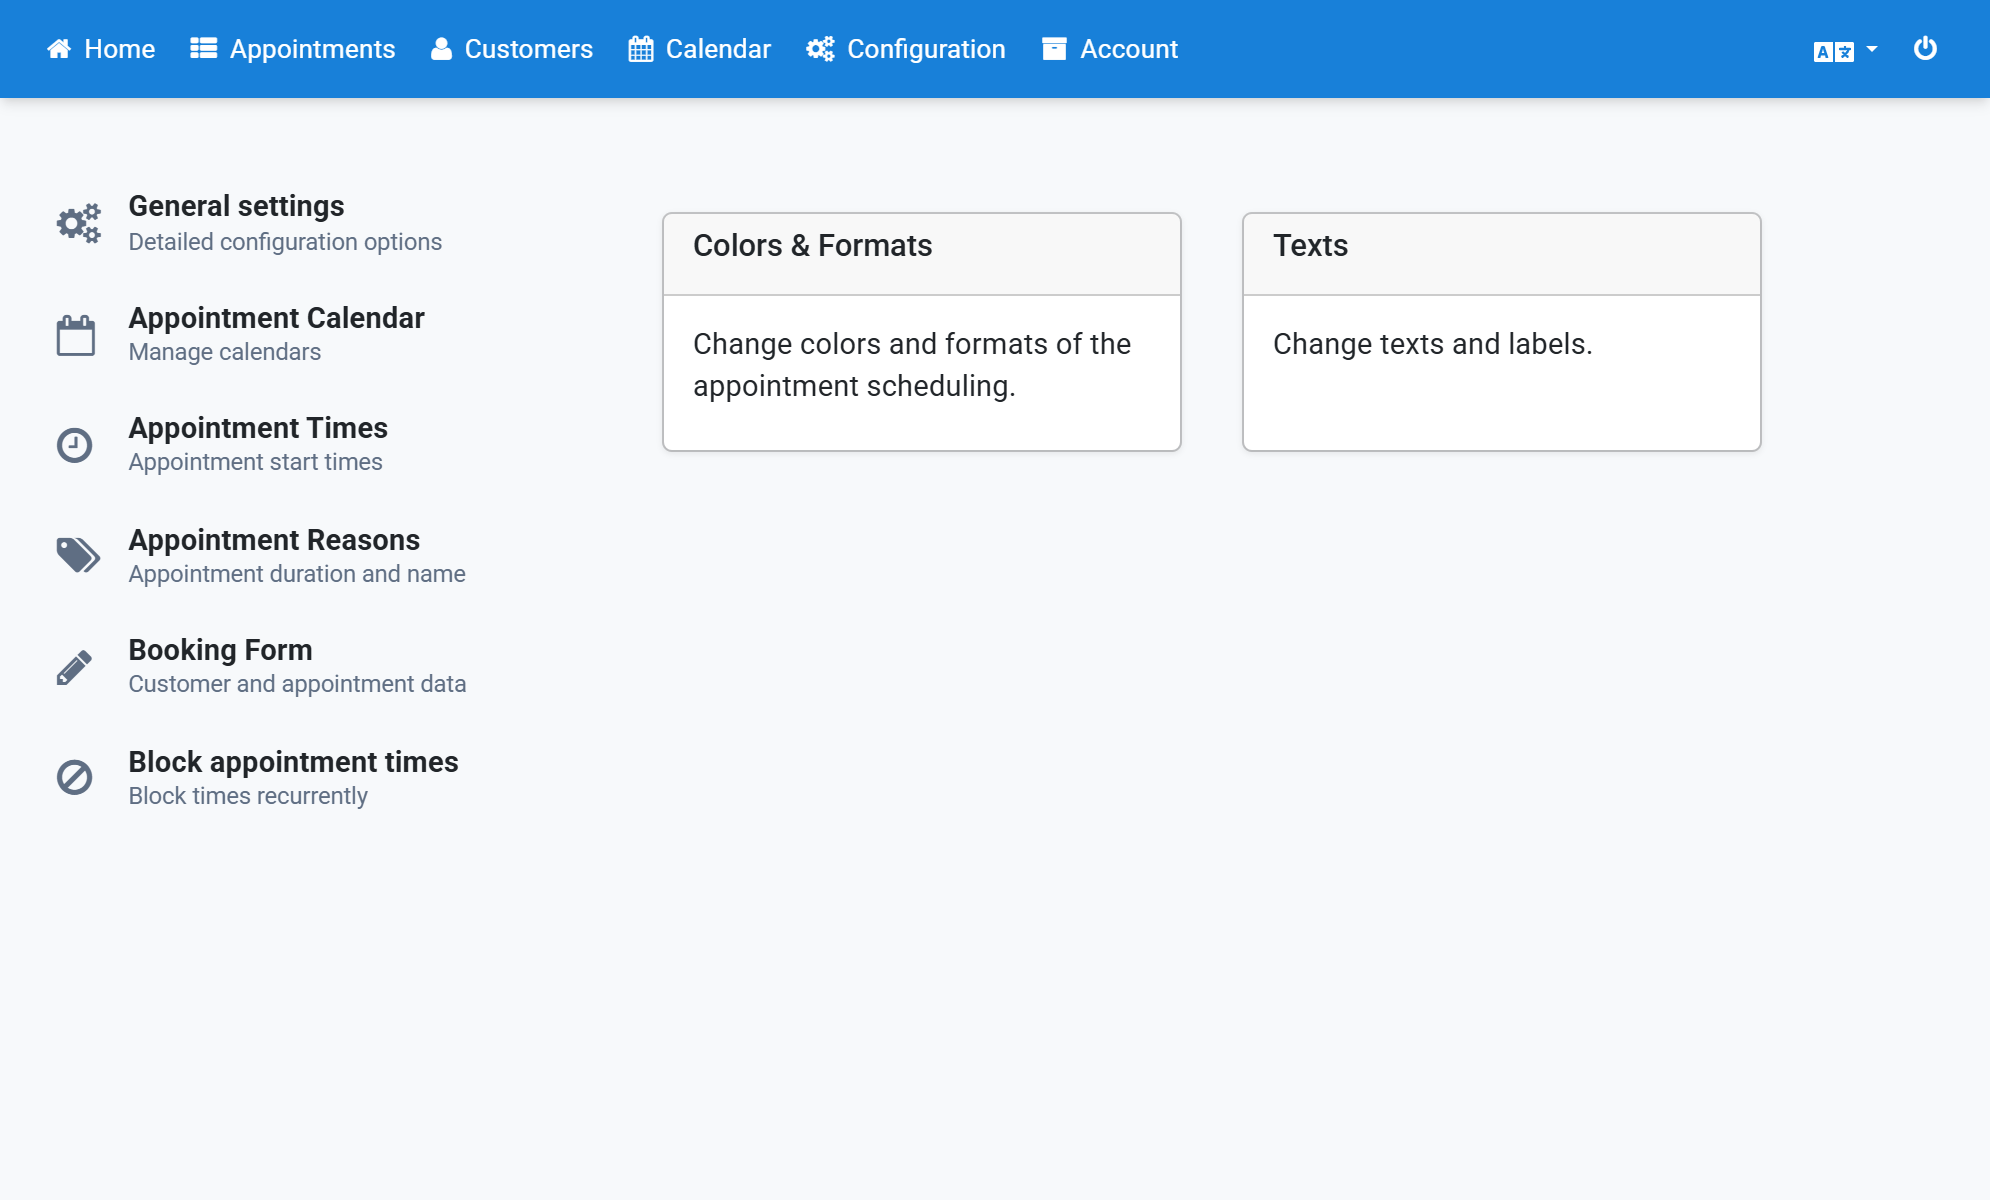
Select English as the language in the right box and click Create New
7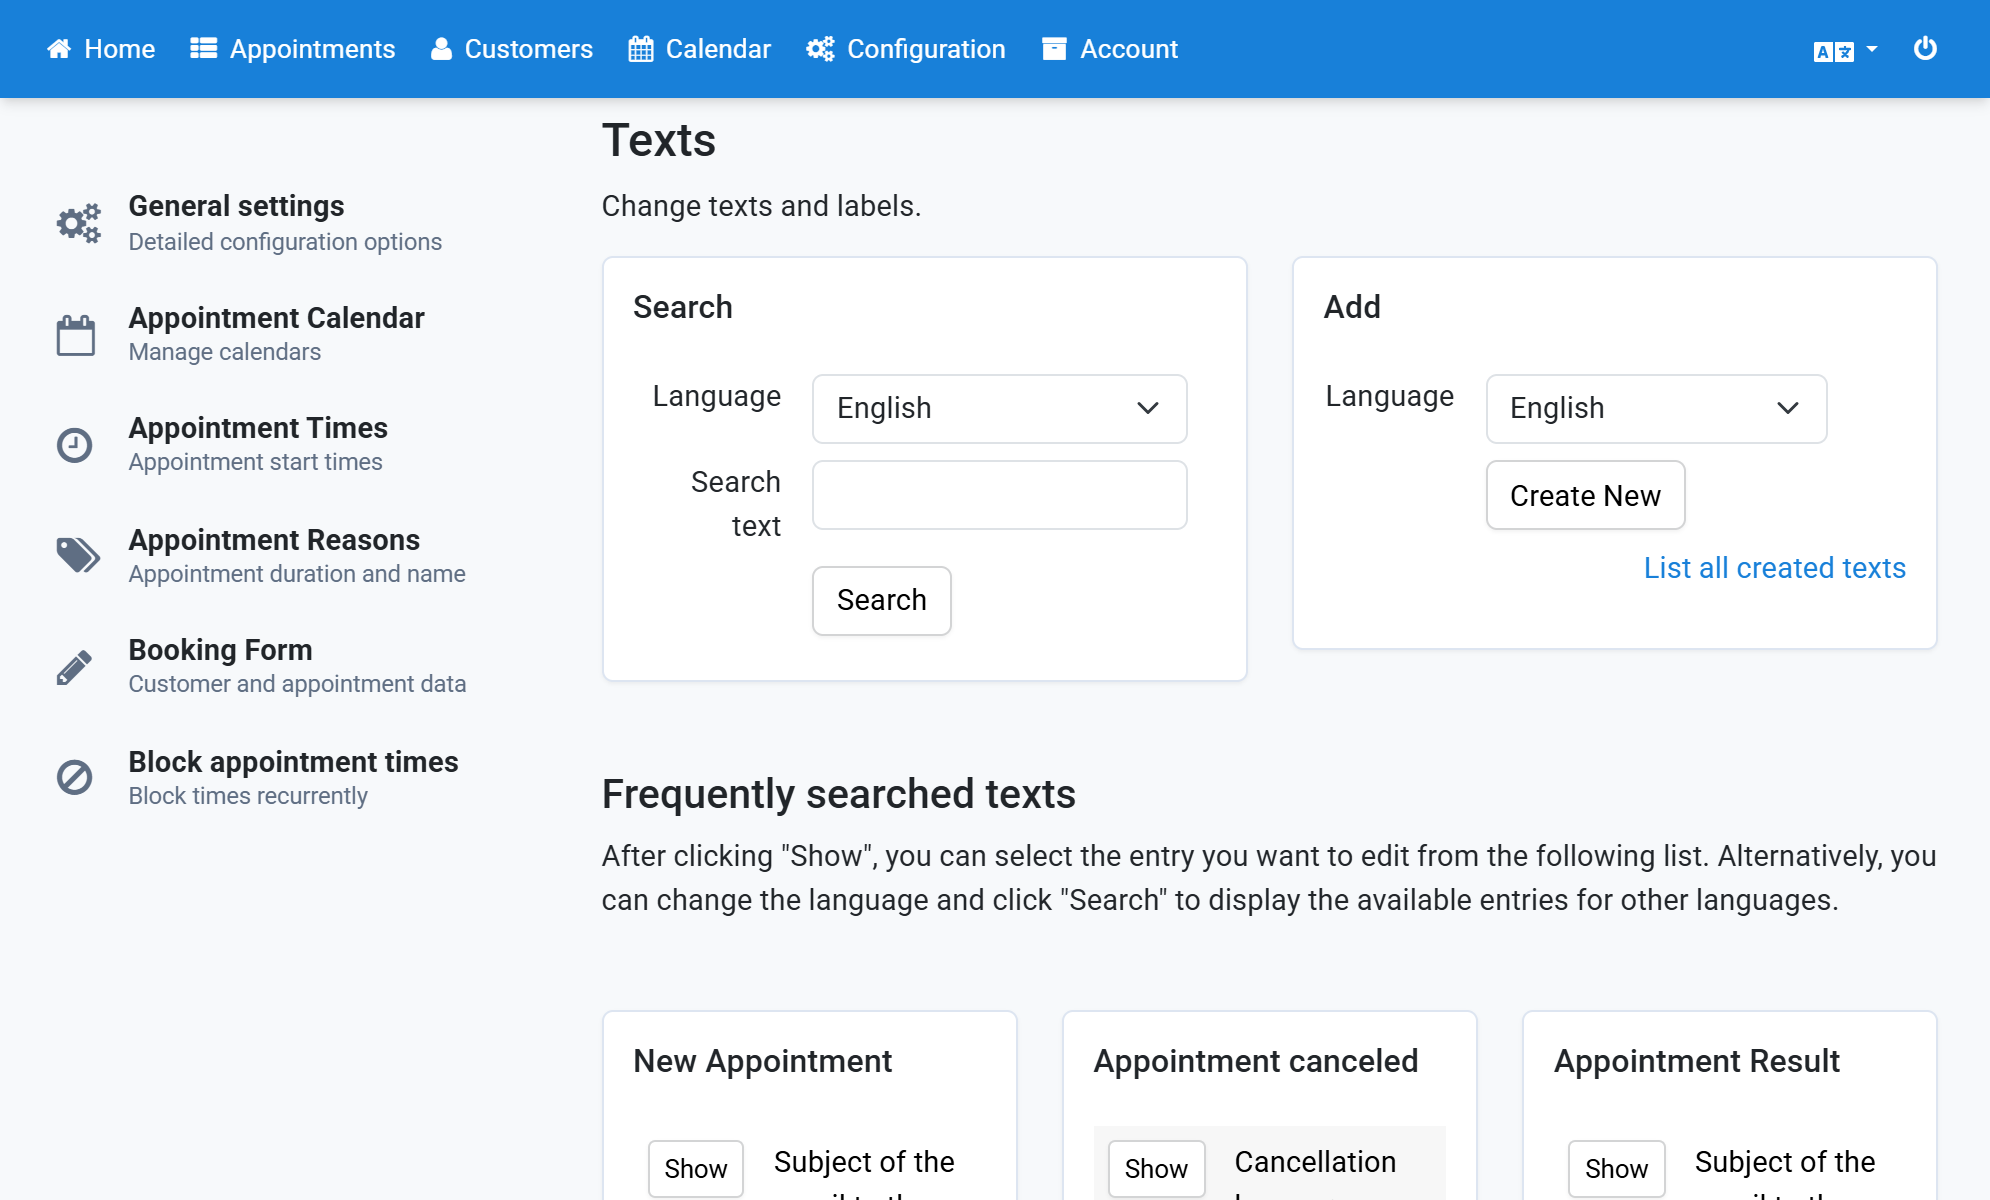
Enter the text that should appear in the email under New Text
8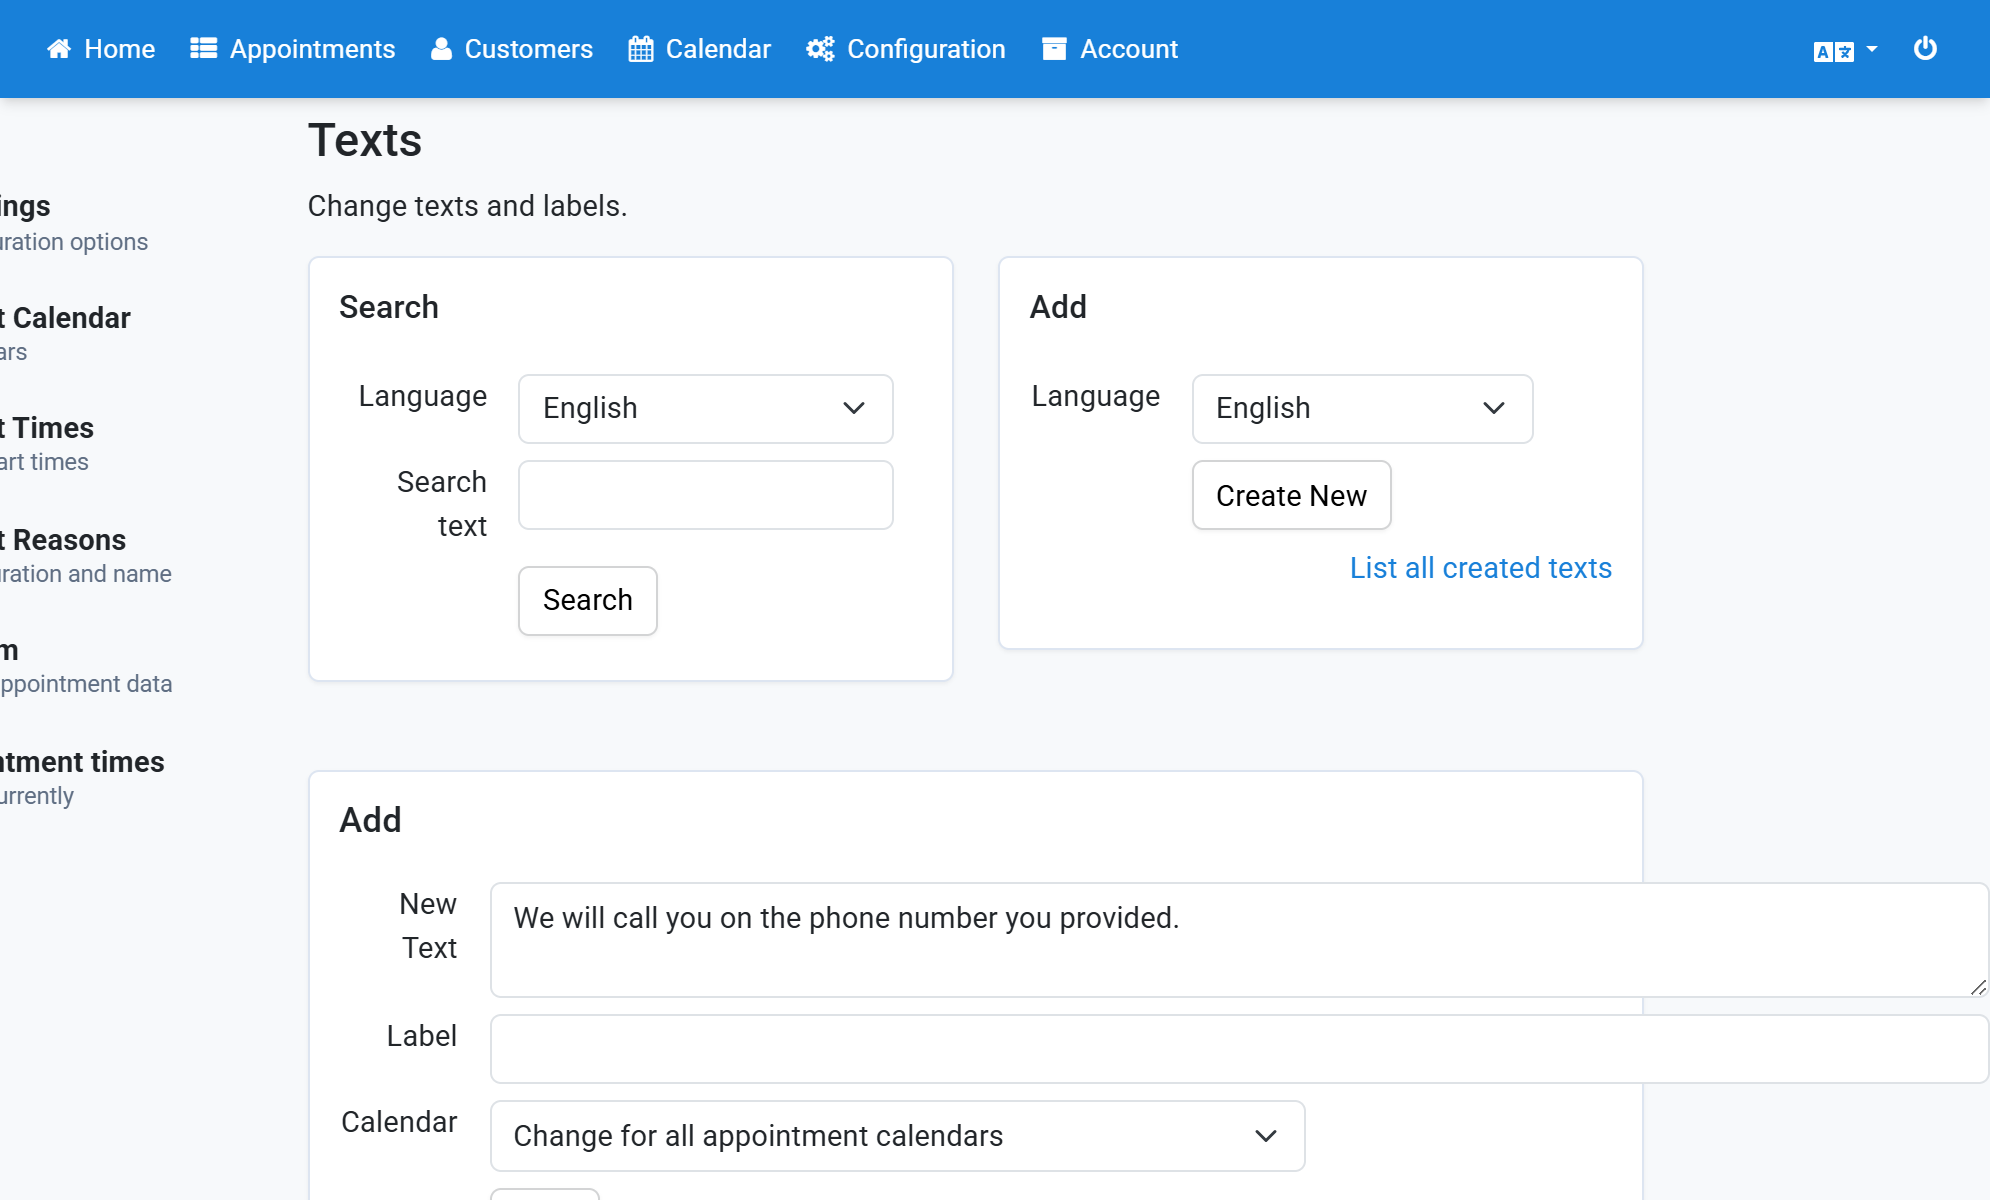
Paste the copied option into Label
9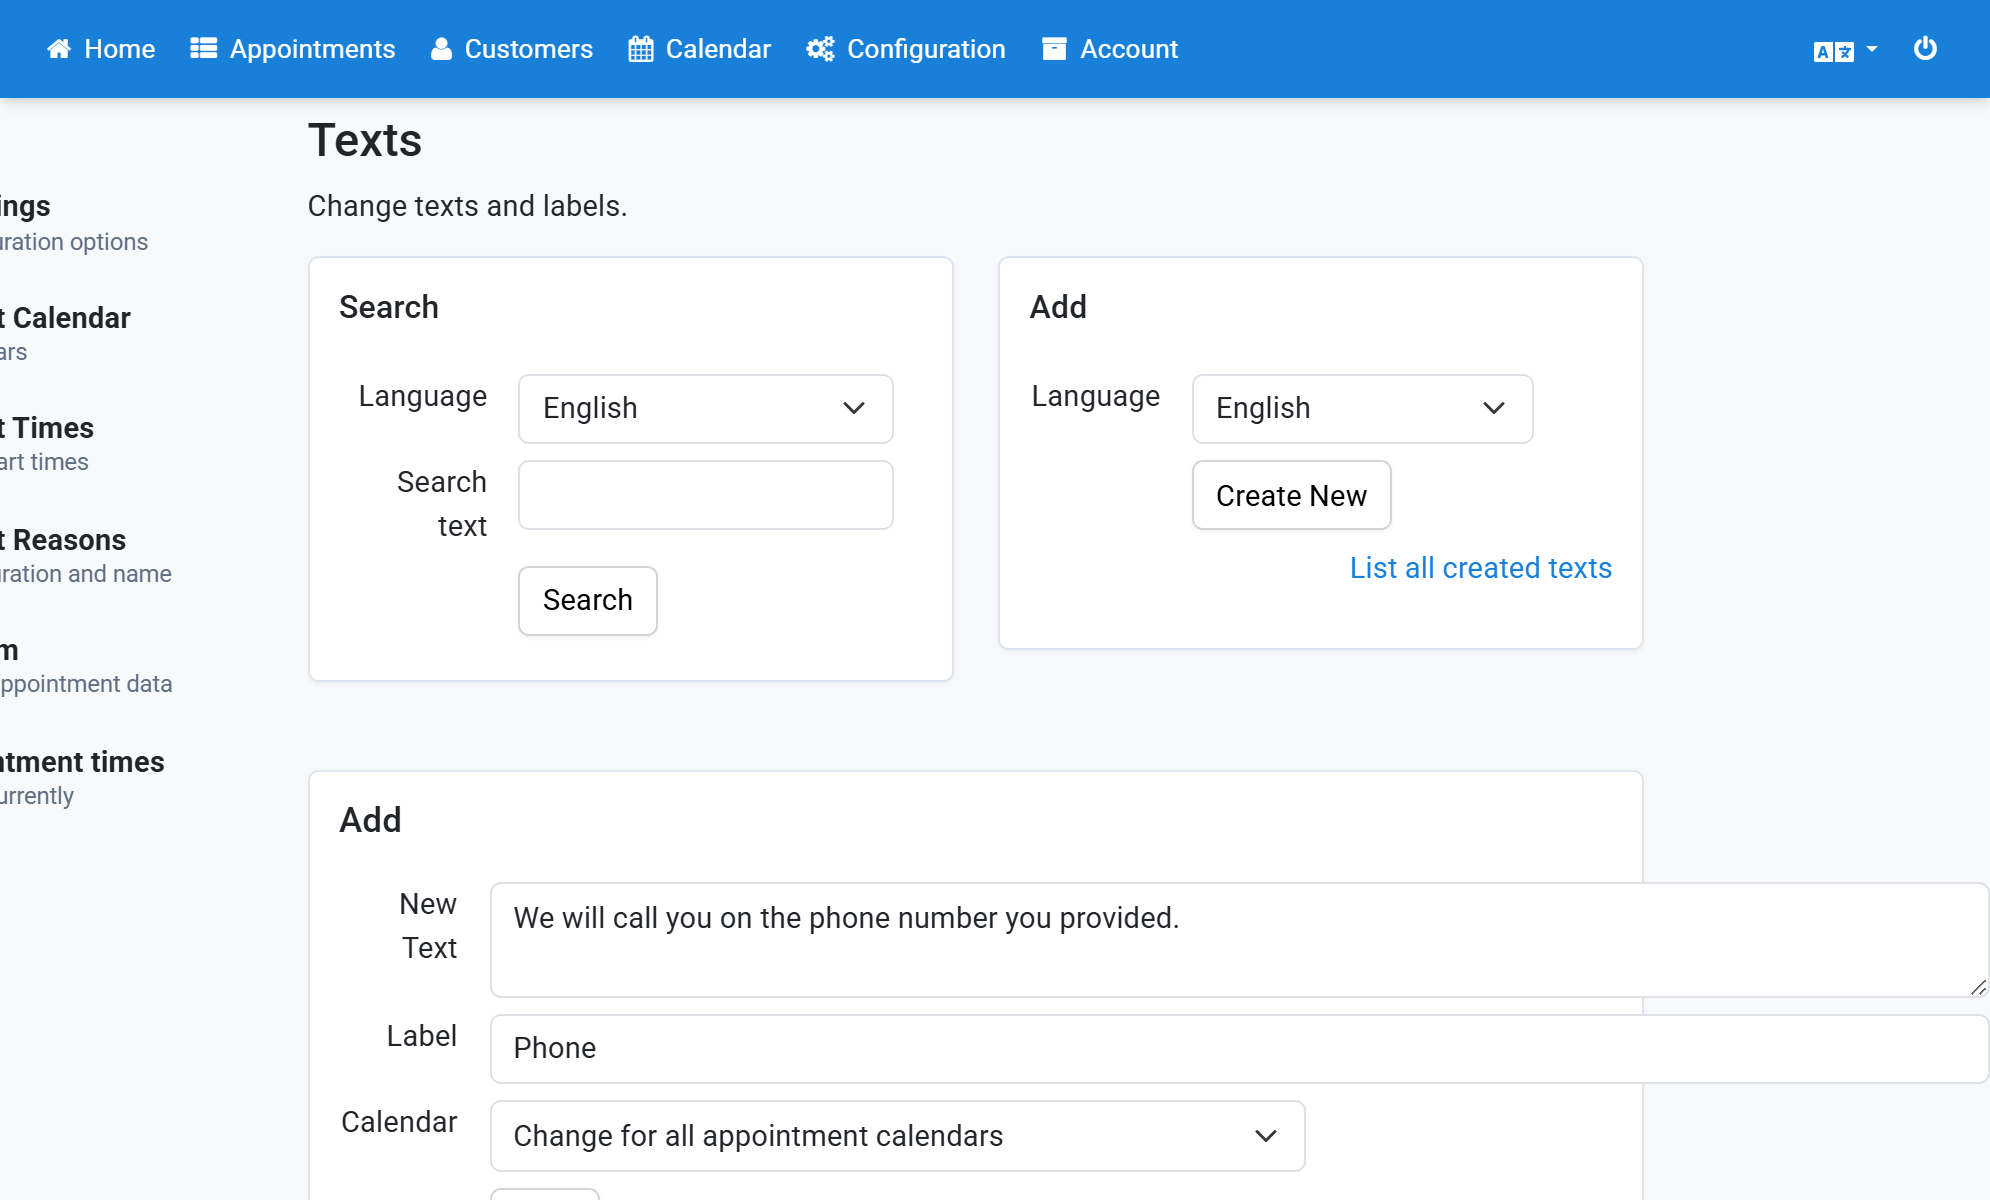
Click Save
10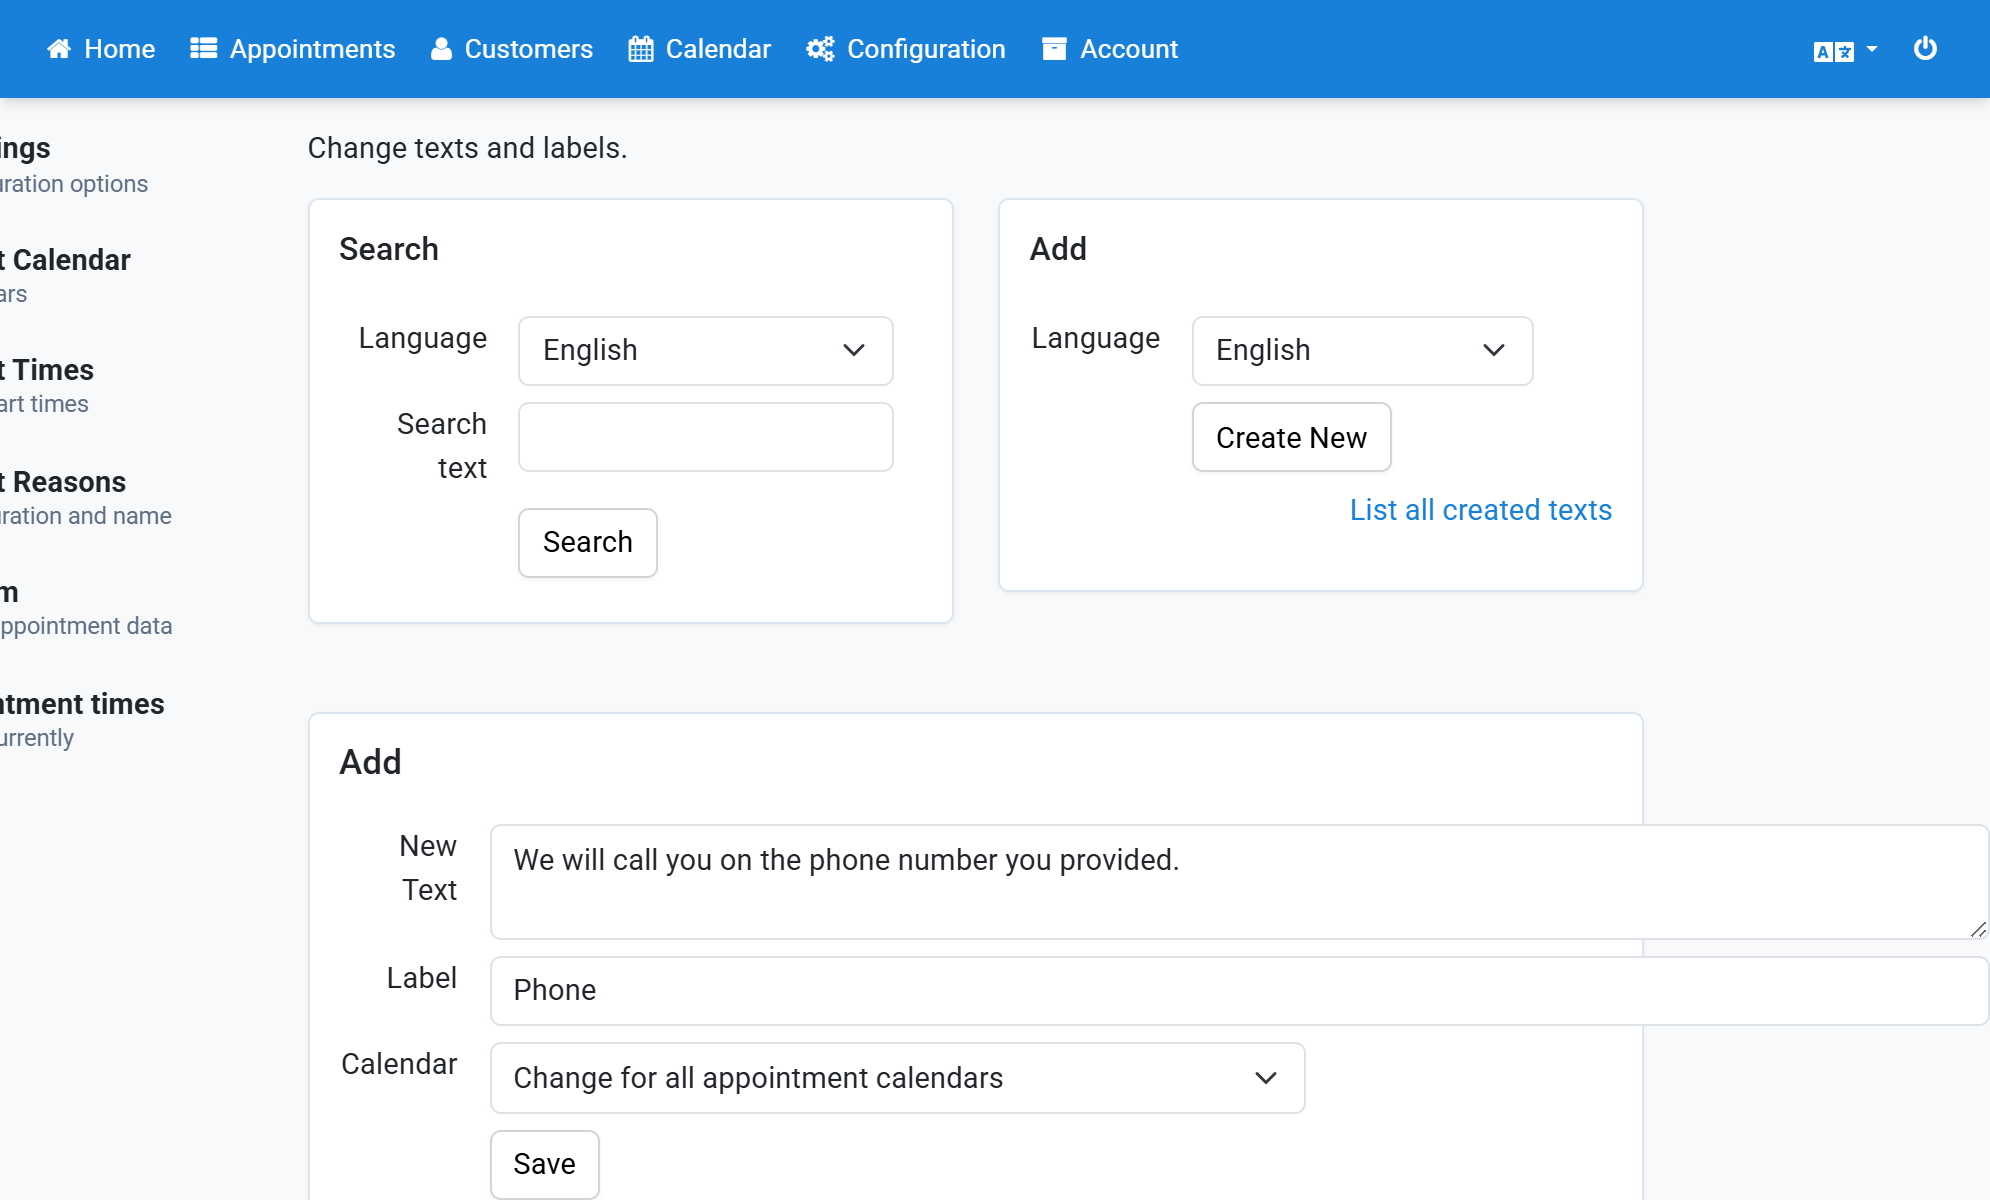
You receive a success message
11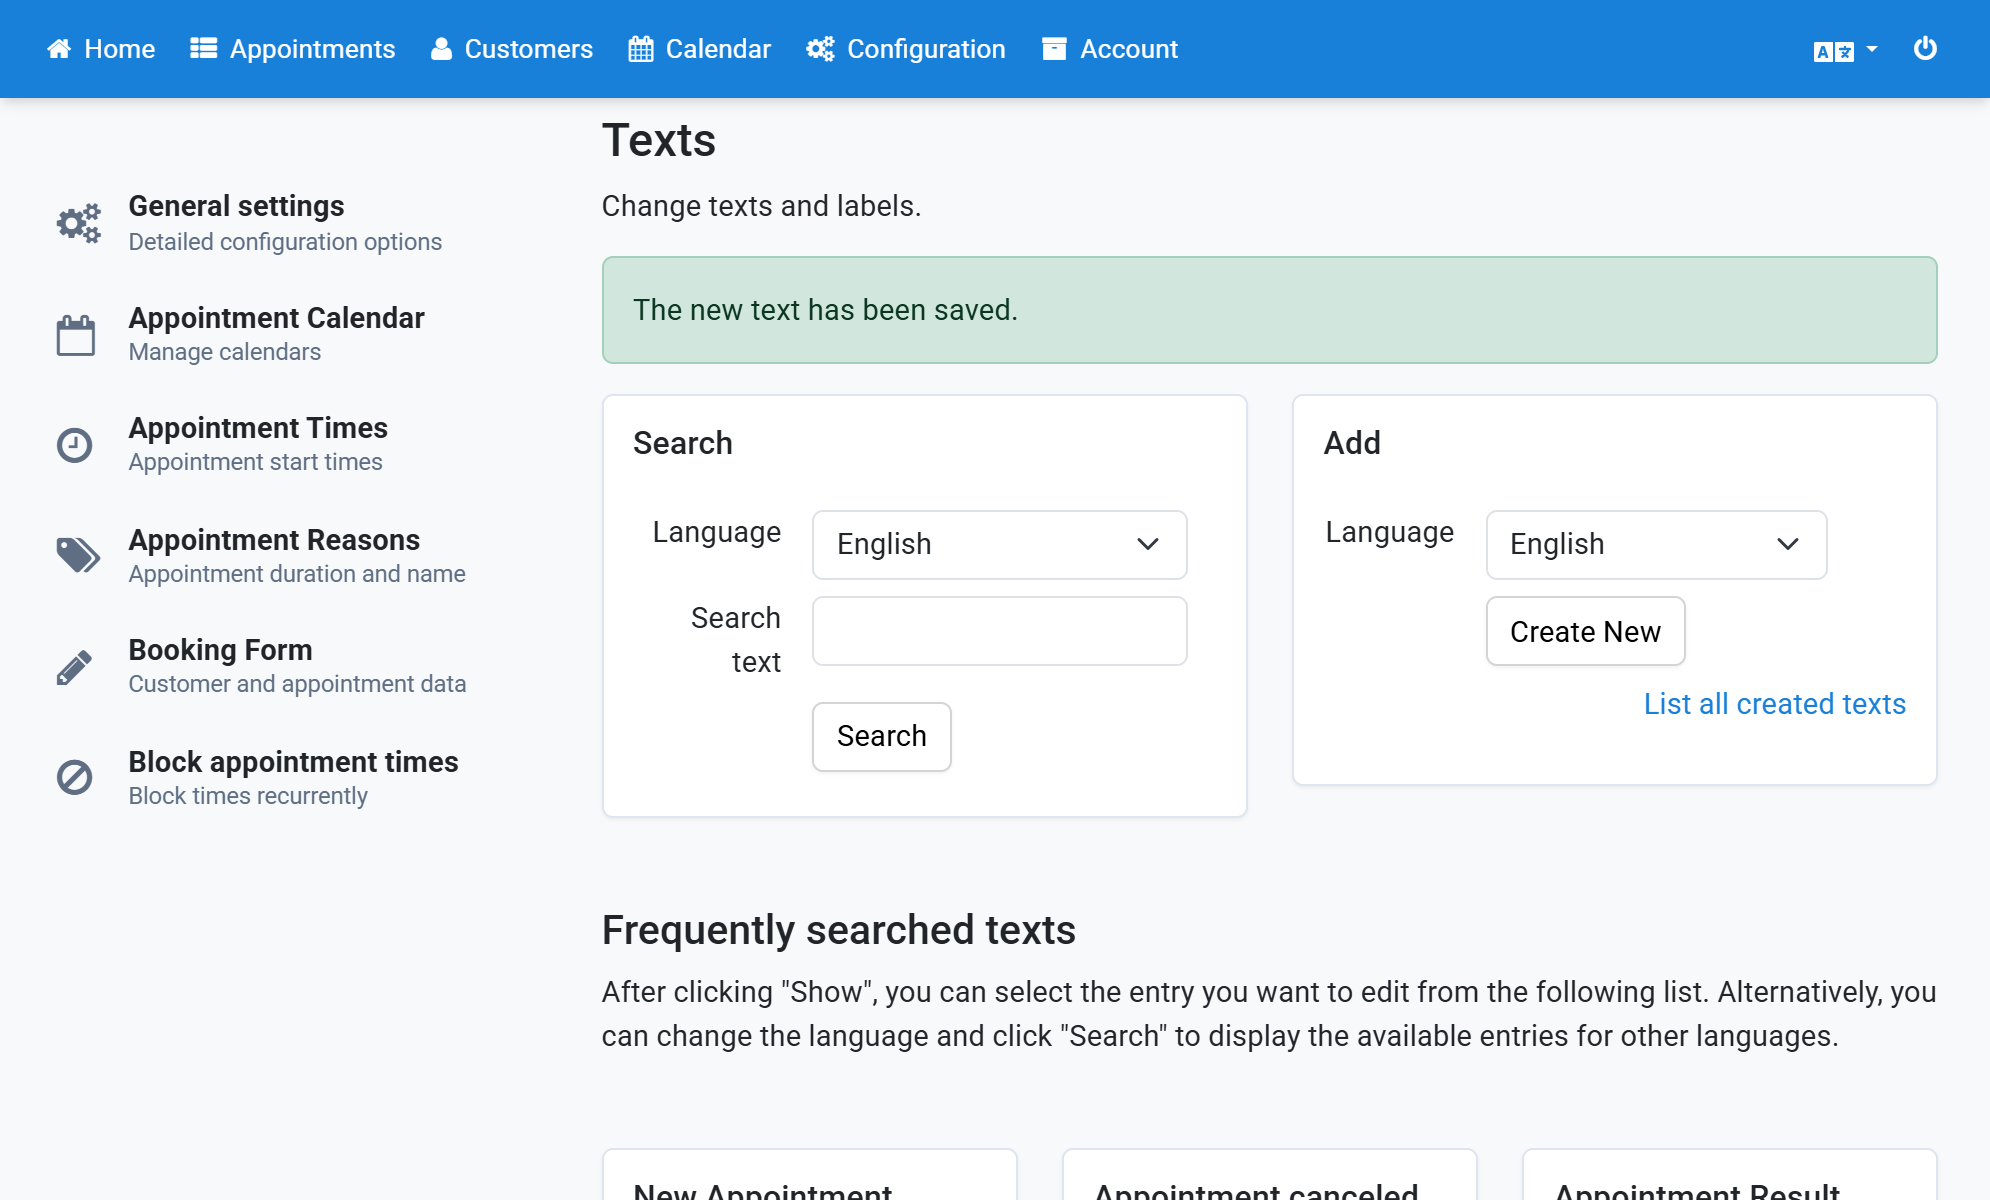
Repeat the steps for all other options
12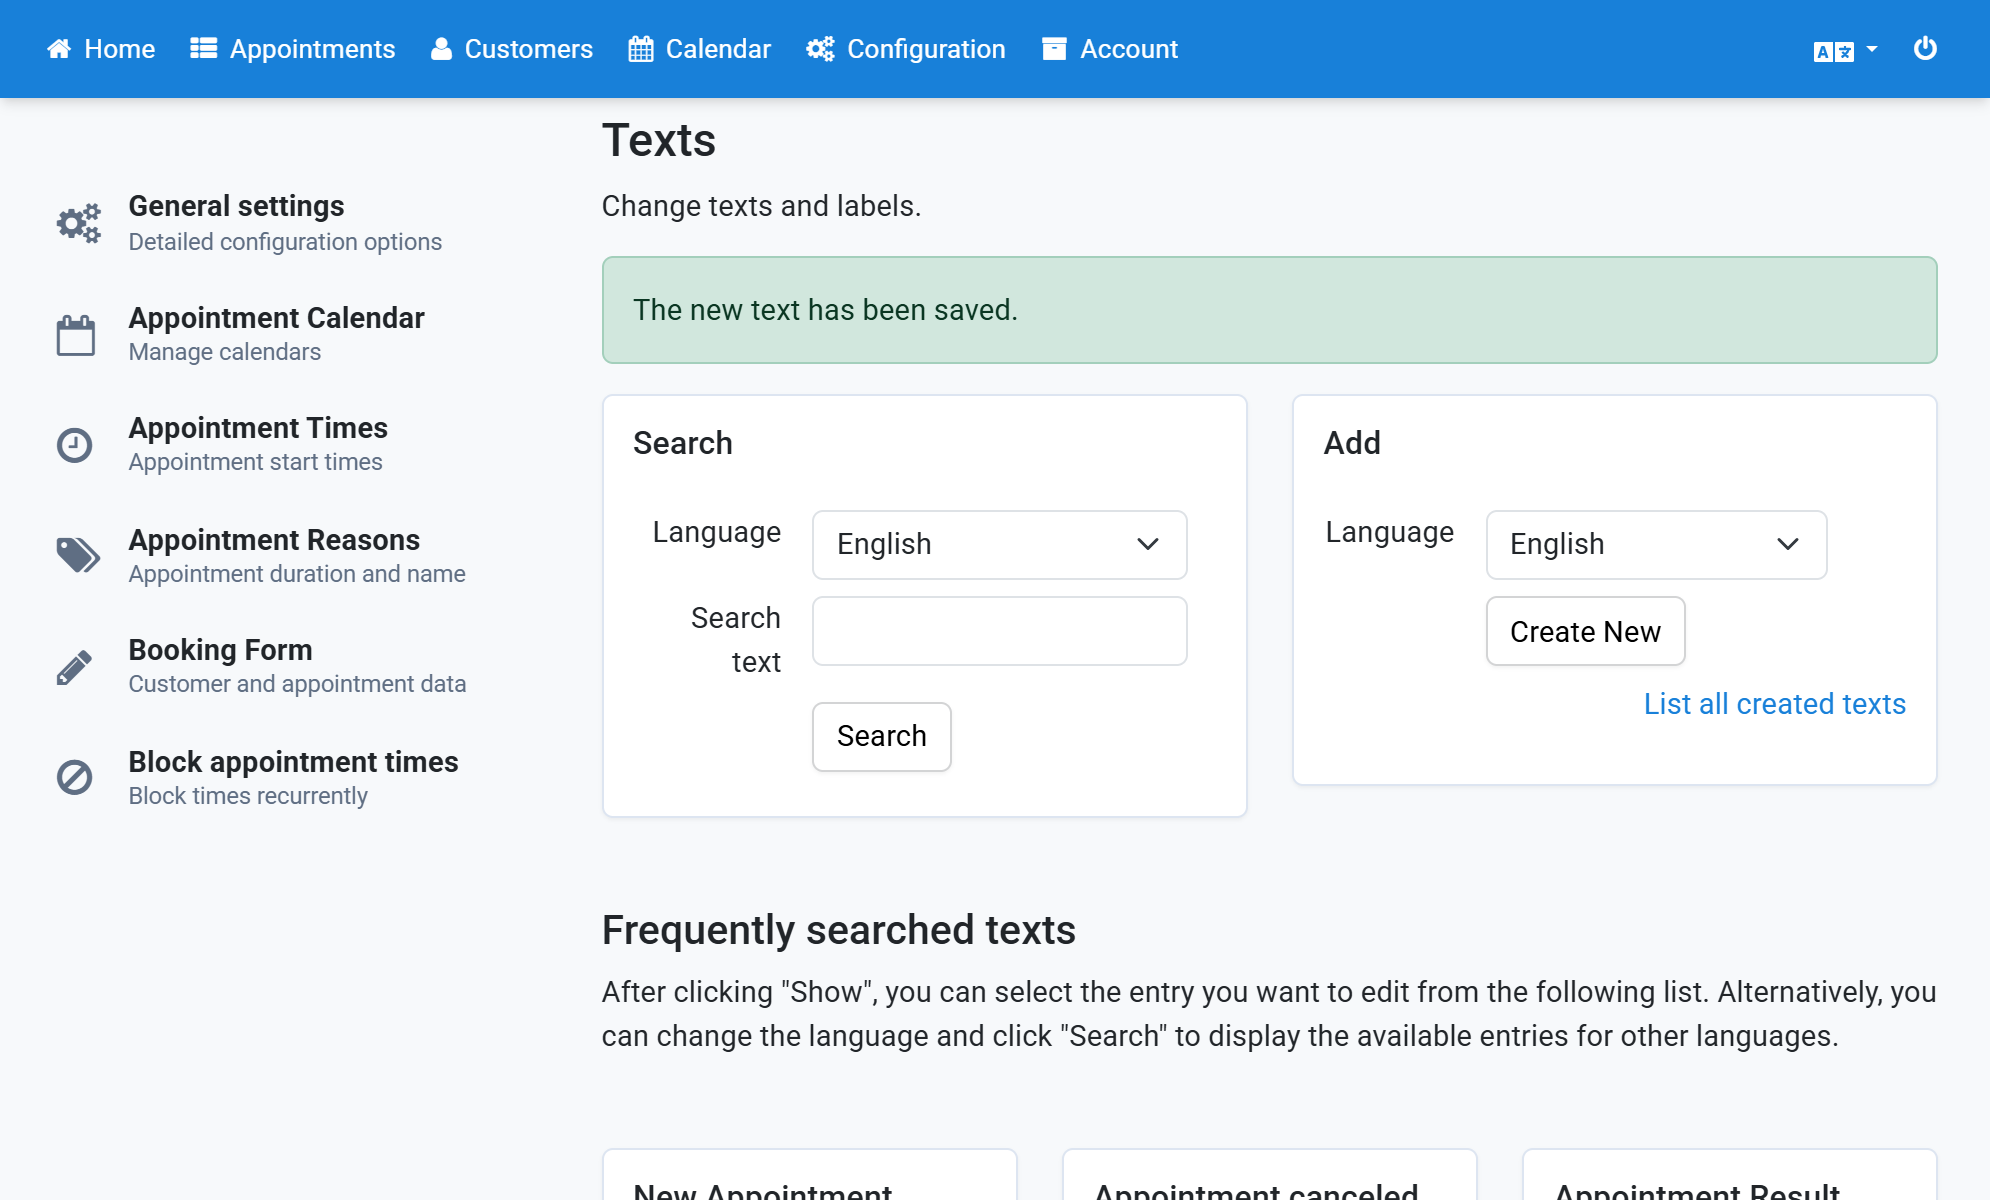
Click Booking Form in the subnavigation bar
13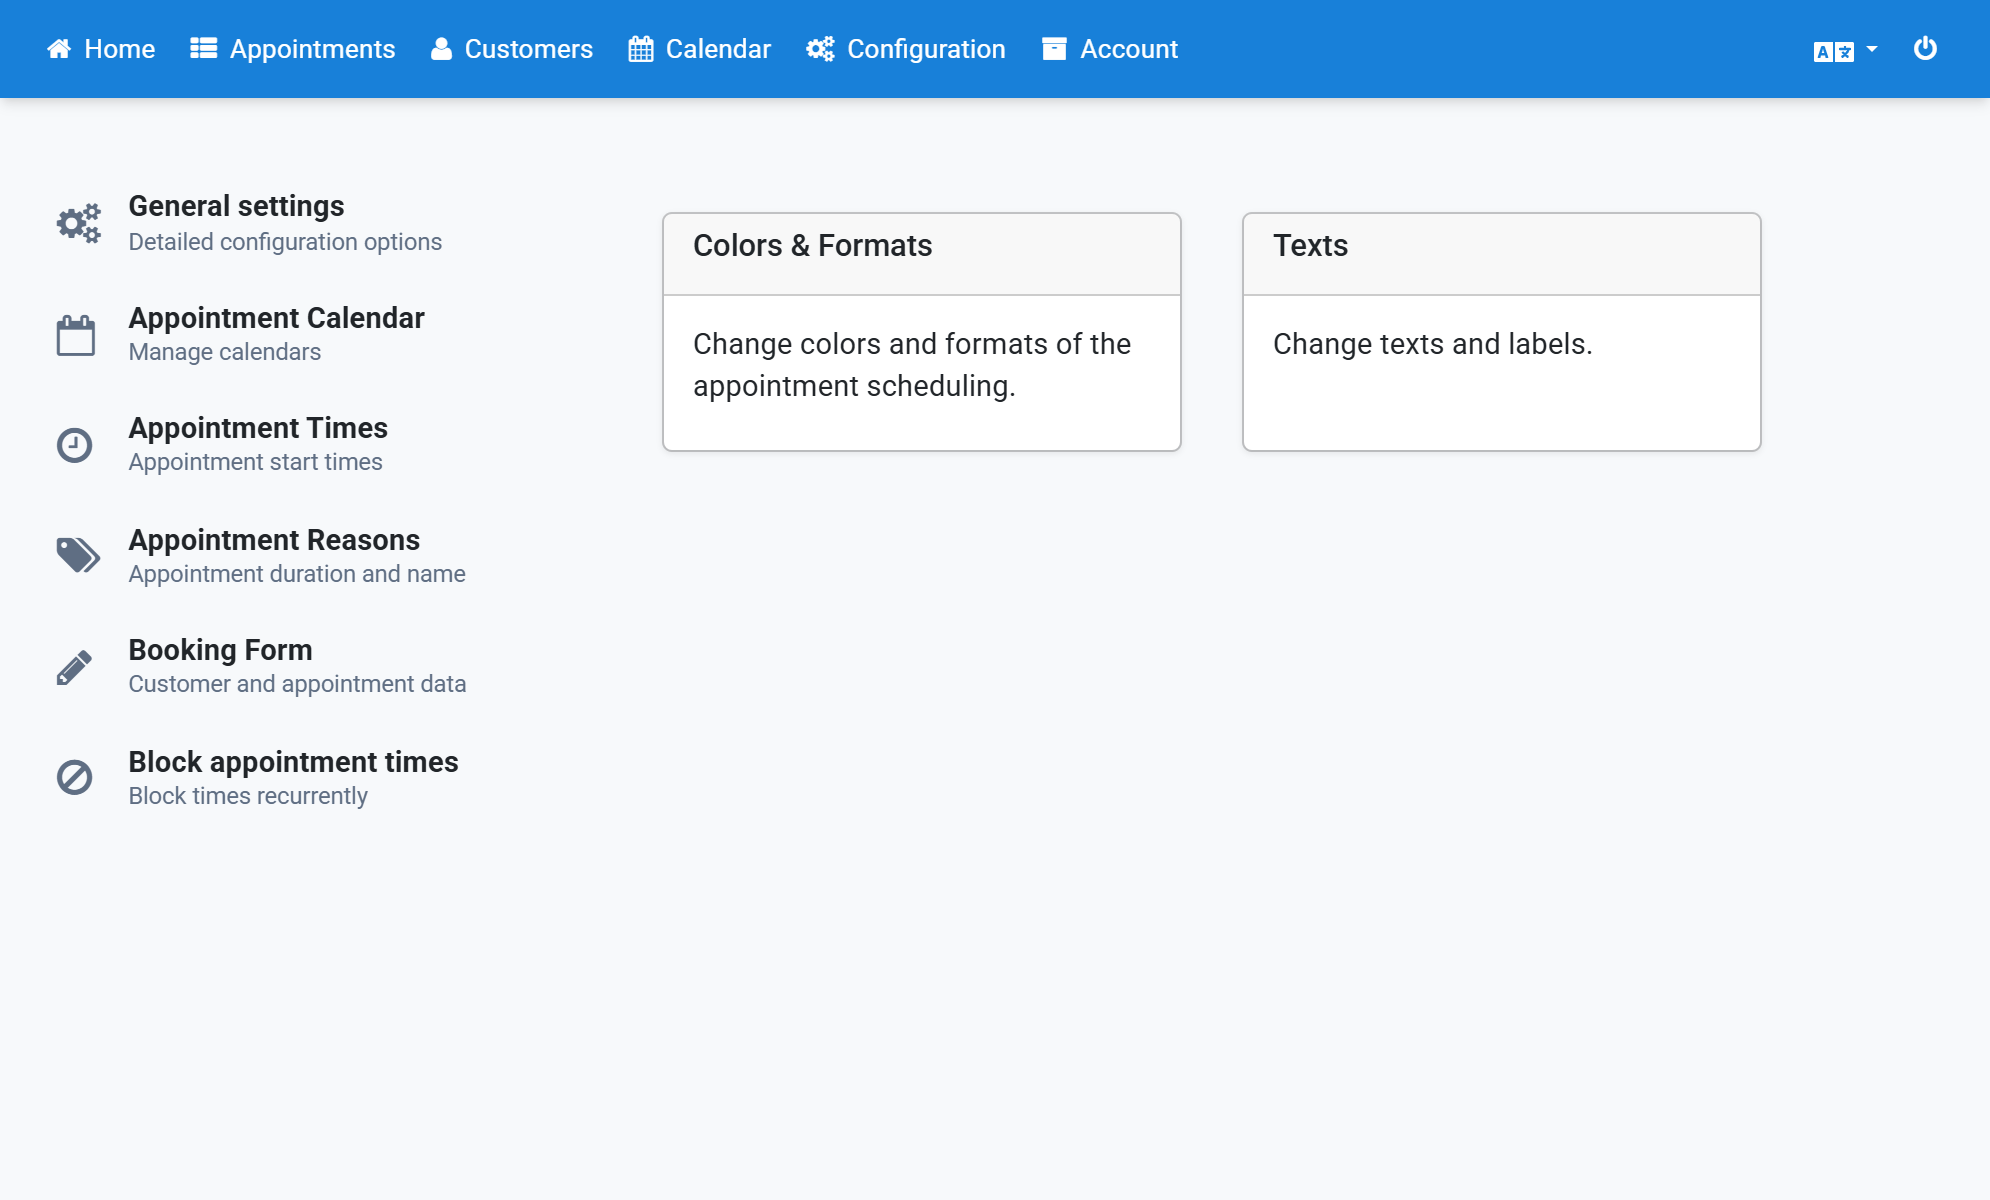
Go to the email template for the customer
14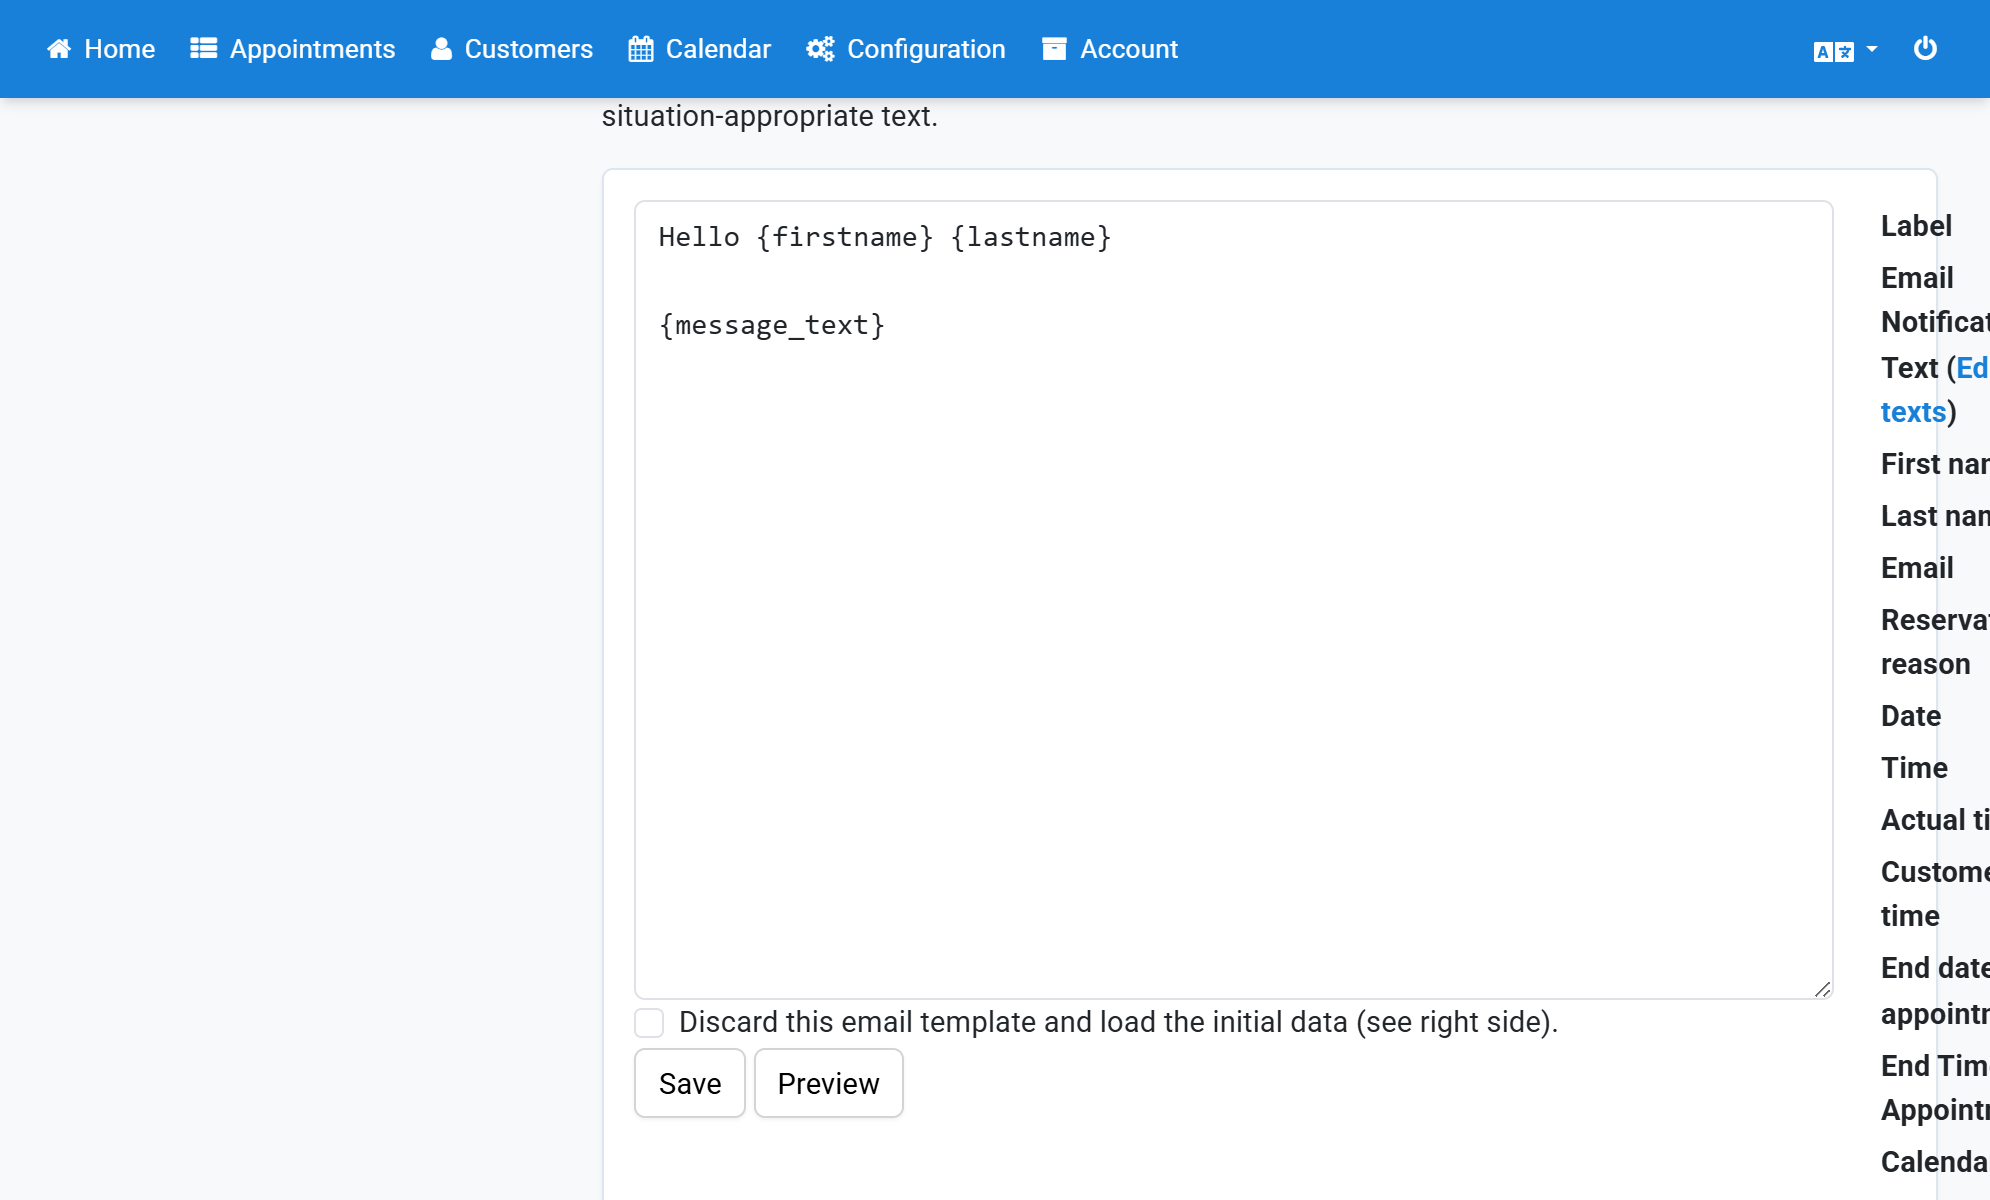
Copy the placeholder of the selection field
15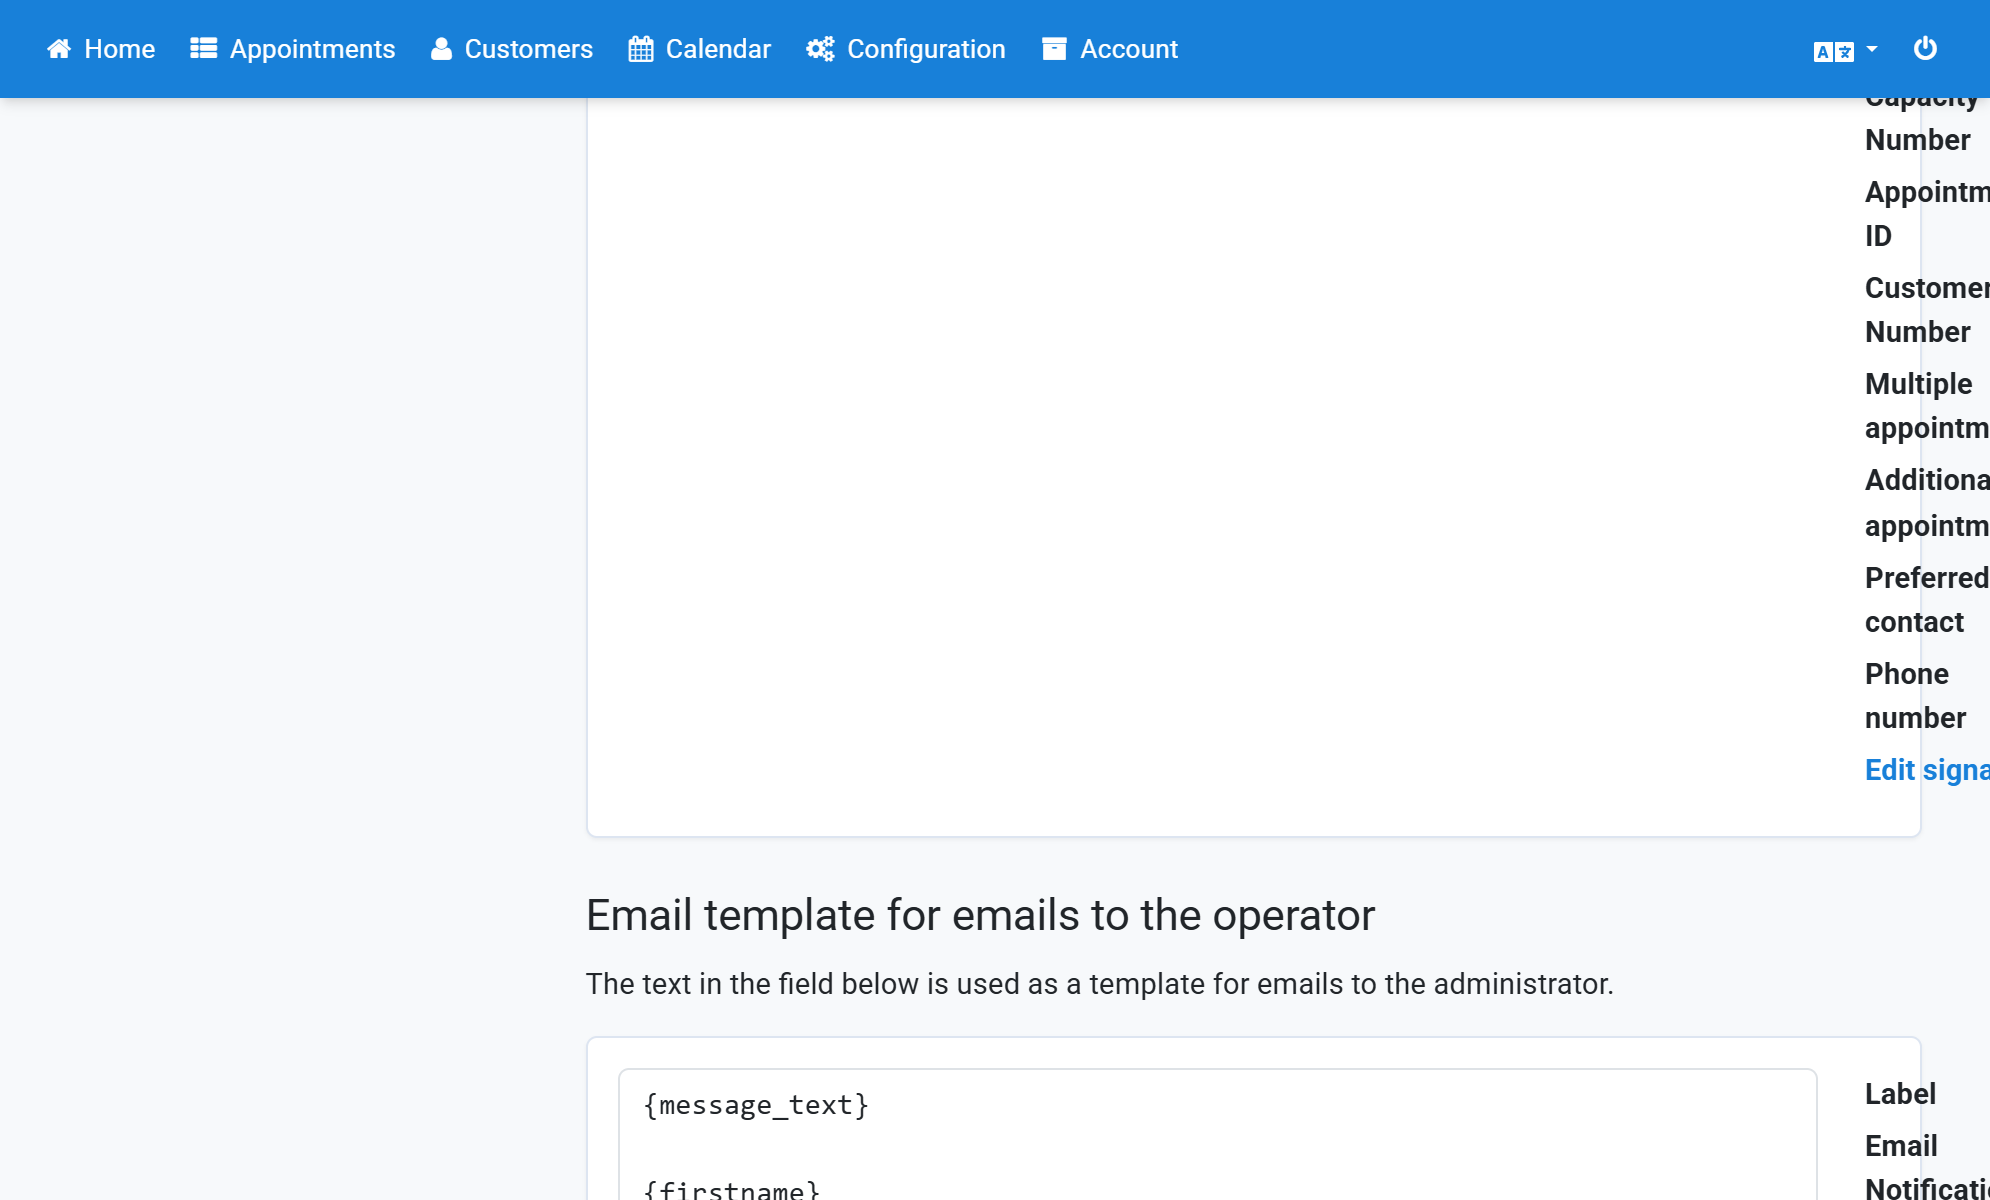
Click Configuration in the navigation bar
16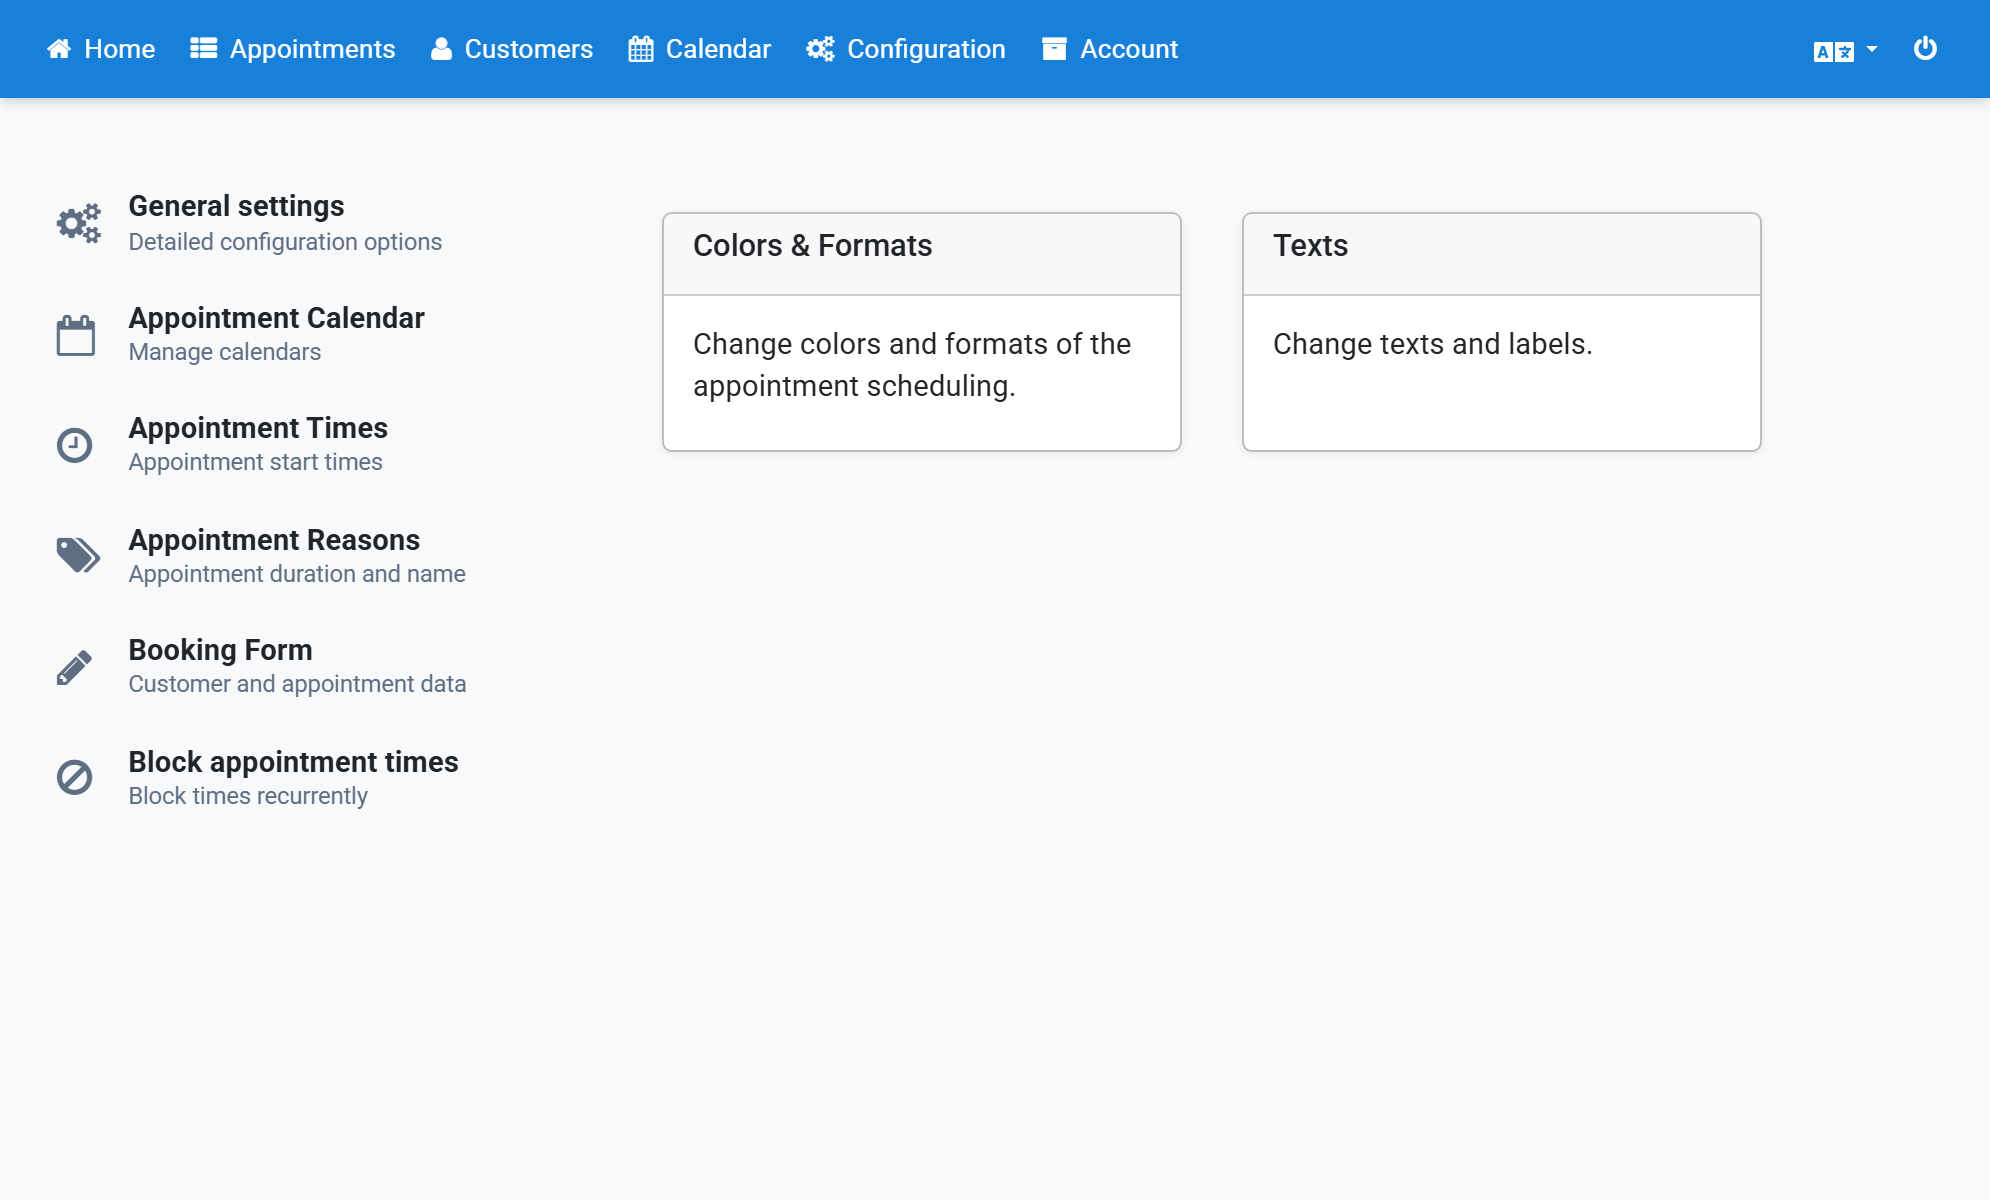
Click Texts (Change texts and labels)
17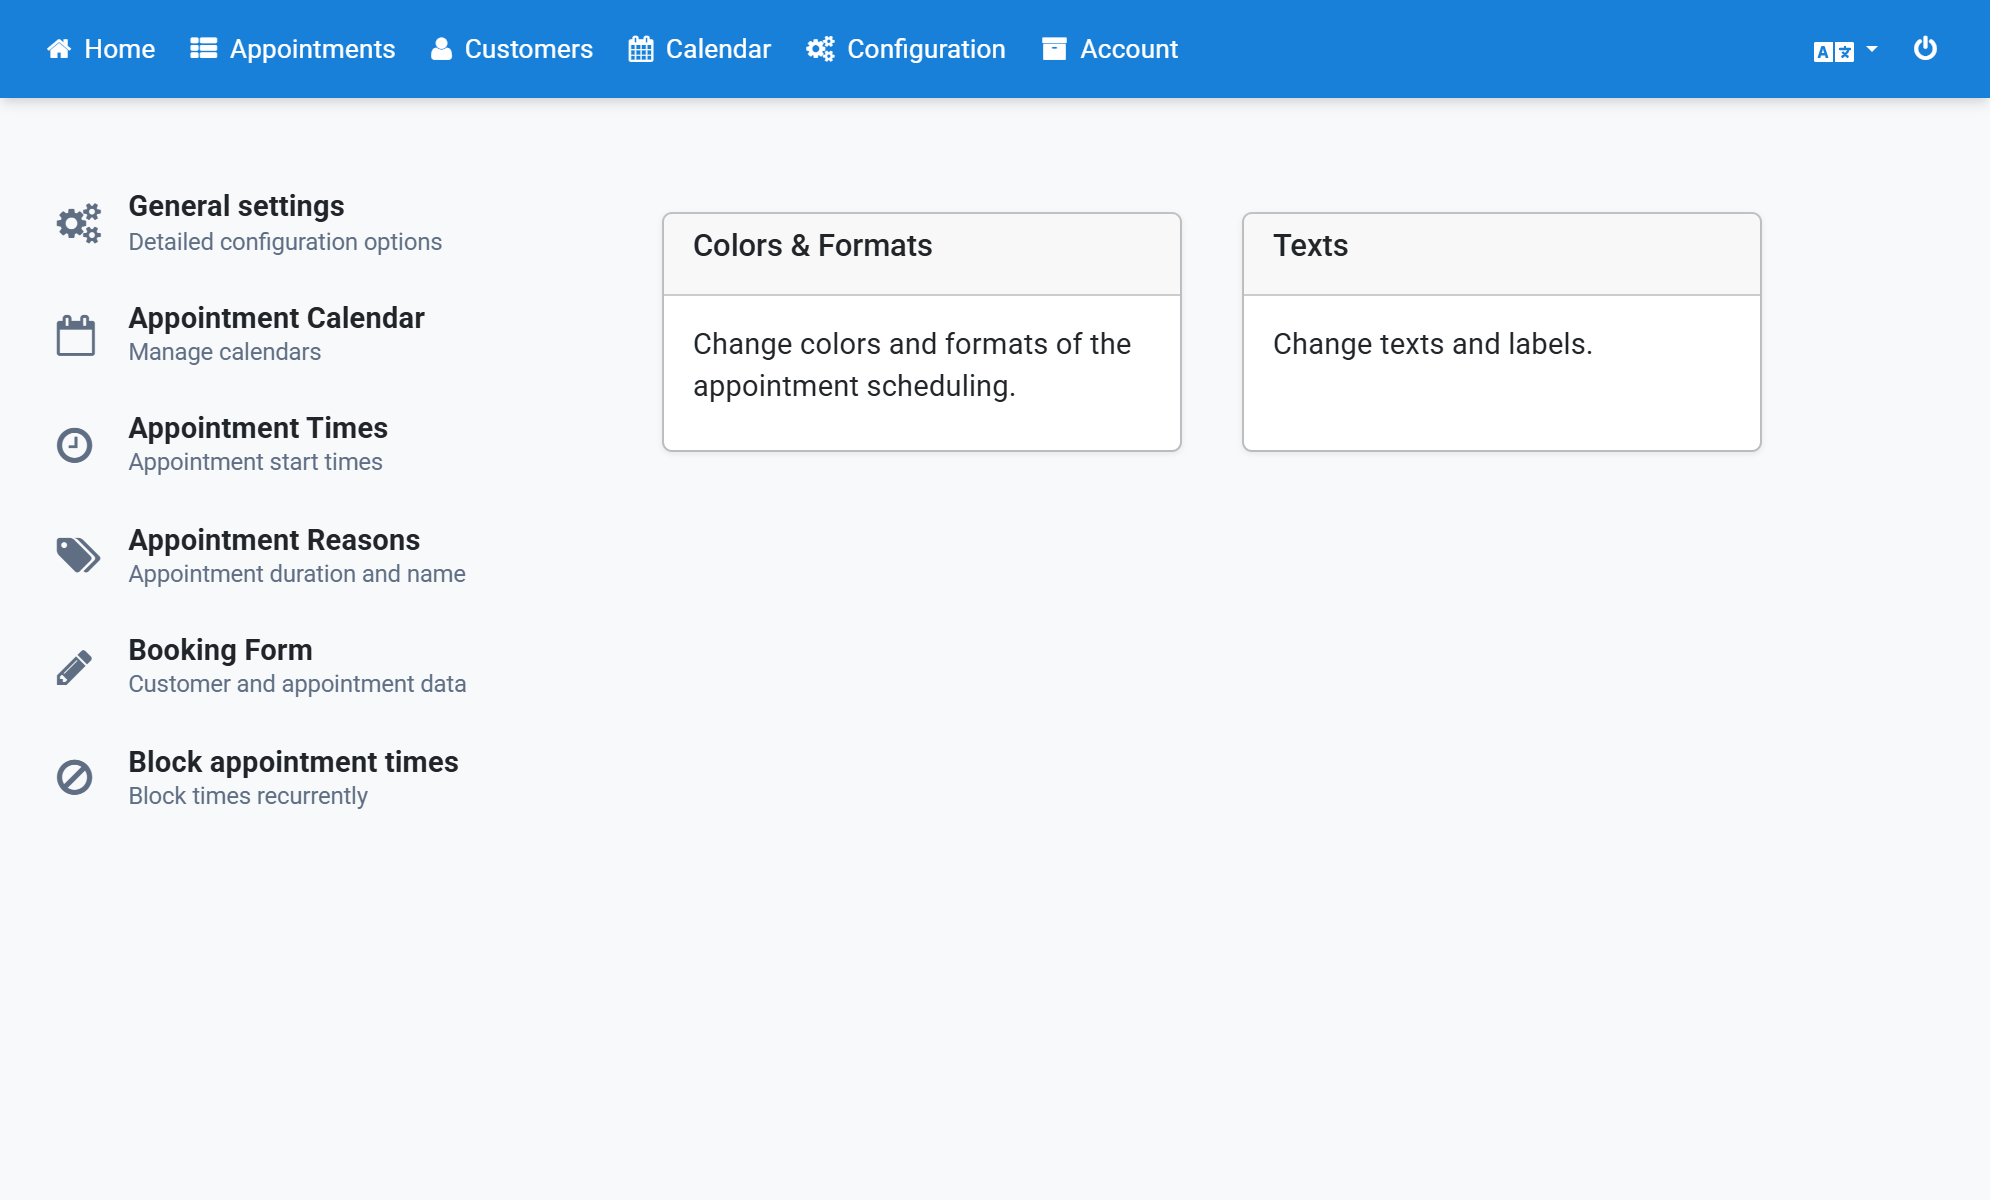
Under New Appointment click Show next to Text of the email to the user
18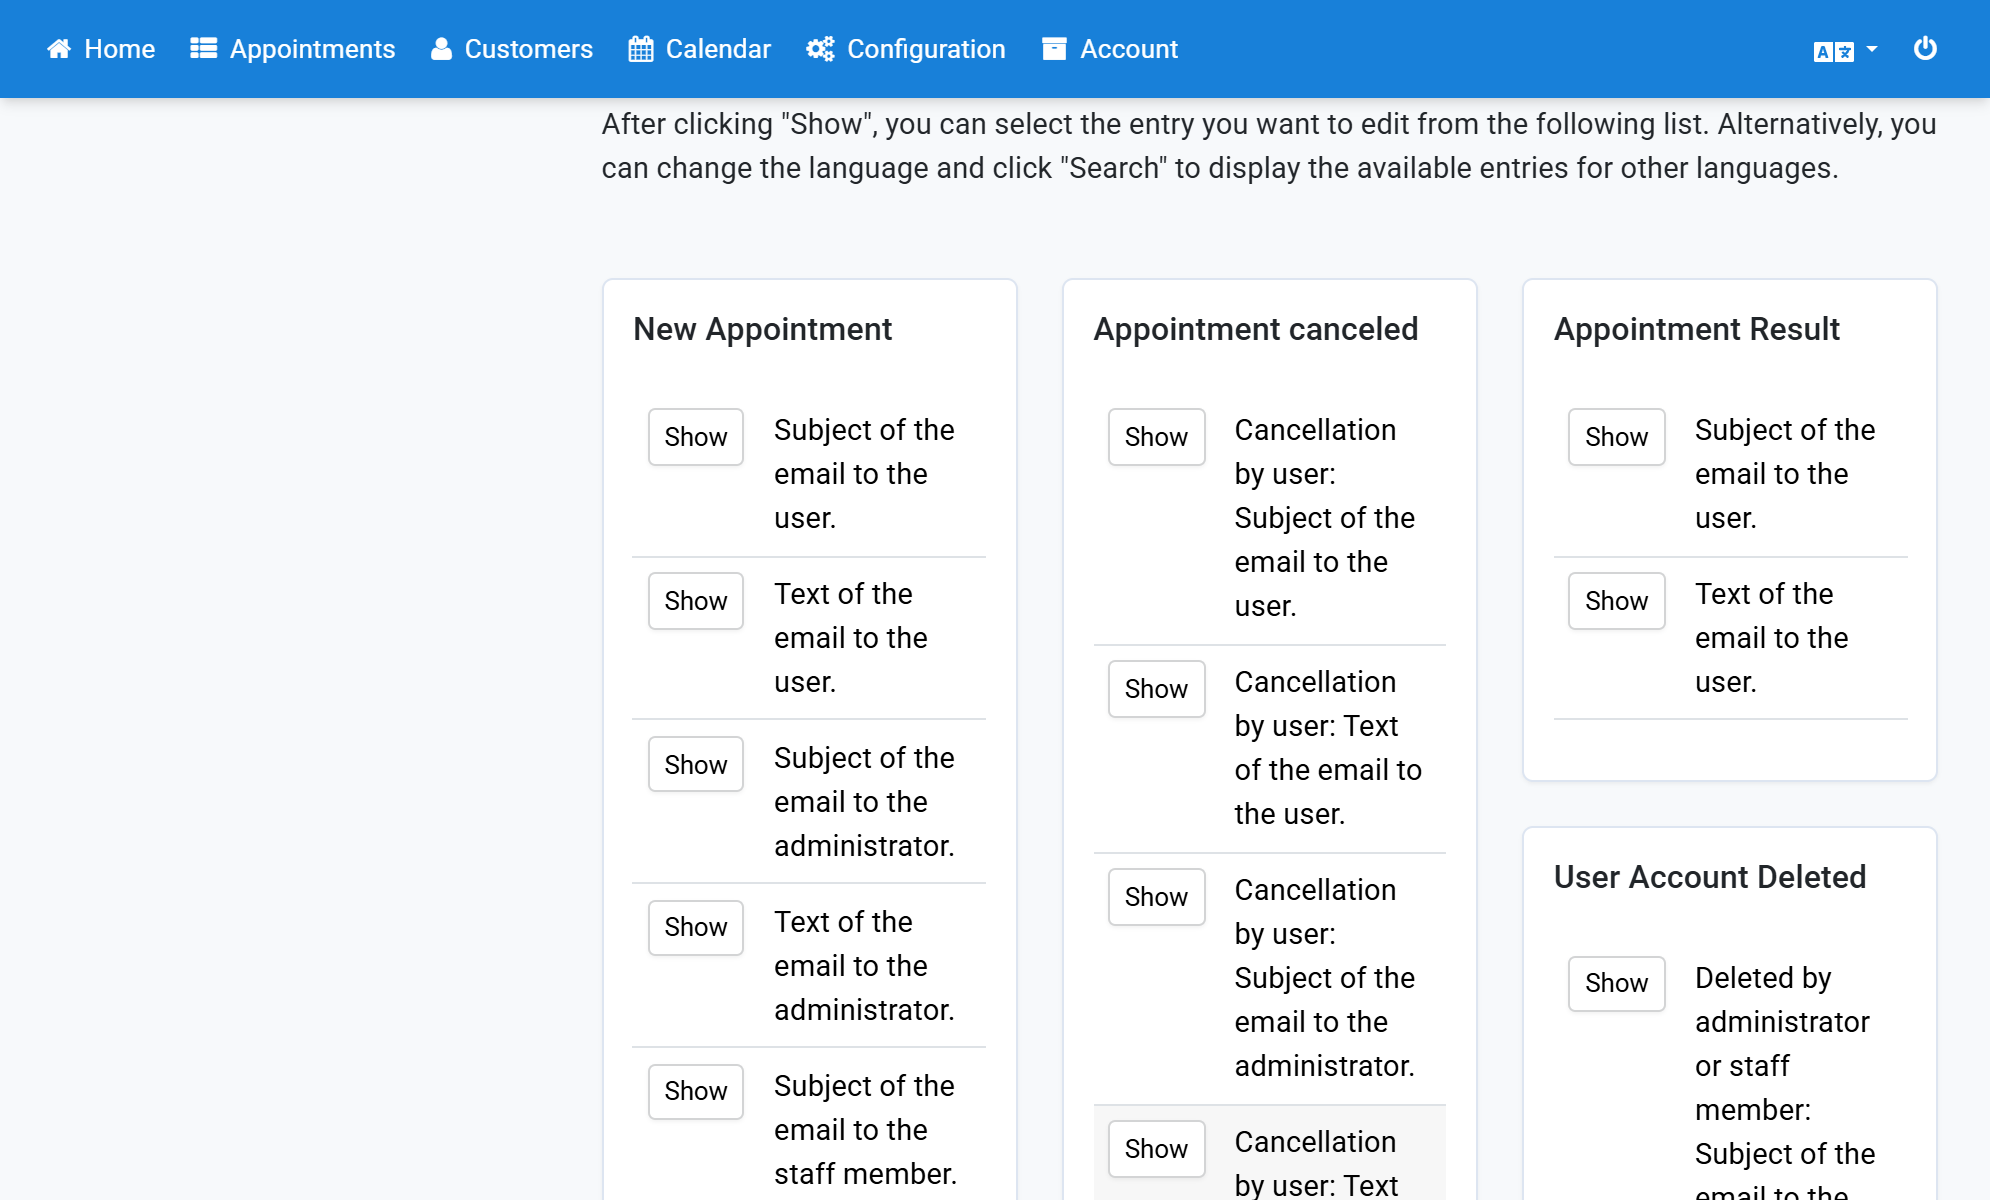
Insert an opening and a closing curly brace - {} - where the text should appear
19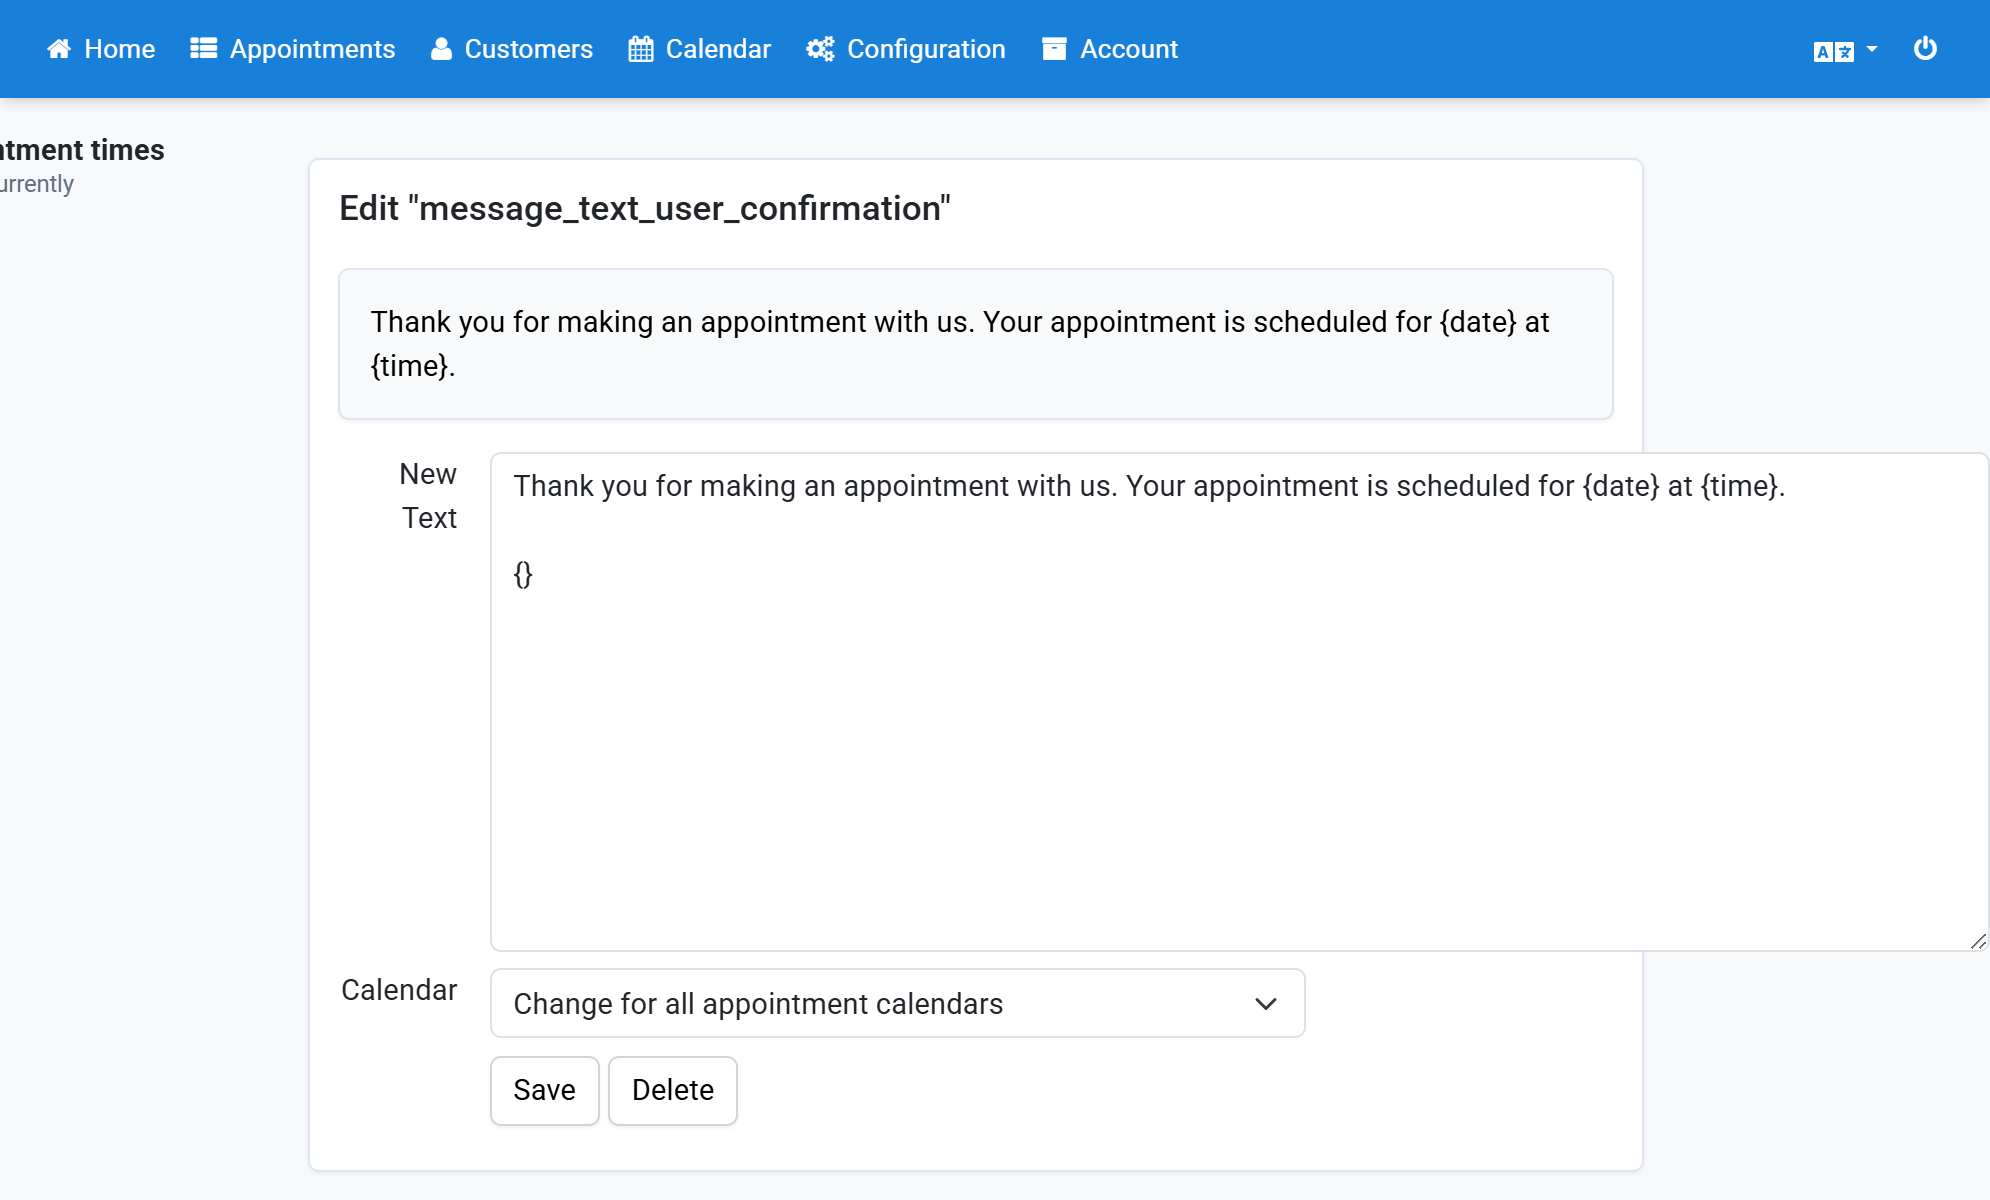
Paste the copied placeholder inside the curly braces
20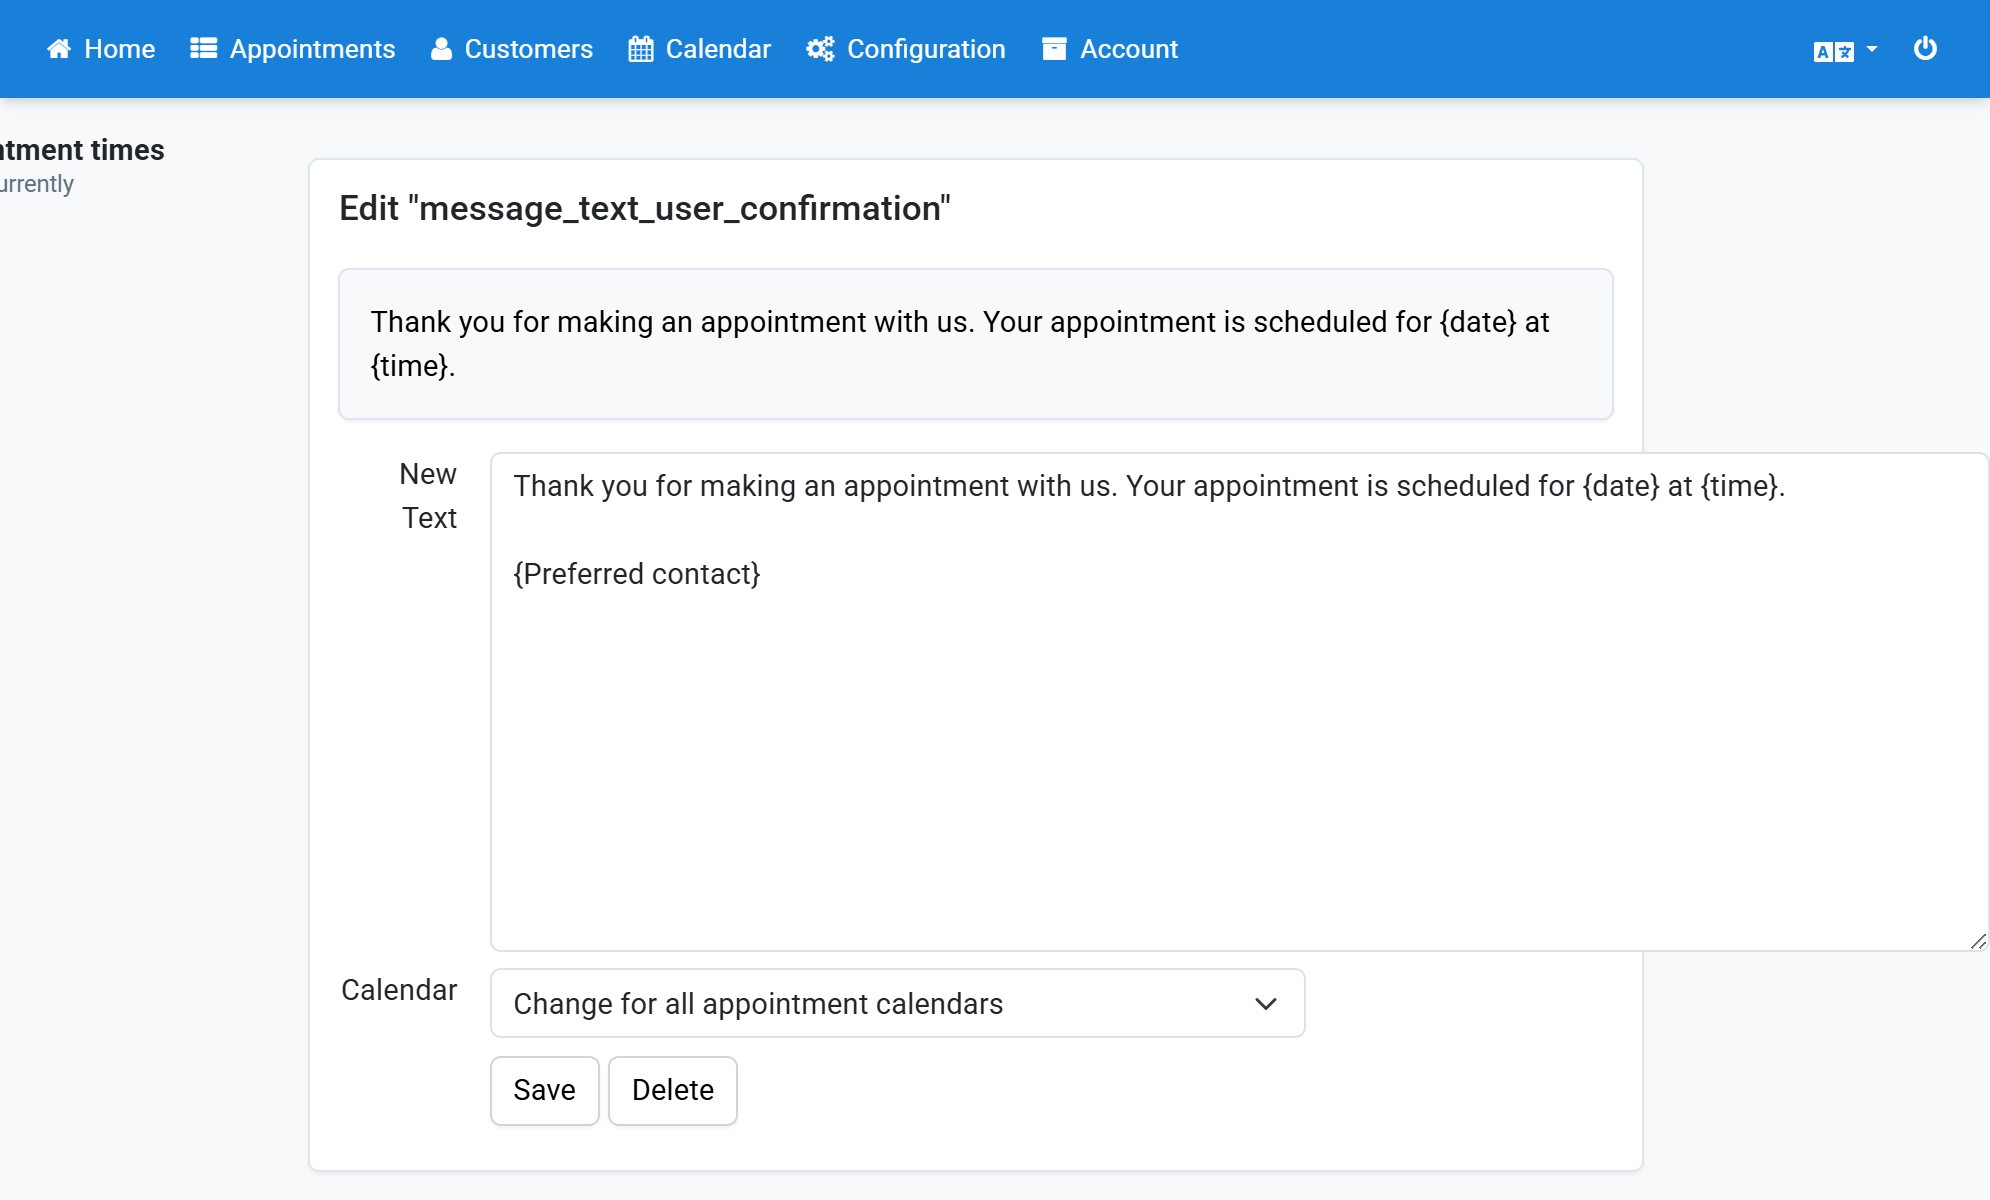
The placeholder now has two opening and two closing curly braces
21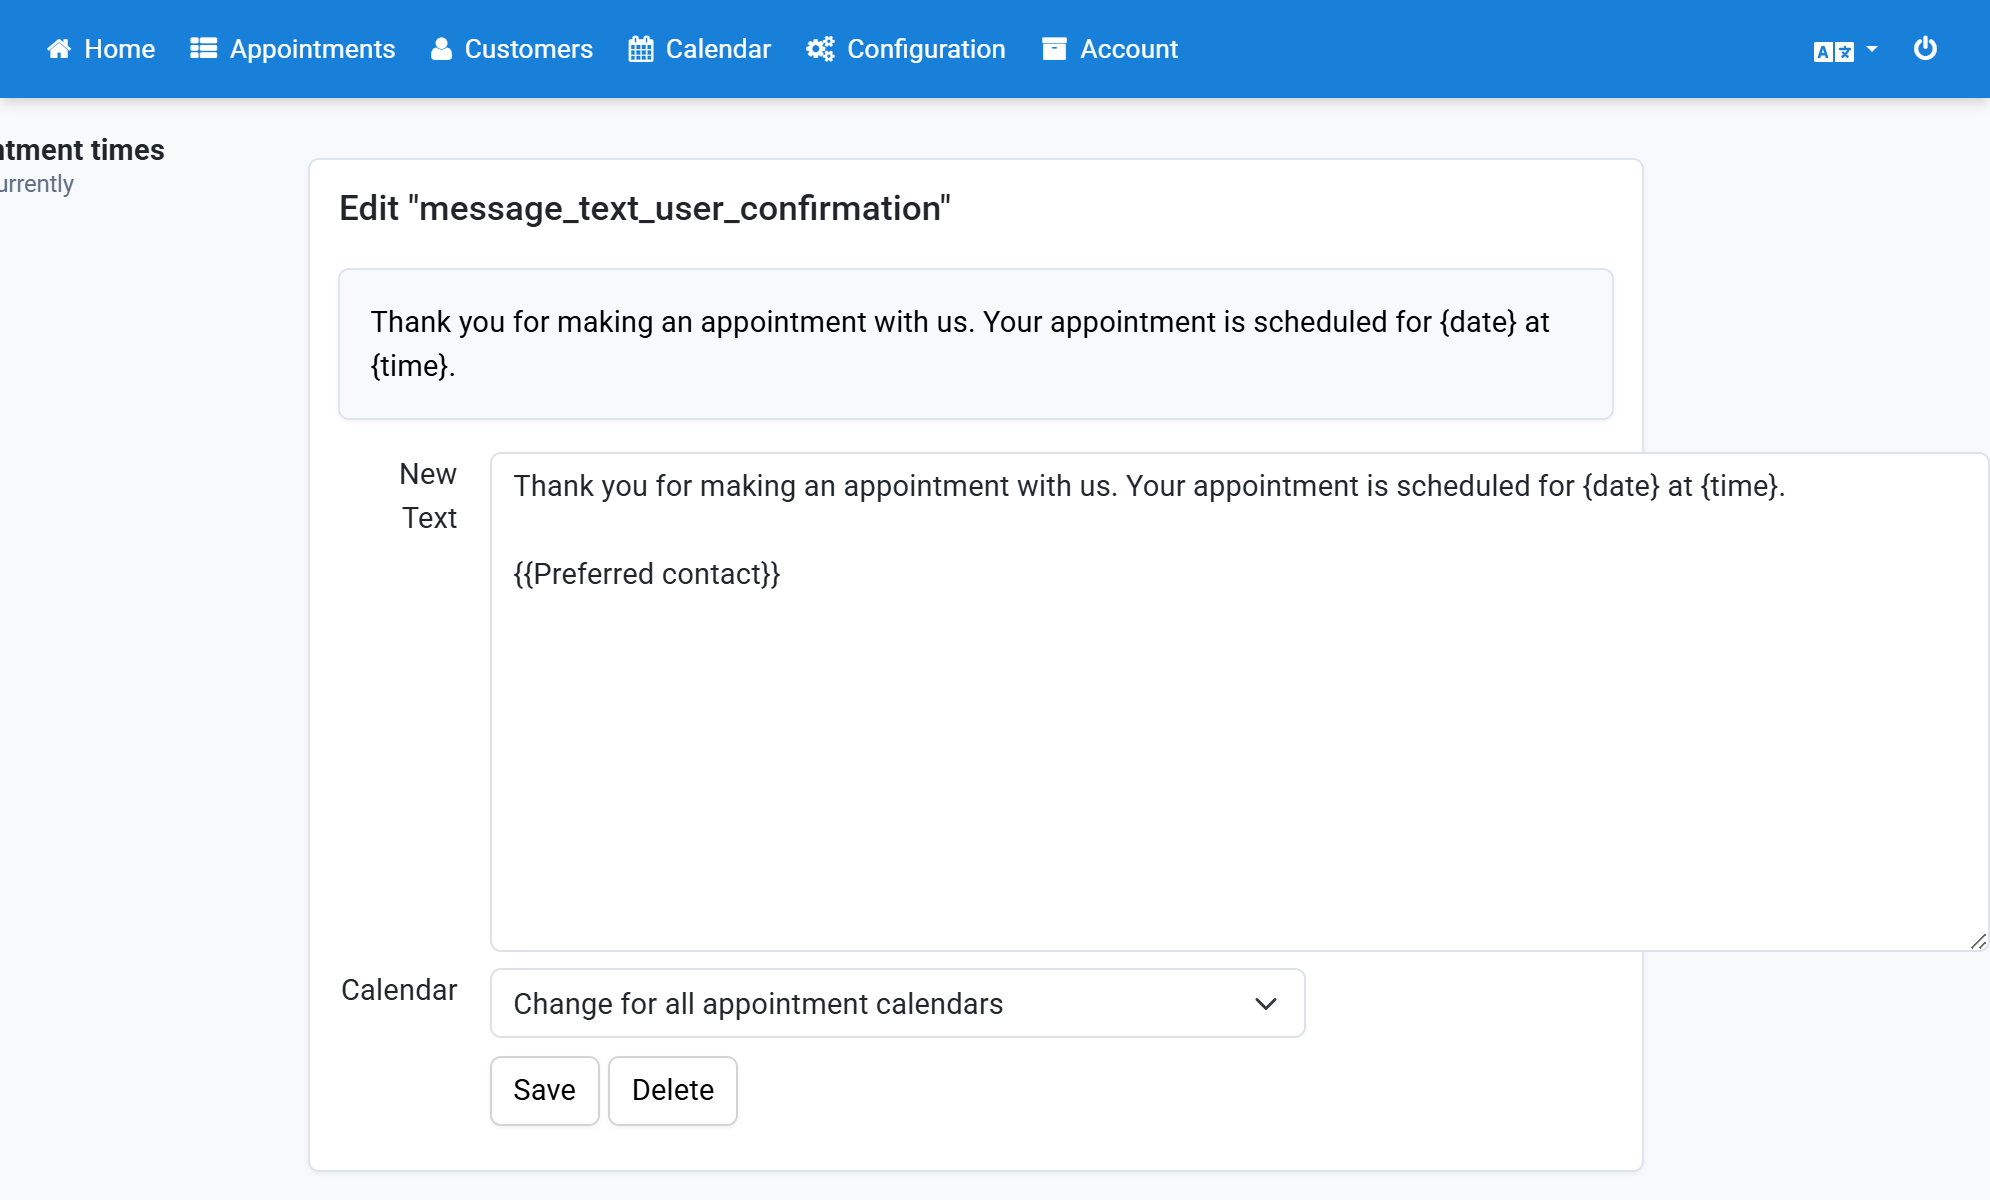
Finally click Save
22