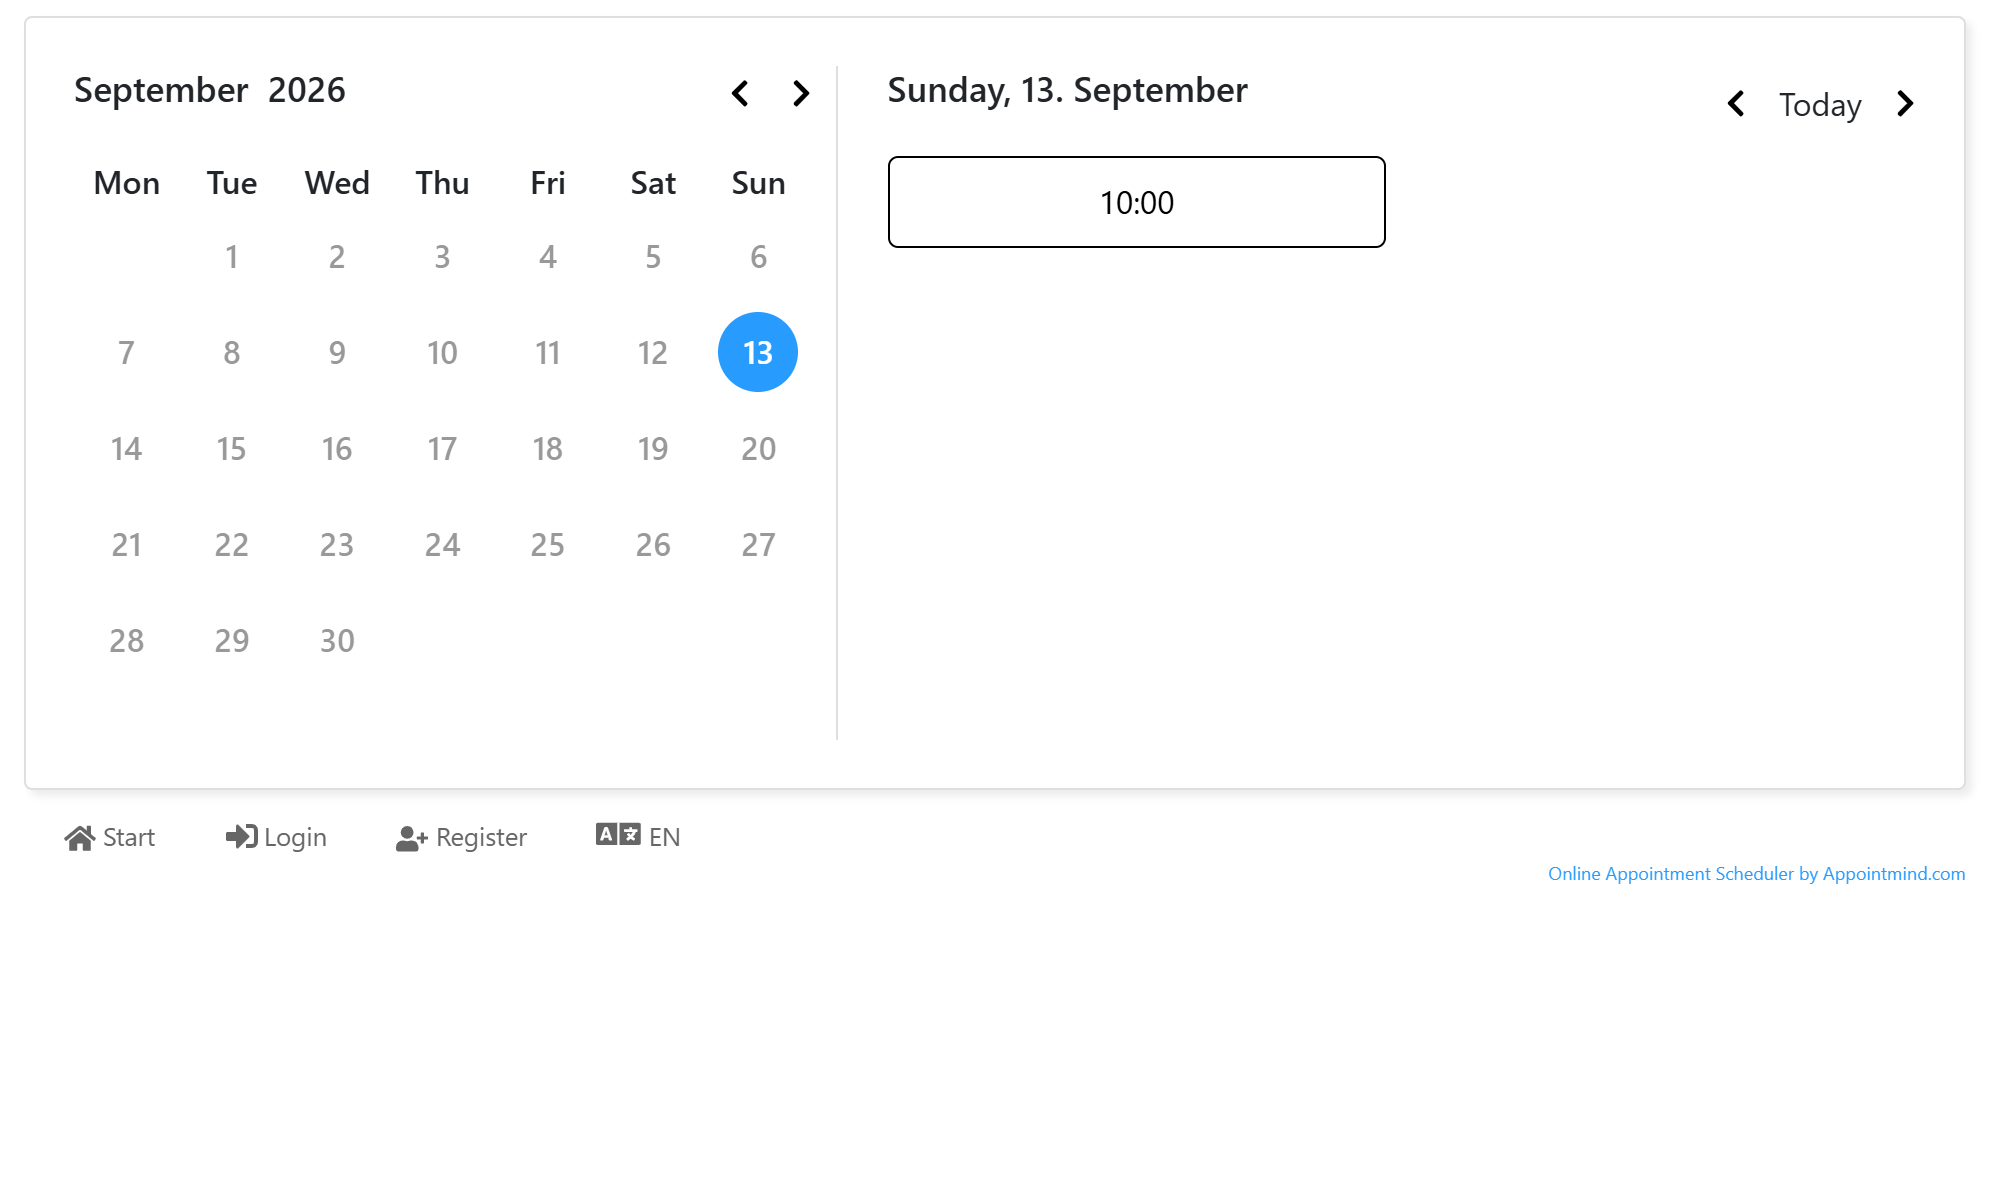
Make Appointments Available
With this setting all appointment times are blocked by default, and you release only the times you want to offer.
- Click Configuration in the navigation bar.
- Click General settings.
- Click Calendar User View in the left navigation.
- Activate Appointment times blocked by default and then click Save changes.
- Click Calendar in the navigation bar.
- Select a day and time by checking the corresponding box.
- Scroll down to the bottom and select the capacity number.
- If the timeslots should be available each week, check Release weekly.
- Click Release appointment times.
- You will see a confirmation message.
- The released timeslots now appear in a different color.
- The timeslots are now available in the frontend calendar.
Screenshots
Click Configuration in the navigation bar
1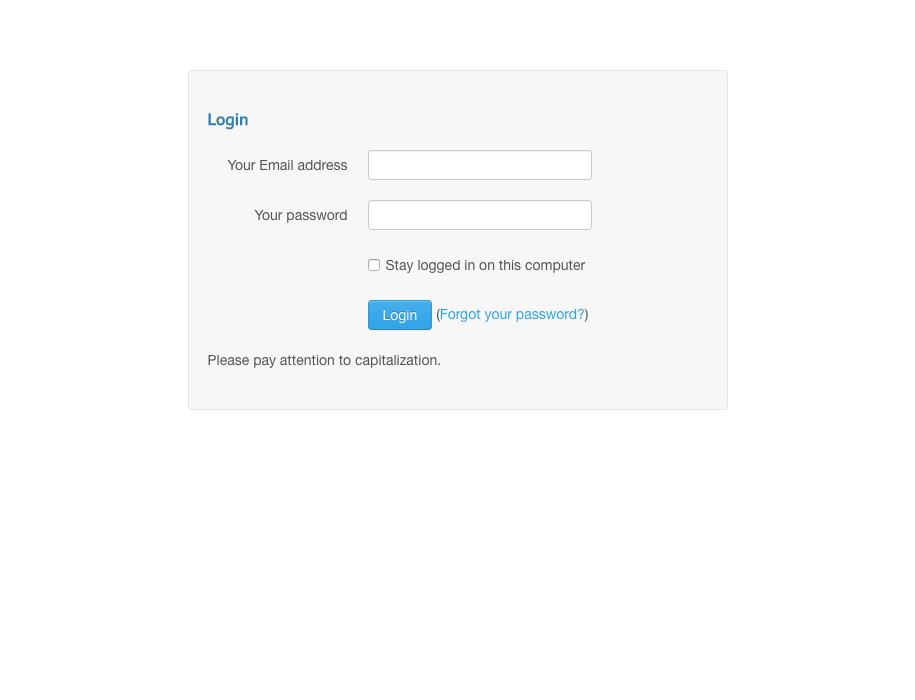
Click General settings
2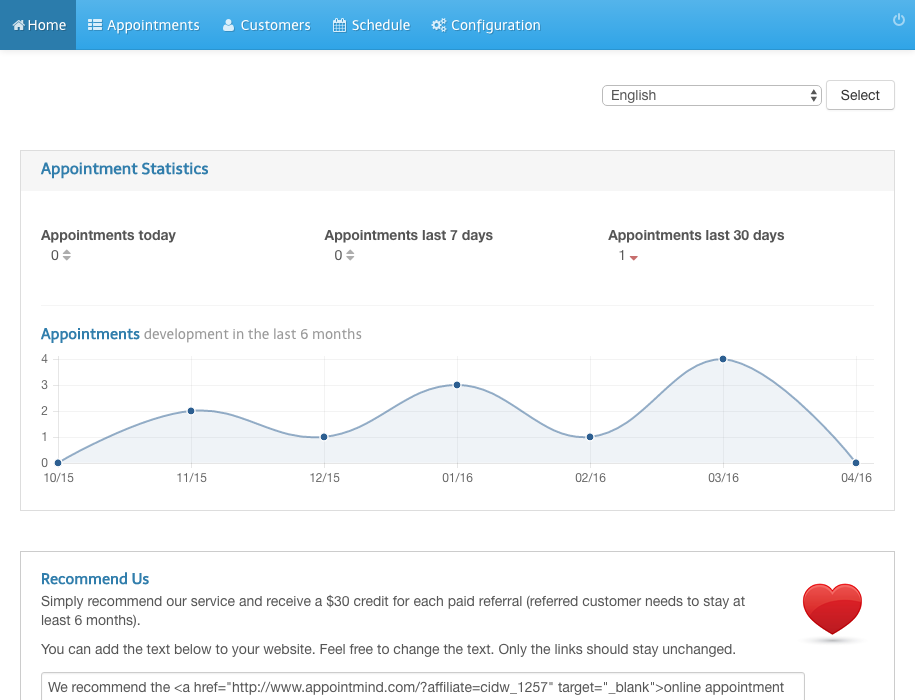
Click Calendar User View in the left navigation
3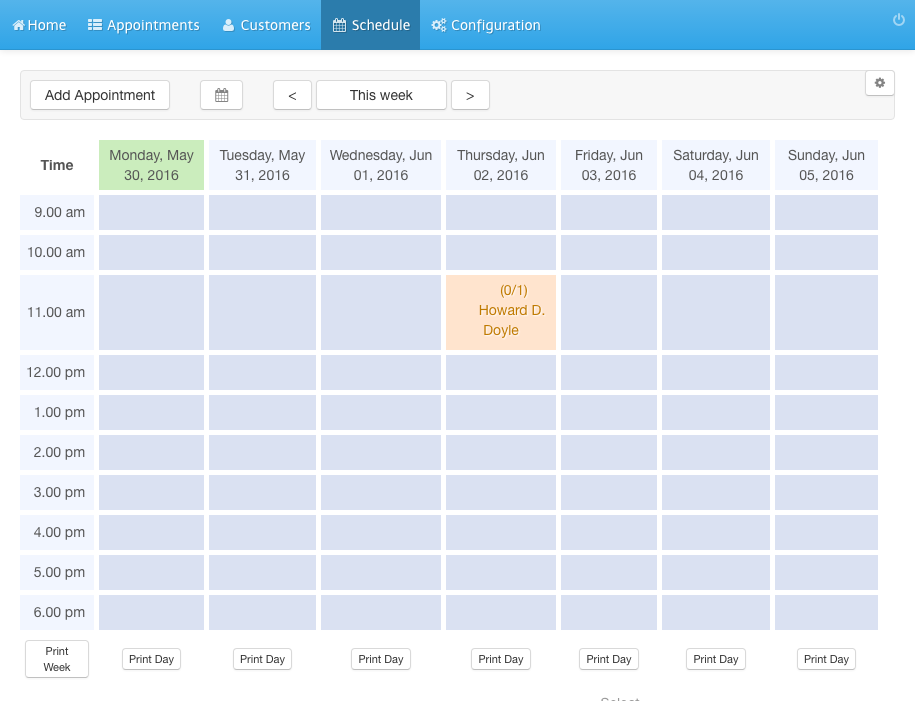
Activate Appointment times blocked by default and then click Save changes
4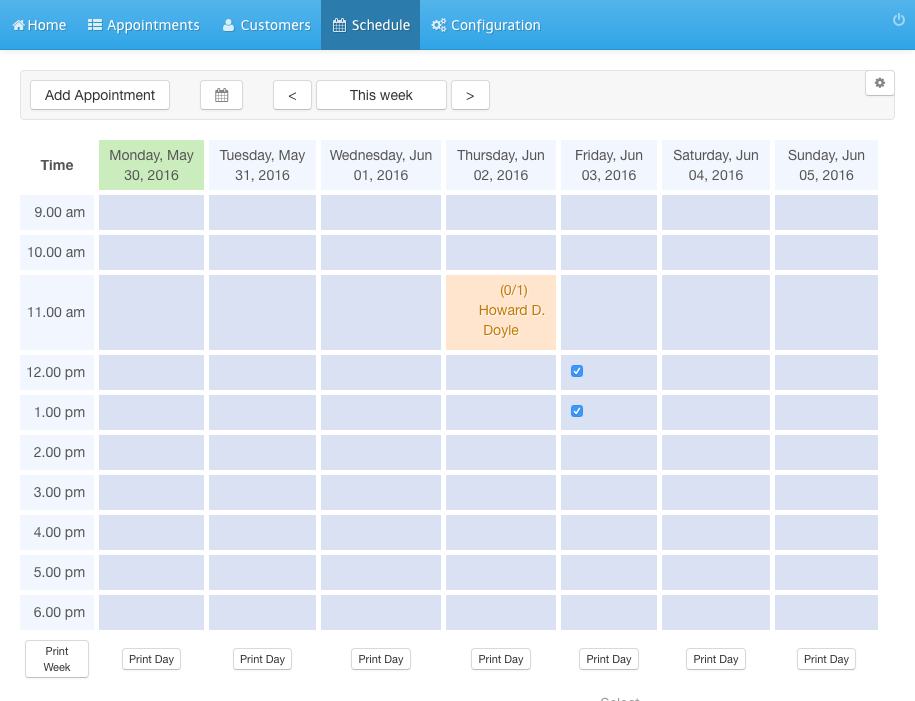
Click Calendar in the navigation bar
5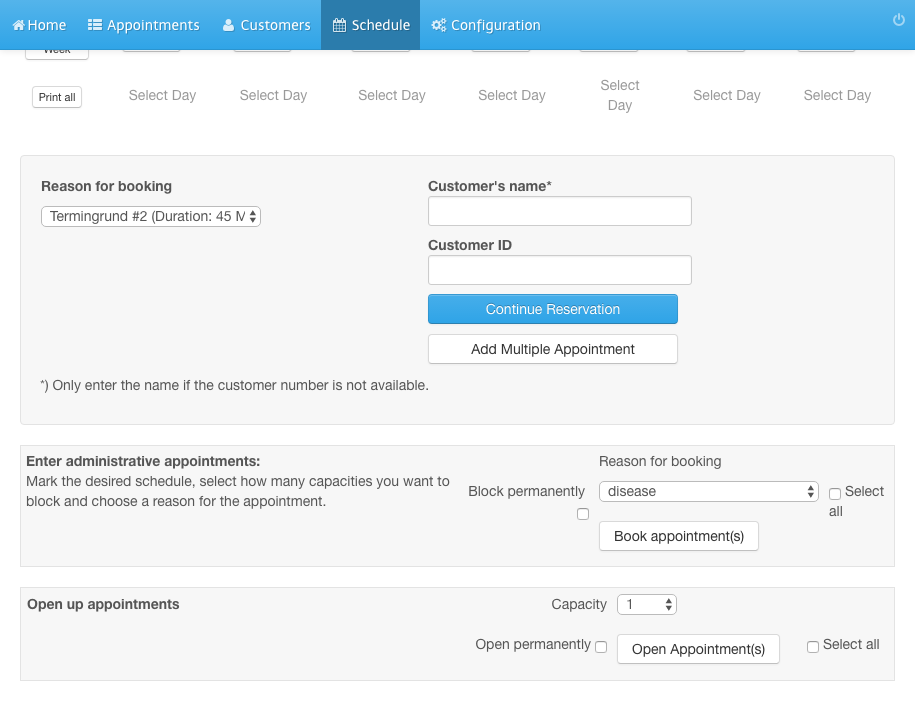
Select a day and time by checking the corresponding box
6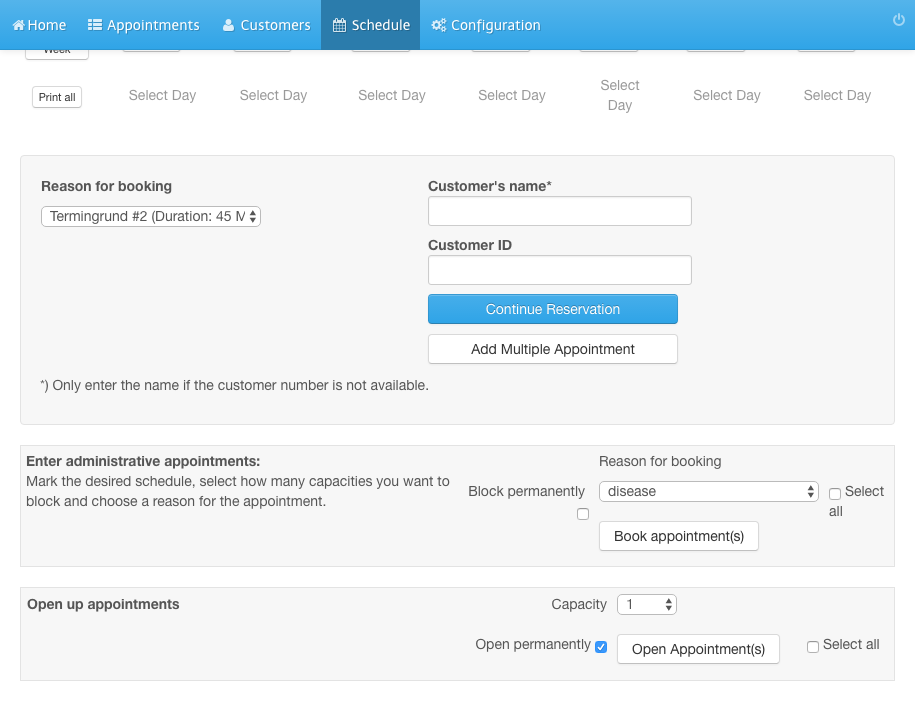
Scroll down to the bottom and select the capacity number
7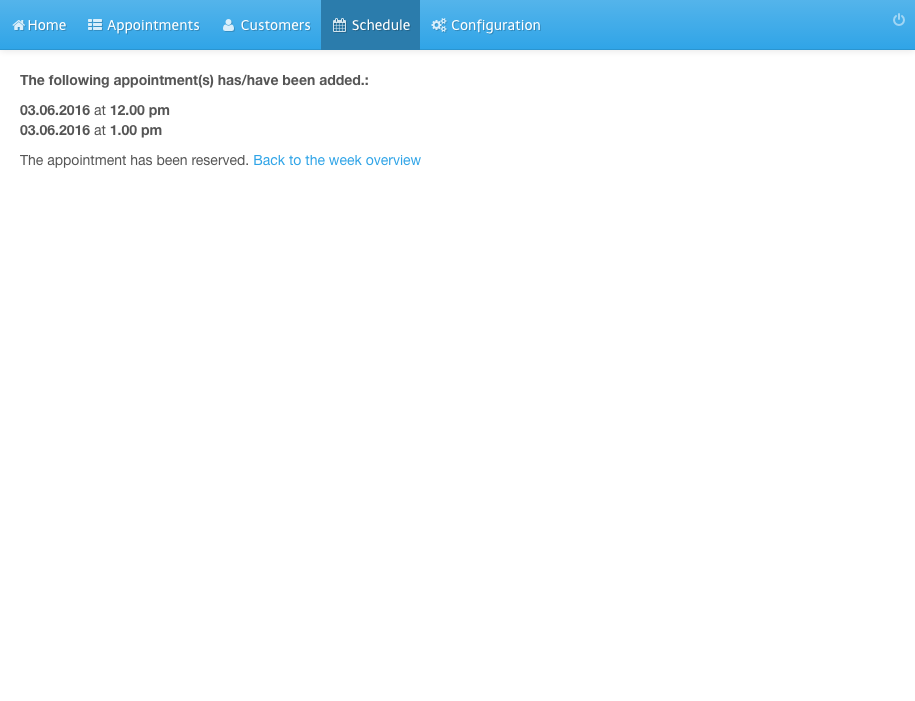
If the timeslots should be available each week, check Release weekly
8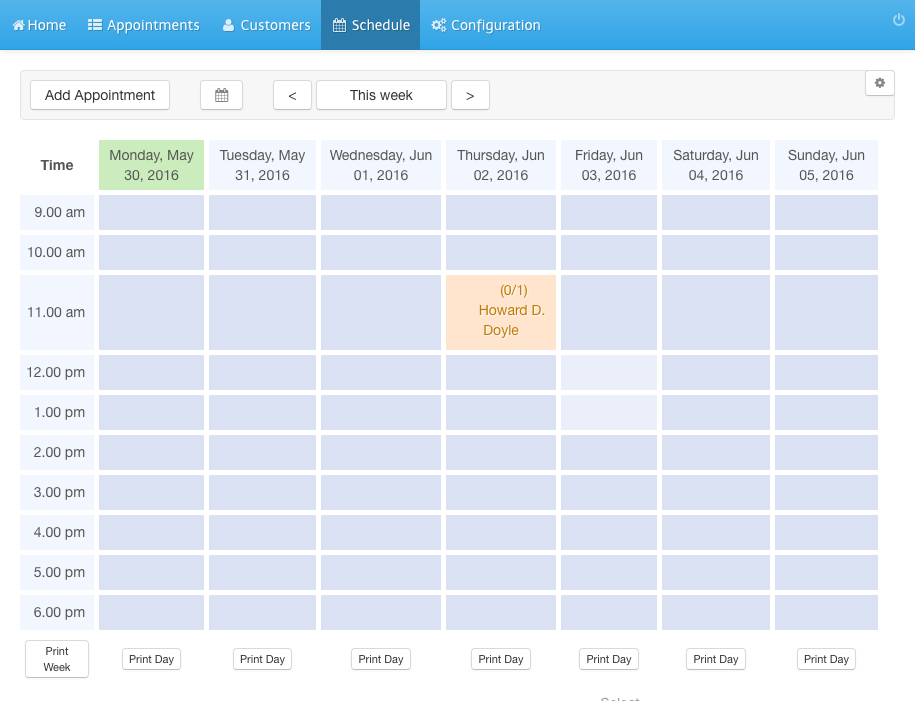
Click Release appointment times
9
You will see a confirmation message
10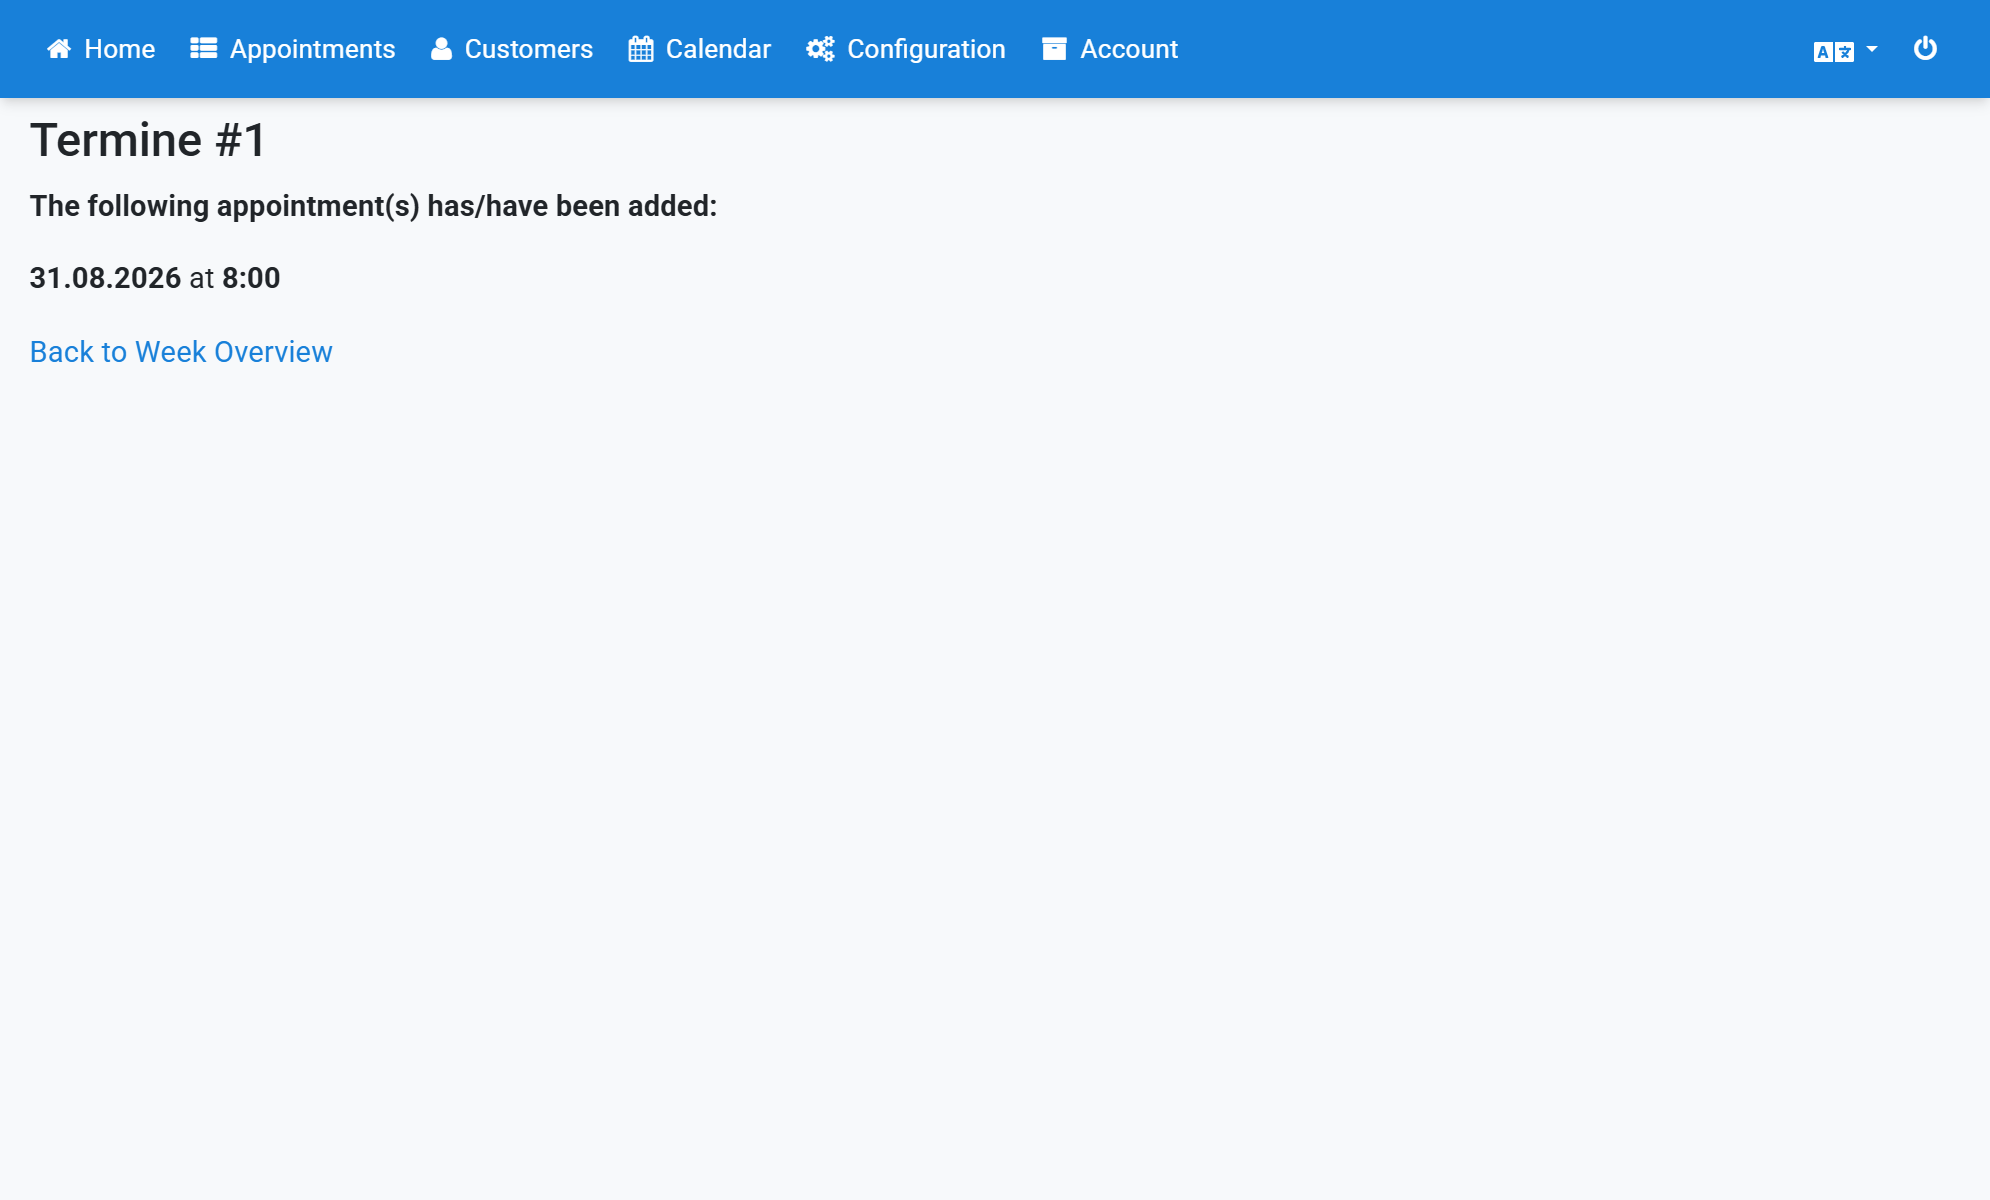
The released timeslots now appear in a different color
11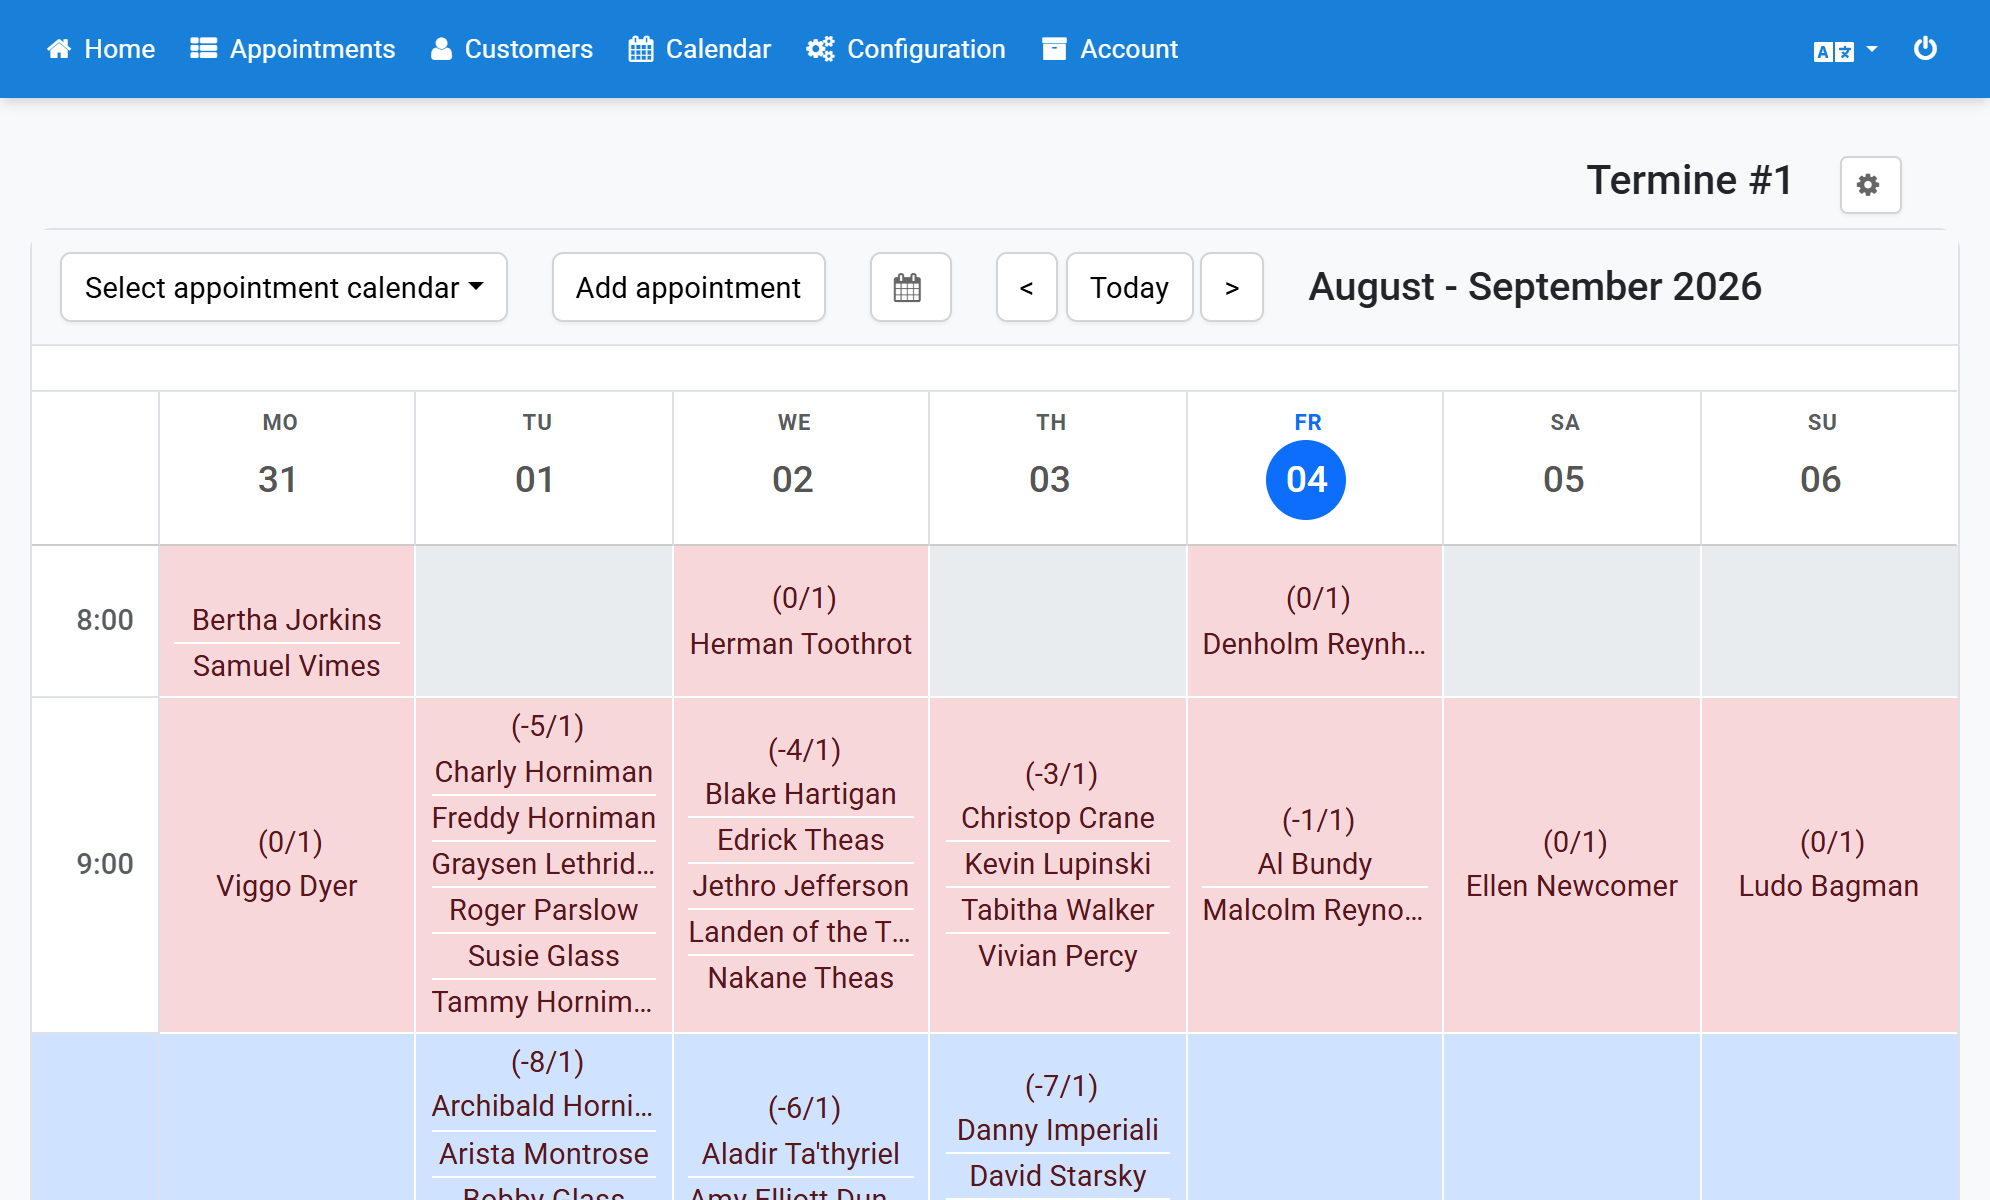
The timeslots are now available in the frontend calendar
12