Create Zoom Meetings
The instructions below show you how to allow Appointmind to automatically create, update or delete Zoom Meetings when a customer schedules, changes or cancels an appointment.
- Login to the admin panel of your scheduler.
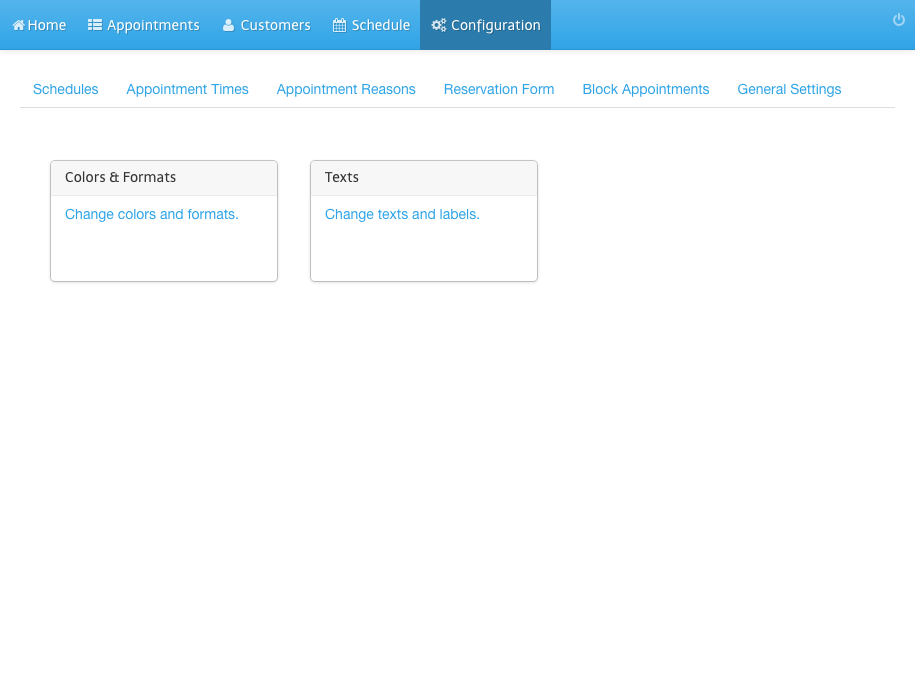
- Click Configuration in the navigation bar.
- Click General Settings in the sub navigation bar.
- Click Meeting in the left navigation bar.
- Select Zoom as your meeting provider.
- Decide if you want to set zoom as provider for all schedules or for a specific schedule.
- Select Yes in order to activate Zoom.
- Click Configure meeting reasons.
- Check all reasons for appointment that should trigger the creation of a meeting. Click Save Changes and close the popup window.
- Click Connect with Zoom and allow Appointmind to read your user data and to read and write meetings.
Screenshots
Login to the admin panel of your scheduler
1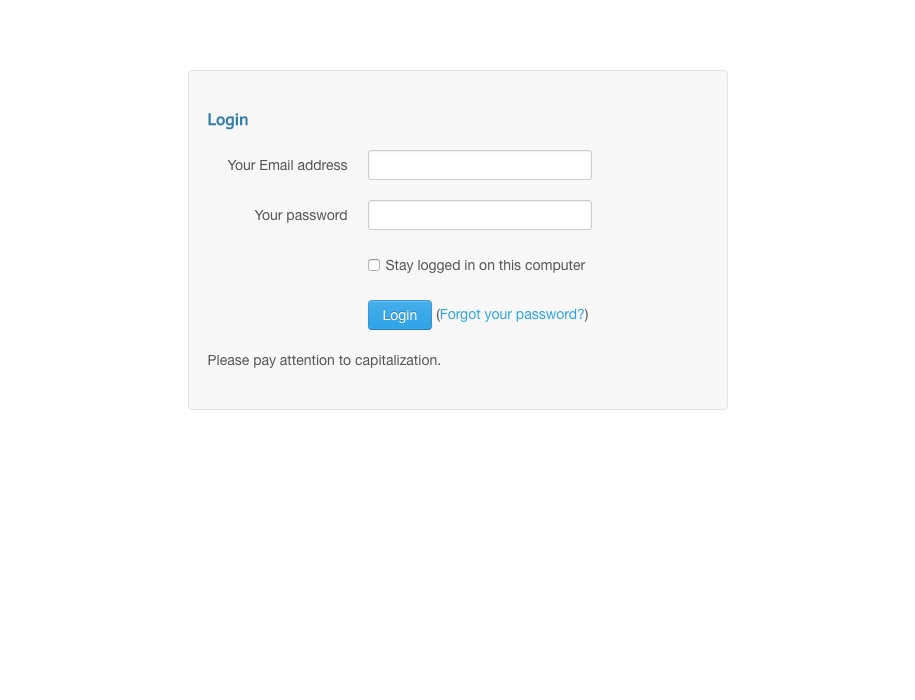
Click Configuration in the navigation bar
2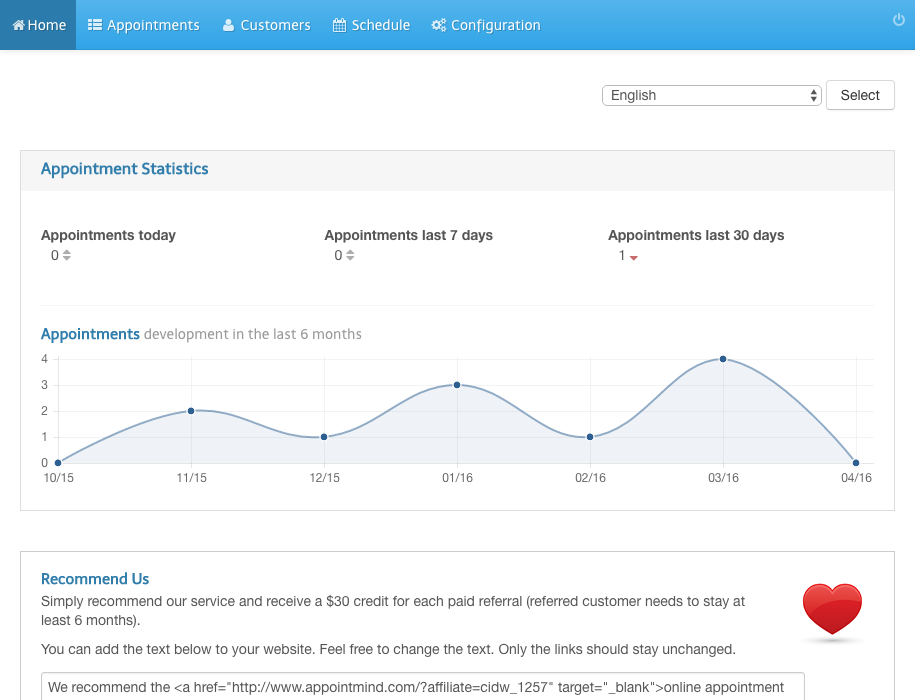
Click General Settings in the sub navigation bar
3